
Before You Start: What Makes a Great Wafer Cookie?
The best wafer cookies are light, crisp, and layered with flavor. They should snap cleanly when you bite into them, but still feel delicate enough to melt into the filling. Whether you love chocolate wafer cookies, buttery vanilla wafer cookies, gooey caramel wafer cookies, or need gluten free chocolate wafer cookies, the same basic principles apply: make a thin batter, bake it evenly, cool it completely, and fill only when the cookies are crisp.
This guide walks you through a simple base method, then shows you how to turn it into several easy wafer cookie recipes you can make at home. You do not need a professional bakery setup, though a wafer iron, pizzelle press, or very flat baking sheet will help create that signature thin texture.
What You’ll Need
Before you begin, gather your tools and ingredients so the process feels smooth from start to finish.
Helpful tools
- Mixing bowls
- Whisk or hand mixer
- Silicone spatula
- Measuring cups and spoons
- Baking sheets or wafer iron
- Parchment paper
- Offset spatula or the back of a spoon
- Cooling rack
- Small saucepan for fillings
- Sharp knife or pizza cutter for trimming
Basic wafer cookie ingredients
For a simple batch of homemade wafer cookies, start with:
- 1 cup all-purpose flour
- 1/2 cup granulated sugar
- 1/4 teaspoon salt
- 2 large egg whites
- 1/4 cup melted unsalted butter, cooled slightly
- 1/4 cup milk
- 1 teaspoon vanilla extract
This base makes a crisp, lightly sweet cookie that can be flavored in several ways. It is also easy to adjust for chocolate, caramel, or gluten-free versions.
Step 1: Make the Basic Wafer Batter
In a medium bowl, whisk together the flour, sugar, and salt. In a separate bowl, whisk the egg whites until slightly foamy. You do not need stiff peaks; the goal is simply to loosen the egg whites so they blend smoothly into the batter.
Add the melted butter, milk, and vanilla extract to the egg whites. Stir until combined, then pour the wet mixture into the dry ingredients. Whisk until you have a smooth, pourable batter.
The texture should be thinner than cake batter but thicker than heavy cream. If it feels too thick to spread into a thin layer, add milk one teaspoon at a time. If it is too runny, add a small spoonful of flour.
Let the batter rest for 10 minutes. This gives the flour time to hydrate and helps the wafers bake more evenly.
Step 2: Choose Your Baking Method
You can make thin, crispy wafers in two common ways.
Option 1: Use a wafer iron or pizzelle press
Preheat the iron according to the manufacturer’s instructions. Lightly grease it if needed. Spoon a small amount of batter into the center, close the lid, and cook until golden and crisp.
This method creates the most even texture and often gives the cookies a pretty pattern.
Option 2: Use a baking sheet
Preheat the oven to 350°F. Line a baking sheet with parchment paper. Spoon small portions of batter onto the sheet and spread each one into a very thin circle or rectangle using an offset spatula.
Bake for 6 to 9 minutes, or until the edges are lightly golden and the centers look set. The exact time will depend on how thinly you spread the batter.
For extra neat wafers, trim them while they are still warm and flexible. Once cooled, they become crisp and may crack if cut.
Step 3: Cool the Wafers Completely
Transfer the baked wafers to a cooling rack. Let them cool fully before filling or stacking. This step matters because trapped steam can soften the cookies.
If the wafers seem slightly bendy after cooling, return them to a low oven for a few minutes to dry out. Let them cool again before adding any filling.
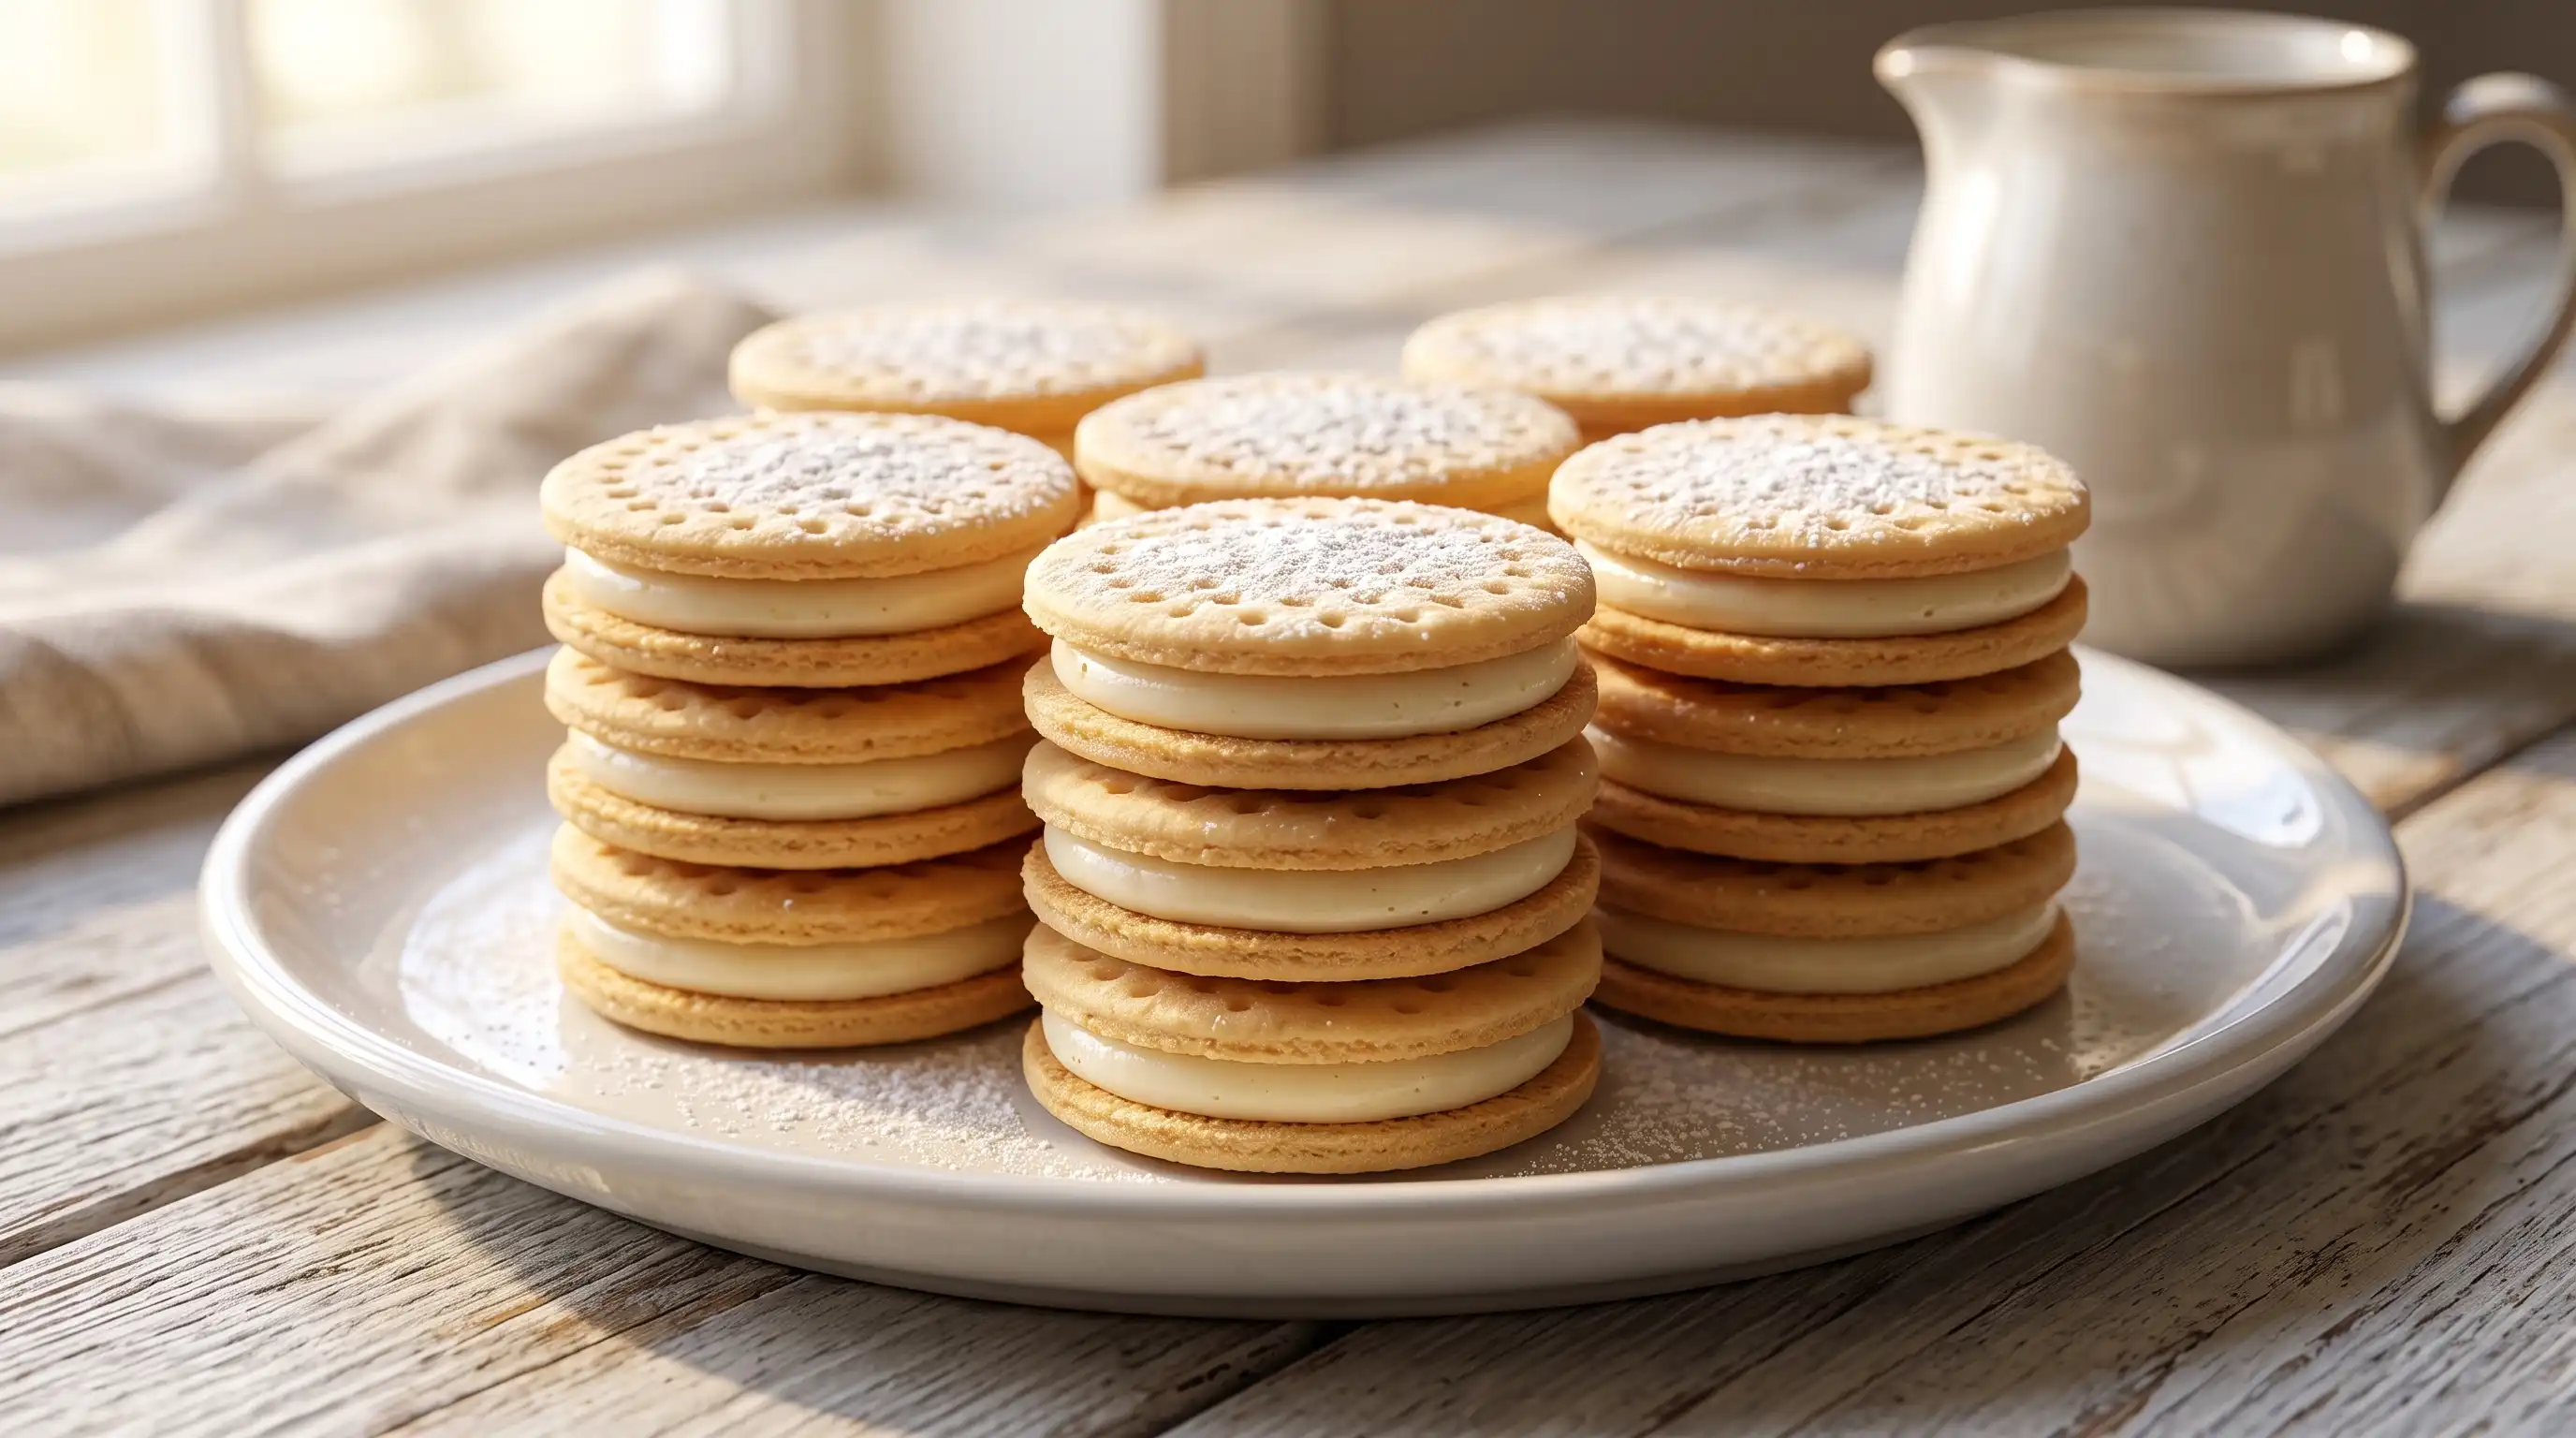
Step 4: Make Classic Vanilla Wafer Cookies
If you want a simple, nostalgic cookie, vanilla wafer cookies are the easiest place to start. They pair beautifully with cream fillings, fruit spreads, chocolate, or a dusting of powdered sugar.
Ingredients for vanilla wafers
Use the basic batter above, then add:
- 1 extra teaspoon vanilla extract
- 1/2 teaspoon almond extract, optional
- 1 tablespoon powdered milk, optional for a richer flavor
How to make them
Prepare the batter as directed, adding the extra vanilla with the wet ingredients. Bake the wafers until the edges turn pale gold. Avoid overbaking if you want a lighter vanilla flavor.
For sandwich-style cookies, fill cooled wafers with vanilla buttercream.
Quick vanilla filling
Beat together:
- 1/2 cup softened unsalted butter
- 1 cup powdered sugar
- 1 teaspoon vanilla extract
- 1 to 2 teaspoons milk
Spread a thin layer between two wafers. Press gently, then chill for 10 to 15 minutes to help the filling set.
Step 5: Make Chocolate Wafer Cookies
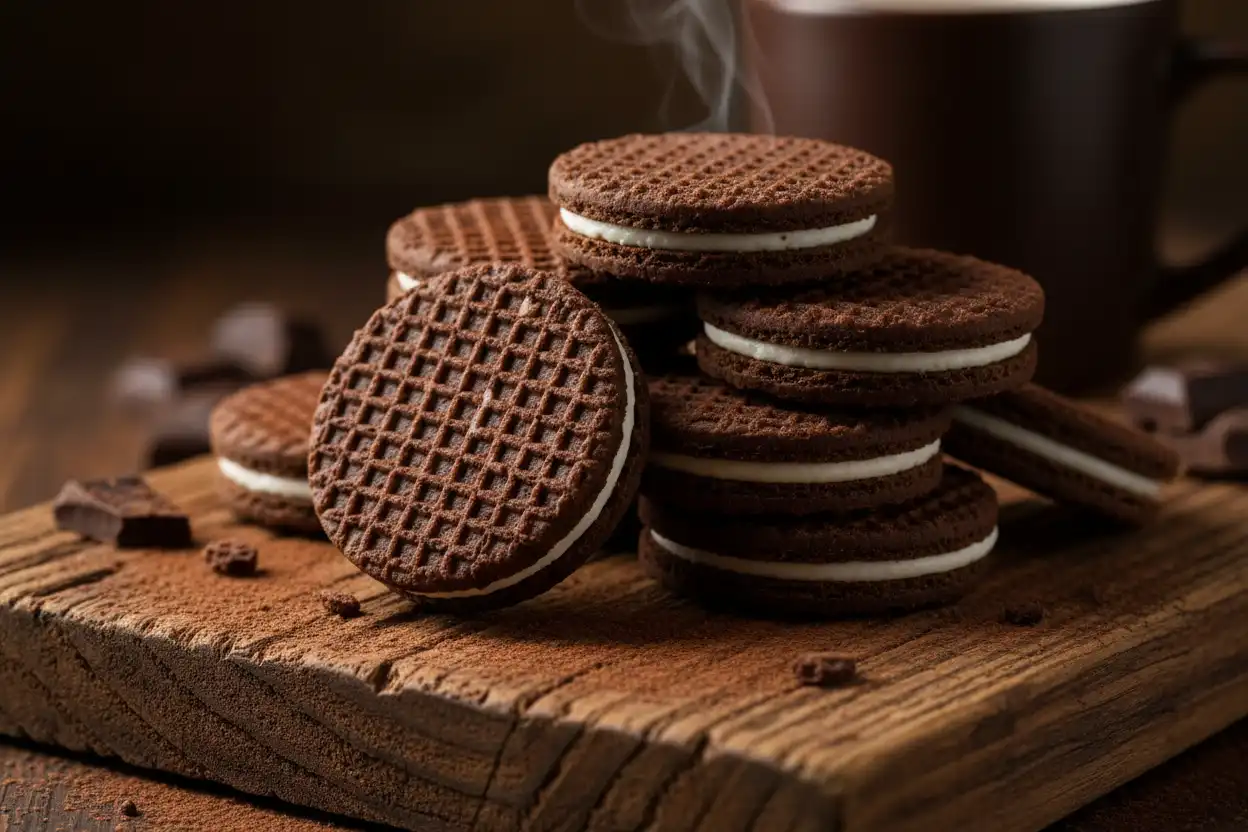
Rich, crisp chocolate wafer cookies are perfect for sandwich cookies, layered desserts, icebox cakes, or crumbling over ice cream. Cocoa powder gives the batter a deep flavor without making it heavy.
Ingredients for chocolate wafers
Start with the basic batter, but make these changes:
- Use 3/4 cup all-purpose flour instead of 1 cup
- Add 1/4 cup unsweetened cocoa powder
- Add 1 extra tablespoon sugar if you prefer a sweeter cookie
- Add 1/2 teaspoon espresso powder, optional
How to make them
Whisk the cocoa powder with the flour, sugar, and salt so it distributes evenly. Add the wet ingredients and mix until smooth. Chocolate batter can thicken as it rests, so add a splash of milk if needed.
Bake until the wafers look dry on top and the edges are set. Since chocolate cookies do not show browning as clearly as vanilla ones, watch the texture instead of the color.
Filling ideas for chocolate wafers
Try pairing them with:
- Vanilla buttercream
- Chocolate ganache
- Peanut butter cream
- Marshmallow filling
- Raspberry jam and cream
For a simple ganache, warm 1/2 cup heavy cream until steaming, pour it over 1 cup chopped chocolate, let it sit for a few minutes, then stir until glossy. Cool until spreadable before using.
Step 6: Make Caramel Wafer Cookies
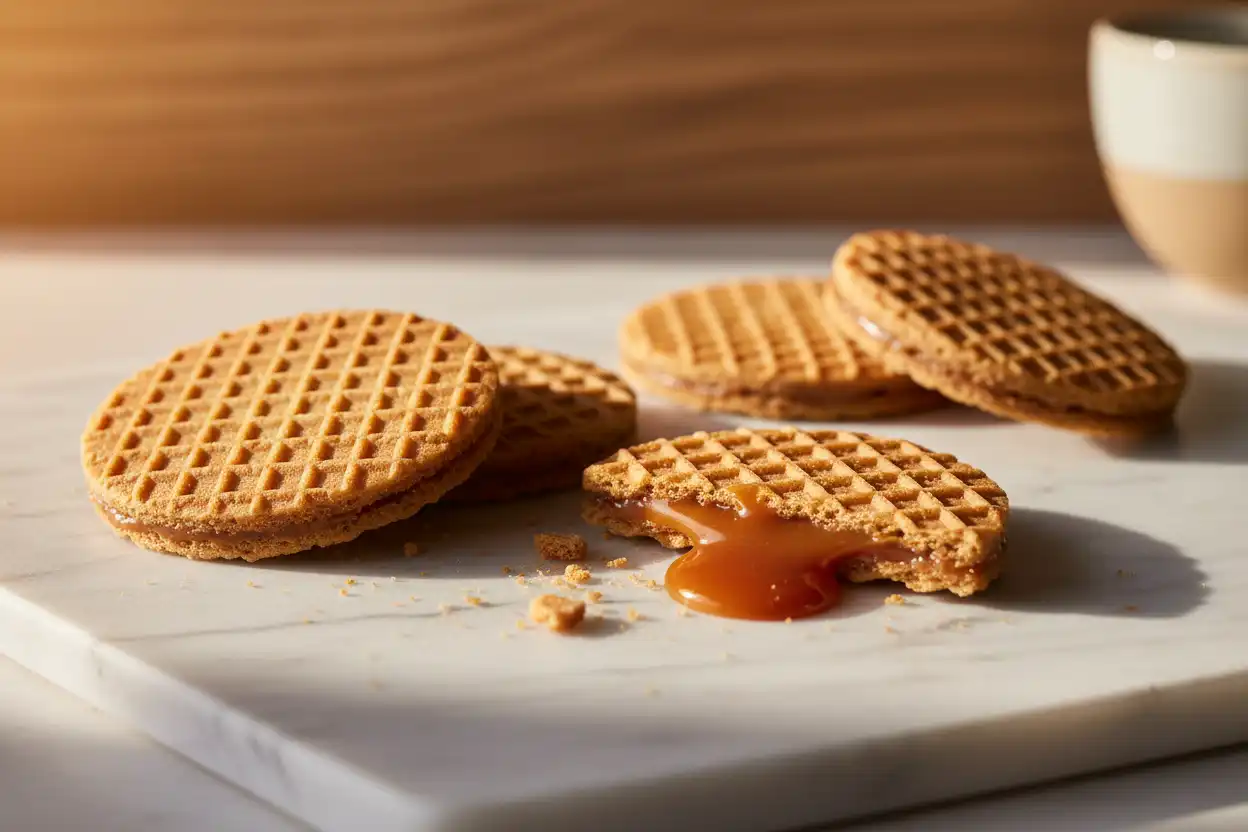
Caramel wafer cookies are all about contrast: crisp cookies, buttery caramel, and just enough salt to keep the sweetness balanced. You can use homemade caramel or a thick store-bought caramel sauce.
Ingredients for caramel wafers
Use the vanilla wafer batter and add:
- 2 tablespoons brown sugar in place of 2 tablespoons granulated sugar
- 1/4 teaspoon cinnamon, optional
- 1/2 teaspoon vanilla extract
The brown sugar adds warmth and helps create a subtle caramel-like flavor in the cookie itself.
Easy caramel filling
In a small saucepan, combine:
- 1/2 cup brown sugar
- 3 tablespoons unsalted butter
- 2 tablespoons heavy cream
- Pinch of salt
- 1/2 teaspoon vanilla extract
Warm over medium-low heat, stirring often, until the sugar dissolves and the mixture looks smooth. Simmer gently for 1 to 2 minutes, then remove from the heat. Let it cool until thick enough to spread.
How to assemble caramel wafers
Spread a very thin layer of caramel filling onto one wafer. Top with another wafer and press gently. Do not overfill; too much caramel can make the cookies slide or soften quickly.
For a more candy-like finish, drizzle the assembled cookies with melted chocolate and sprinkle with flaky salt.
Step 7: Make Gluten Free Chocolate Wafer Cookies
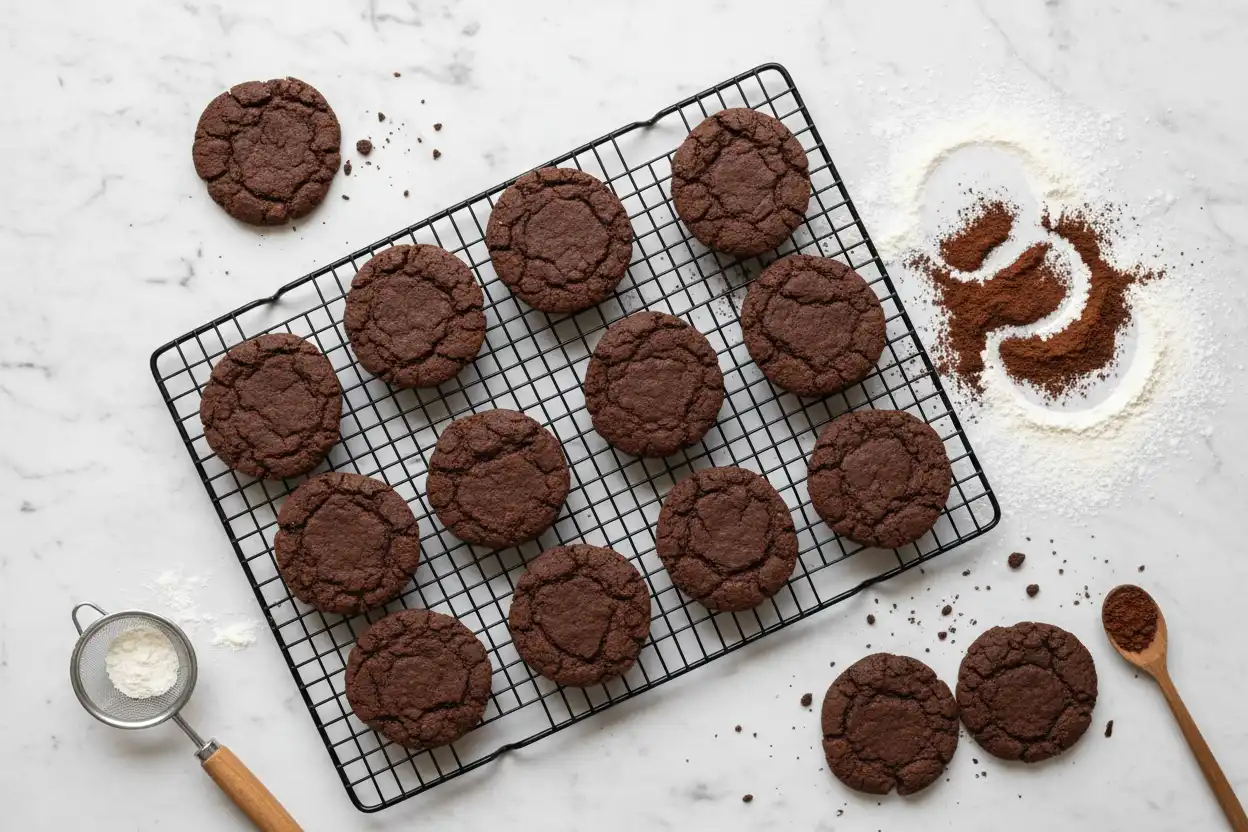
You can make gluten free chocolate wafer cookies with a good gluten-free all-purpose flour blend. Choose one designed for baking and preferably one that already contains xanthan gum or a similar binder.
Ingredients for gluten-free chocolate wafers
Use this adjusted batter:
- 3/4 cup gluten-free all-purpose flour blend
- 1/4 cup unsweetened cocoa powder
- 1/2 cup granulated sugar
- 1/4 teaspoon salt
- 2 large egg whites
- 1/4 cup melted unsalted butter, cooled slightly
- 1/4 cup milk, plus more as needed
- 1 teaspoon vanilla extract
How to make them
Whisk the dry ingredients very well to break up any cocoa or flour clumps. Add the wet ingredients and stir until smooth. Let the batter rest for 15 minutes so the gluten-free flour can hydrate.
If the batter becomes too thick after resting, add milk one teaspoon at a time. Spread thinly and bake as you would the regular chocolate version.
Gluten-free wafers can be more fragile while warm, so let them firm up on the baking sheet for a minute before moving them to a rack.
Step 8: Add Fillings Without Losing the Crunch
The biggest challenge with filled wafer cookies is keeping them crisp. Moist fillings can soften the cookie if they are too loose or too thickly applied.
Follow these tips for better texture:
- Use a thin layer of filling.
- Let caramel, ganache, or buttercream cool until spreadable, not runny.
- Fill cookies shortly before serving if you want maximum crunch.
- Store soft-filled cookies in a single layer when possible.
- Avoid watery jams unless you pair them with buttercream or chocolate.
If you are preparing cookies ahead of time, bake the wafers one day and fill them the next. This keeps the wafers crisp and gives you more control over the final texture.
Step 9: Store Your Homemade Wafer Cookies Properly
Unfilled wafers store better than filled ones. Once the cookies are completely cool, place them in an airtight container at room temperature. Add a small piece of parchment between layers if they are delicate.
For best results:
- Store unfilled wafers for several days in an airtight container.
- Keep filled wafers chilled if they contain dairy-based fillings.
- Bring chilled cookies to room temperature before serving for better flavor.
- Re-crisp unfilled wafers in a low oven for a few minutes if they soften.
Avoid storing crisp wafers near moist baked goods like muffins or soft cookies. The wafers can absorb moisture and lose their snap.
Step 10: Customize Your Wafer Cookie Recipes
Once you understand the basic method, you can create your own wafer cookie recipes with different flavors and fillings.
Try these easy variations:
- Add orange zest to chocolate wafers and fill with dark chocolate ganache.
- Add cinnamon and nutmeg to vanilla wafers for a warm spice flavor.
- Fill caramel wafers with a thin layer of chocolate hazelnut spread.
- Dip half of each wafer sandwich in melted chocolate.
- Add crushed freeze-dried strawberries to vanilla buttercream.
- Use peppermint extract in chocolate wafers for a holiday version.
- Sprinkle toasted coconut around the edges of filled cookies.
Keep add-ins finely ground or very small. Large chunks can prevent the batter from spreading thinly and may make the wafers bake unevenly.
Troubleshooting Common Wafer Cookie Problems
Even simple cookies can take a little practice. If your first batch is not perfect, small adjustments usually fix the issue.
If the wafers are too soft
They may be too thick, underbaked, or not fully cooled. Spread the batter thinner next time and bake until the edges are set. You can also return cooled wafers to a low oven briefly to dry them out.
If the wafers crack when shaped or trimmed
They cooled too much before trimming. Cut or shape them as soon as they come out of the oven, while still warm and flexible.
If the cookies taste bland
Add a little more vanilla, a pinch more salt, citrus zest, cocoa powder, or a flavorful filling. Thin cookies need concentrated flavor because each bite is delicate.
If the filling makes them soggy
Use less filling or choose a thicker option like buttercream, ganache, or firm caramel. Fill closer to serving time when possible.
Serving Ideas
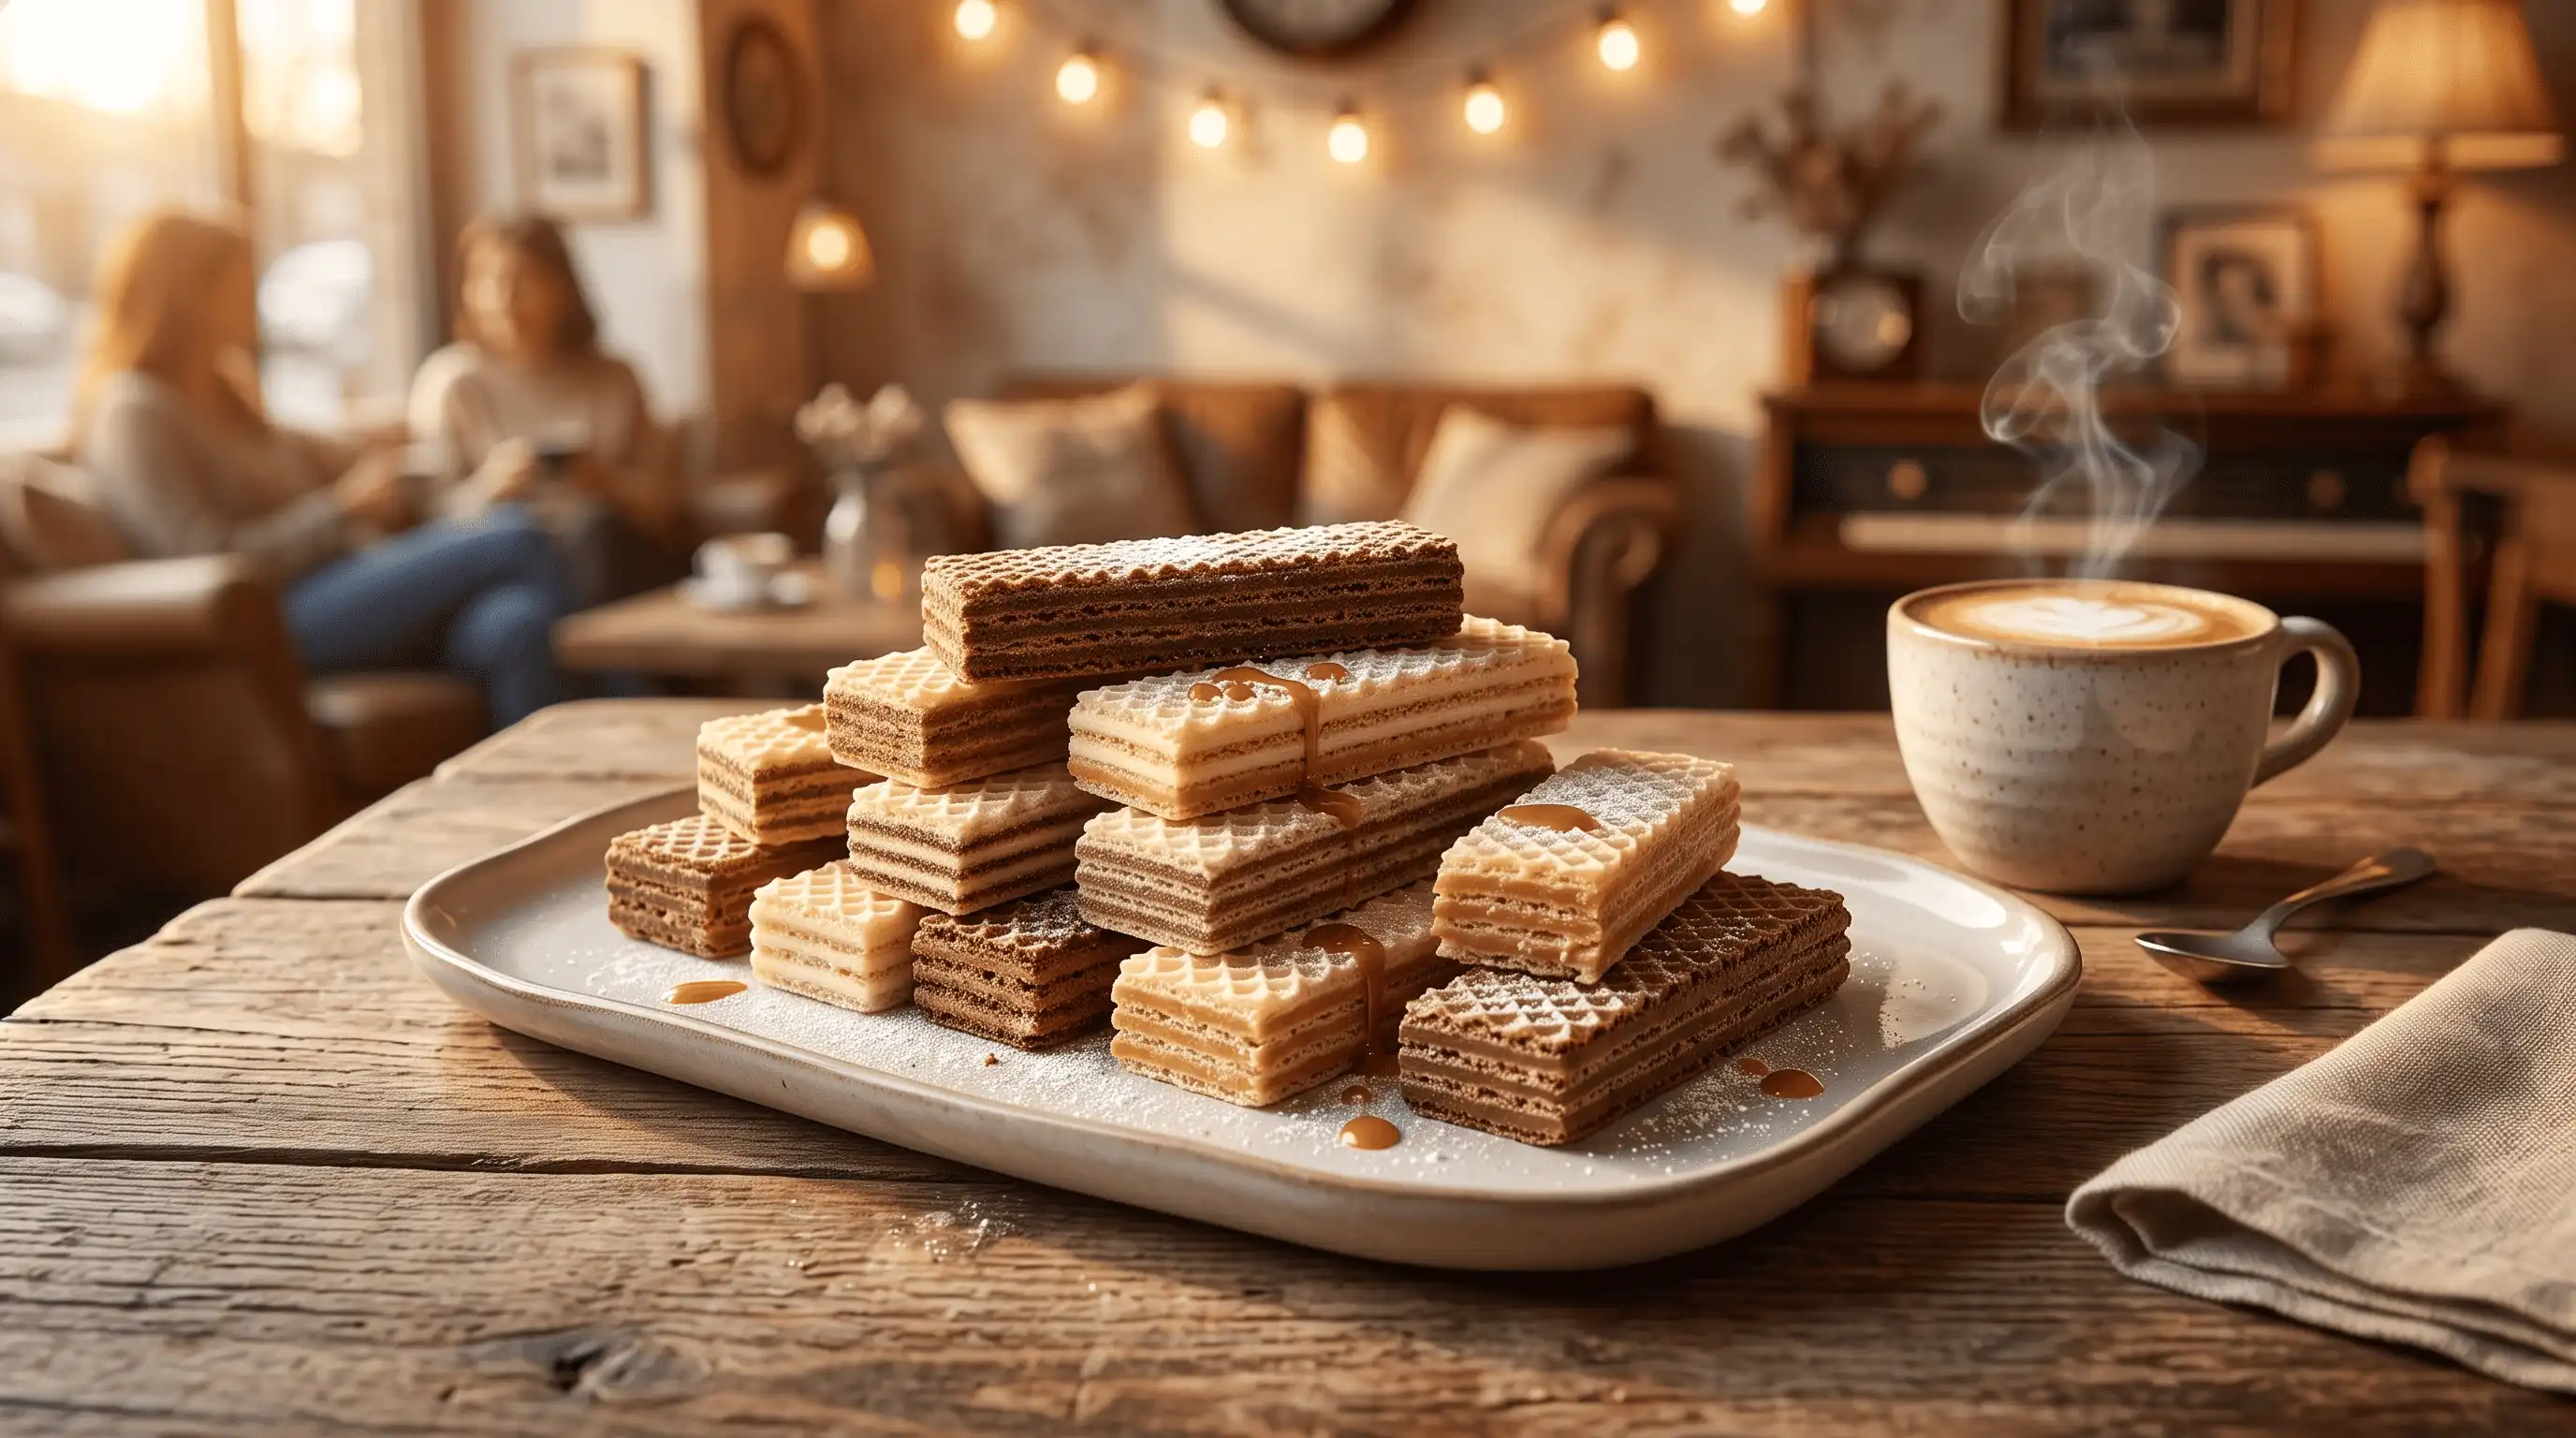
Wafer cookies are wonderful on their own, but they also work beautifully in desserts. Serve them with coffee, layer them into chilled cakes, crumble them into parfaits, or use them as a crisp garnish for pudding and ice cream.
A mixed platter of vanilla, caramel, chocolate, and gluten-free chocolate wafers is especially useful when serving a group. It gives everyone a few flavors to choose from while still using one simple technique.
Final Tips for Better Wafer Cookies
The secret to great homemade wafer cookies is patience. Spread the batter thin, bake in small batches, and let every wafer cool fully before filling. Start with vanilla if you are new to the process, then move on to chocolate and caramel once you feel comfortable.
With one basic batter and a few flavor adjustments, you can make crisp, elegant cookies that taste far more special than they are difficult to prepare. Whether you choose classic vanilla wafer cookies, rich chocolate wafer cookies, buttery caramel wafer cookies, or gluten-free chocolate wafers, the method is simple, flexible, and easy to repeat.