
Thin, dark, snappy, and deeply chocolatey, chocolate wafer cookies are the kind of bake that looks simple but depends on smart technique. The best version is crisp without being dry, bold without tasting bitter, and sturdy enough for desserts that need clean chocolate wafer layers.
Whether you want a cookie to eat with coffee, a base for icebox cake, a crumb crust, or a homemade stand-in for classic chocolate wafer cookies Nabisco fans remember, this guide walks through the ingredients, process, and troubleshooting steps that make the difference.
What Makes a Chocolate Wafer Cookie Different?
Chocolate wafers are not the same as soft chocolate cookies, brownies, or sandwich cookie shells. A great wafer is defined by three things:
- Thinness: The dough is rolled very thin so the cookie bakes evenly and dries into a crisp texture.
- Deep cocoa flavor: Cocoa powder, not melted chocolate, usually provides the strongest wafer-like flavor and color.
- A clean snap: The finished cookie should break crisply, not bend like a chewy cookie.
Because they are low in moisture and rolled thin, homemade chocolate wafers are excellent building blocks for layered desserts. They soften beautifully when stacked with whipped cream, mousse, pastry cream, or no-bake fillings, yet they remain flavorful enough to stand out.
The Secret to Crispy Chocolate Cookies
The most common problem with crispy chocolate cookies is that they turn out either too tough or not crisp enough. The balance comes from ingredient ratios and handling.
For a delicate snap, you need:
- Enough flour to give the dough structure
- Cocoa powder for dryness, color, and flavor
- Butter for richness and tenderness
- Sugar for crisp edges and a clean bite
- A small amount of liquid to bring the dough together
- Chilling time so the dough rolls neatly
- Thin, even rolling so the cookies bake consistently
The dough should feel firm but not rock-hard after chilling. If it cracks as you roll, let it rest for a few minutes at room temperature. If it becomes sticky, return it to the refrigerator.
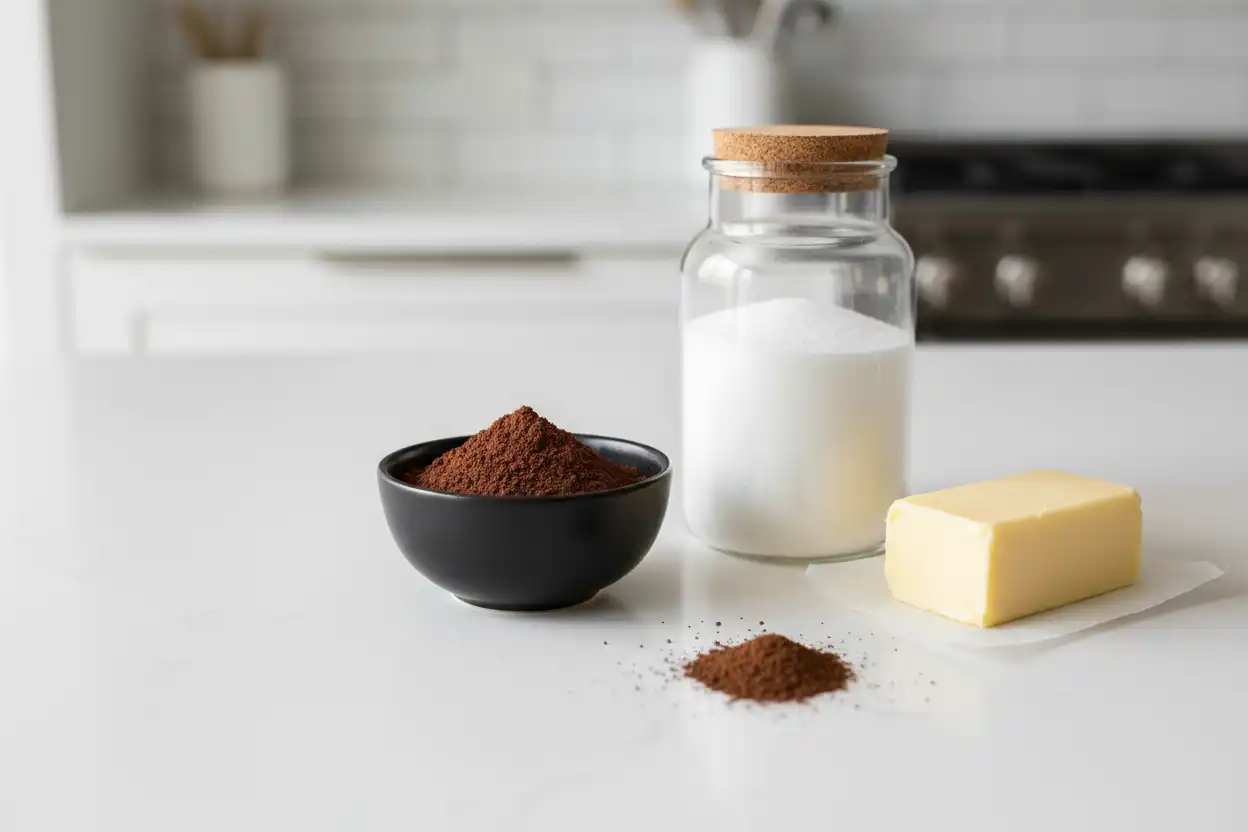
Ingredients for Homemade Chocolate Wafers
This recipe makes a dark, crisp wafer that works for snacking, layering, crushing, and sandwiching.
Dry ingredients
- 1 cup all-purpose flour
- 1/2 cup unsweetened cocoa powder, preferably Dutch-process for a darker flavor
- 3/4 cup powdered sugar or superfine sugar
- 1/2 teaspoon fine salt
- 1/4 teaspoon baking soda
Wet ingredients
- 1/2 cup unsalted butter, softened but still cool
- 1 teaspoon vanilla extract
- 1 to 2 tablespoons milk, coffee, or water, only as needed
Optional flavor boosters
- 1/2 teaspoon espresso powder for a deeper chocolate taste
- 1/8 teaspoon cinnamon for warmth
- A pinch of cayenne for subtle heat
- 1/2 teaspoon almond extract in place of part of the vanilla
Powdered sugar creates a fine, delicate texture, while superfine sugar gives a slightly crunchier bite. Both work well. Dutch-process cocoa gives the most classic dark wafer color, but natural cocoa can be used if that is what you have.
Step-by-Step Method
1. Whisk the dry ingredients
In a medium bowl, whisk together the flour, cocoa powder, sugar, salt, and baking soda. Cocoa powder tends to clump, so take an extra moment here. A smooth dry mixture helps prevent pale flour streaks in the finished dough.
If your cocoa is especially lumpy, sift it before mixing. This small step makes the dough easier to roll and gives the cookies a more polished finish.
2. Cream the butter lightly
In a separate bowl, beat the softened butter until smooth. You do not need to whip in a lot of air. These cookies should bake flat, so over-creaming can create puffiness.
Add the vanilla and mix until combined.
3. Add the dry mixture
Add the dry ingredients to the butter and mix on low speed or stir with a sturdy spatula. At first, the dough may look sandy or crumbly. Keep mixing until it begins to clump.
Add milk, coffee, or water 1 teaspoon at a time only if the dough will not hold together. Too much liquid can make the cookies less crisp.
4. Shape and chill
Press the dough into a flat disk. Wrap it tightly and refrigerate for at least 45 minutes. Chilling firms the butter and hydrates the flour, which makes rolling easier.
You can chill the dough longer if needed. If it becomes too firm, let it sit at room temperature for 5 to 10 minutes before rolling.
5. Roll very thin
Place the dough between two sheets of parchment paper and roll it to about 1/8 inch thick. For extra-crisp wafers, roll slightly thinner. Try to keep the thickness even from center to edge.
If the dough warms up, slide it onto a baking sheet and chill it for 10 minutes before cutting.
6. Cut the cookies
Use a round cutter, fluted cutter, square cutter, or even a knife to cut the dough. Traditional wafers are often plain rounds, but any simple shape works.
Transfer the cut cookies to a parchment-lined baking sheet. They do not spread much, so you can place them fairly close together.
Gather scraps, reroll, and cut again. Try not to reroll too many times, as repeated handling can make the final cookies tougher.
7. Bake until set and fragrant
Bake at 325°F until the cookies look dry on top and feel set at the edges, usually 10 to 14 minutes depending on thickness and size.
Because the cookies are dark, visual browning is hard to judge. Use scent and texture instead. They should smell deeply chocolatey and feel firm around the edges. They will continue to crisp as they cool.
8. Cool completely
Let the cookies rest on the baking sheet for a few minutes, then move them to a wire rack. Do not judge the final texture while they are warm. Chocolate wafers become noticeably crisper as they cool.
If the cookies still seem soft after cooling, return them to a low oven for a few minutes to dry out. Watch carefully so they do not scorch.
How Thin Should Chocolate Wafer Cookies Be?
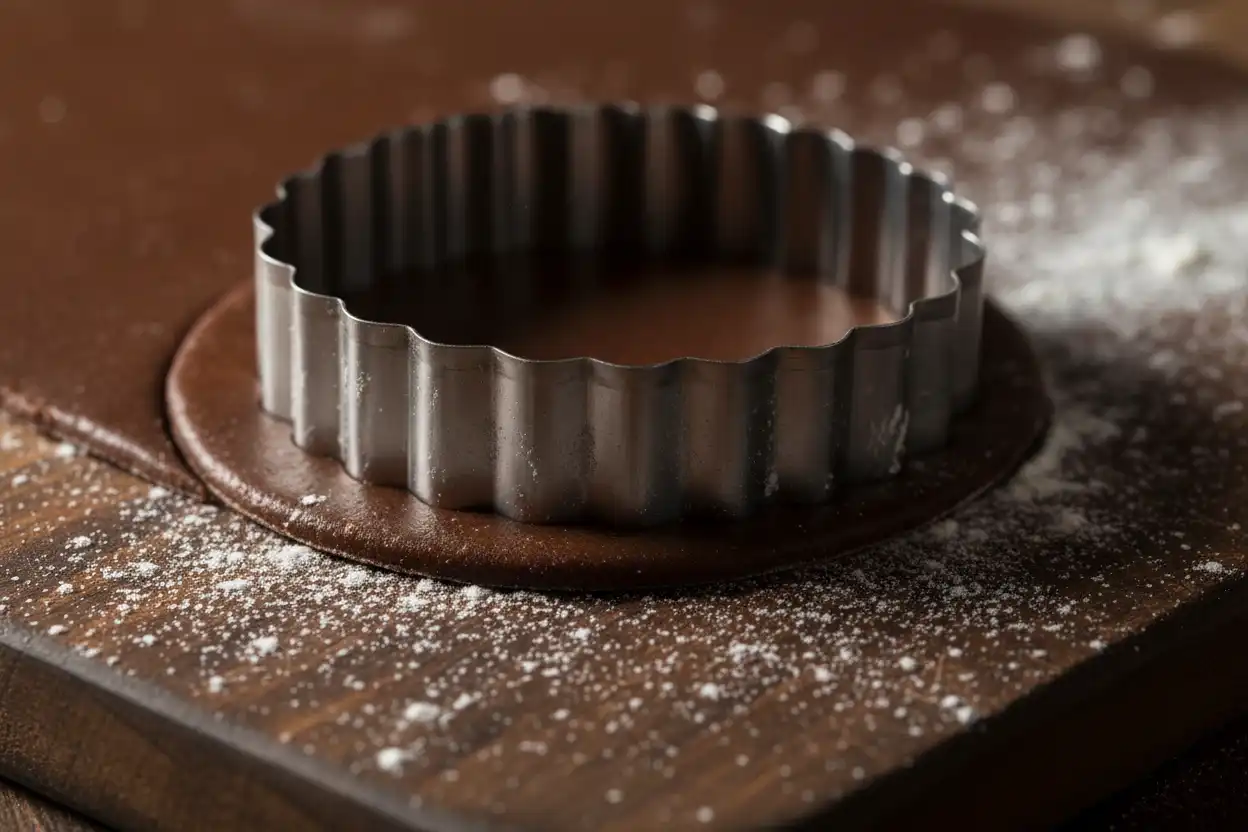
Thickness is one of the most important details. If the cookies are too thick, they will taste more like firm chocolate shortbread than true wafers. If they are too thin, they may burn before the centers are fully set.
A good target is about 1/8 inch thick. For dessert layers, slightly thinner is ideal because the cookies soften evenly when paired with cream. For snacking, 1/8 inch gives a satisfying crunch without becoming fragile.
If you make different sizes or thicknesses, bake them in separate batches. Small, thin cookies finish faster than larger rounds.
How to Get Bold Chocolate Flavor
Since wafers are simple, cocoa quality matters. Choose an unsweetened cocoa powder with a flavor you enjoy. Dutch-process cocoa tends to make darker, smoother cookies, while natural cocoa can taste fruitier and sharper.
To intensify the chocolate flavor without making the cookies taste like coffee, add a small amount of espresso powder. You can also use brewed coffee as the liquid in the dough. The goal is not to create a mocha cookie, but to make the cocoa taste deeper.
Salt also plays a key role. A slightly salty edge keeps the wafers from tasting flat and balances the sugar.
Making Chocolate Wafer Layers for Desserts
One of the best reasons to make wafers from scratch is versatility. Chocolate wafer layers are useful in desserts where cookies and cream need time to meld together.
Try them in:
- Icebox cake with whipped cream
- Layered chocolate mousse desserts
- No-bake cookie stacks
- Cheesecake crusts
- Parfaits with mascarpone or pudding
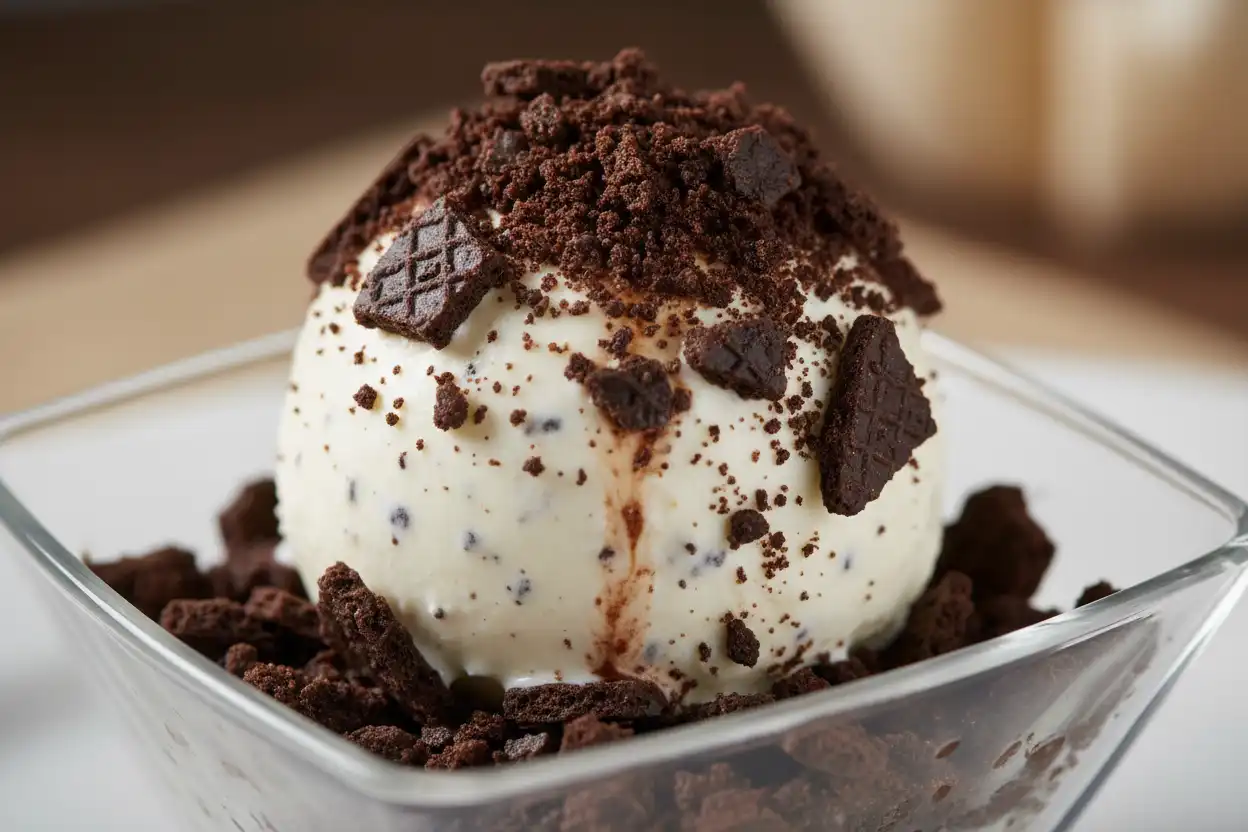
- Crumbled toppings for ice cream
- Homemade sandwich cookies
For icebox-style desserts, layer the wafers with softly whipped cream and chill for several hours. The cookies absorb moisture and become cake-like while keeping their cocoa flavor. This is where homemade wafers shine: you can control the size, thickness, and sweetness of each layer.
Nabisco-Style Chocolate Wafer Cookie Substitute
If you are searching for chocolate wafer cookies Nabisco style, the goal is usually a thin, dark, not-too-sweet cookie that can be eaten plain or used in classic refrigerator desserts. This homemade version is designed for that purpose.
To make the cookies closer to a classic packaged wafer texture:
- Roll the dough very thin and evenly.
- Use Dutch-process cocoa for a dark color.
- Keep the sweetness moderate.
- Bake until fully dry, not just set.
- Let the cookies cool completely before storing.
For a more polished, uniform look, roll the dough between parchment sheets and chill it before cutting. Clean cuts help the cookies bake more evenly and stack neatly.
Gluten Free Chocolate Wafer Cookies
You can make gluten free chocolate wafer cookies with a few adjustments. Use a cup-for-cup gluten-free flour blend that contains a binder such as xanthan gum. Because gluten-free blends absorb moisture differently, add liquid carefully and only as needed.
Tips for a gluten-free version:
- Chill the dough well before rolling.
- Roll between parchment to prevent sticking.
- Keep the cookies small or medium-sized so they are easier to move.
- Bake until dry at the edges, then cool completely.
- If they are slightly soft after cooling, dry them briefly in a low oven.
Gluten-free wafers may be a little more delicate than wheat-based wafers, but they can still be crisp, flavorful, and excellent for layered desserts.
Common Mistakes and How to Fix Them
The cookies are too soft
Soft wafers usually need more bake time, thinner rolling, or better cooling. Return cooled cookies to a 275°F oven for 4 to 6 minutes, then cool again on a rack. Store only after they are fully cool.
The dough cracks while rolling
The dough is probably too cold. Let it rest at room temperature for a few minutes, then continue rolling between parchment. Press cracks together gently with your fingers.
The cookies taste bitter
Too much cocoa, overbaking, or low sugar can create bitterness. Make sure you measure cocoa accurately and avoid baking until scorched. A little extra vanilla or a slightly sweeter filling can also balance intense cocoa.
The cookies puffed up
The dough may have been over-creamed, rolled too thick, or made with too much baking soda. Mix only until combined and keep the dough thin.
The cookies are tough
Overworking the dough can develop too much structure. Mix just until the dough comes together, and avoid repeatedly rerolling scraps.
Storage and Make-Ahead Tips
Chocolate wafers store well because they are designed to be crisp and dry. Once completely cool, place them in an airtight container at room temperature.
For best texture:
- Store in a dry place away from steam and humidity.
- Add parchment between layers if stacking delicate cookies.
- Do not store with soft cookies, which can transfer moisture.
- Freeze well-wrapped dough disks for future baking.
- Freeze baked cookies if you want longer storage, then refresh in a low oven if needed.
If you plan to use the wafers for crumbs, you can freeze broken cookies or imperfect pieces. They are perfect for crusts and toppings.
Flavor Variations
Once you understand the base dough, it is easy to customize.
Double chocolate wafers
Add finely grated dark chocolate to the dry ingredients. Keep the pieces tiny so the dough still rolls thin.
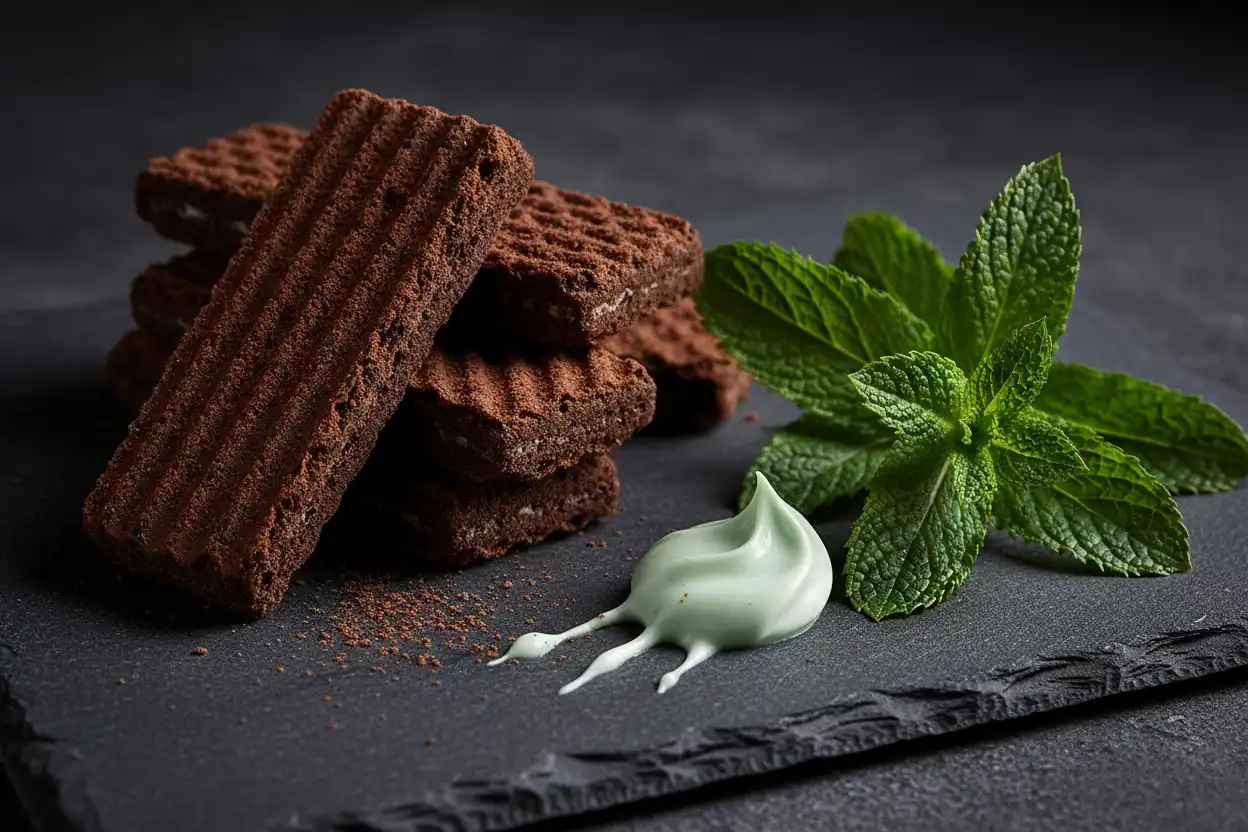
Mint chocolate wafers
Replace part of the vanilla with peppermint extract. Use a light hand; peppermint can quickly overpower cocoa.
Orange chocolate wafers
Add finely grated orange zest to the butter before mixing in the dry ingredients. This version is excellent with whipped cream or mascarpone.
Spiced chocolate wafers
Add cinnamon, ginger, or a pinch of chili powder for a warmer flavor. These pair well with coffee, caramel, and vanilla desserts.
Extra-dark wafers
Use black cocoa for part of the cocoa powder. Do not replace all the cocoa unless you want a very intense, almost sandwich-cookie-style flavor.
Best Ways to Serve Chocolate Wafer Cookies
These cookies are simple, but they are not limited. Serve them:
- With espresso, coffee, or cold milk
- Alongside vanilla ice cream
- Crushed over pudding or mousse
- Layered with whipped cream for an icebox dessert
- Sandwiched with buttercream, ganache, or marshmallow filling
- Crumbled into a chocolate crumb crust
- Packed in cookie tins with vanilla shortbread for contrast
For a quick dessert, spread whipped cream between several wafers, stack them, and chill until sliceable. The crisp cookies soften into tender layers, creating a dessert that tastes far more complex than the effort involved.
Final Tips for Perfect Results

The path to perfect chocolate wafers is simple: keep the dough cool, roll it thin, bake it fully, and cool it completely. Small technique choices matter more here than complicated ingredients.
Remember these key points:
- Use good cocoa powder for deep flavor.
- Roll the dough evenly for consistent baking.
- Chill whenever the dough becomes sticky.
- Bake until the cookies are dry and set.
- Let them cool before deciding if they are crisp enough.
- Store airtight to protect their snap.
With a reliable method, homemade chocolate wafers can become one of the most useful cookies in your baking routine. They are crisp enough for snacking, structured enough for layering, and flavorful enough to turn simple desserts into something memorable.