

There is something quietly celebratory about a tray of powdered sugar–covered Italian wedding cookies. They look simple, but the flavor is rich, buttery, nutty, and delicate enough to serve with espresso, dessert wine, or a full holiday cookie platter. This how-to guide walks you through an approachable Italian wedding cookies recipe with the texture people love: tender, crumbly, lightly sweet, and generously coated in powdered sugar.
These beloved Italian cookies are often made for weddings, Christmas, Easter, baptisms, and family gatherings, but you do not need a special occasion to bake them. With a few pantry ingredients, a gentle hand, and the right baking cues, you can make a batch of classic almond cookies that feel homemade in the best possible way.
What Makes Italian Wedding Cookies Special?
Italian wedding cookies are small, round, buttery cookies usually made with finely chopped nuts or almond flour and finished with a snowy coating of powdered sugar. In many Italian-American families, they are part of larger cookie traditions: trays of biscotti, pizzelle, rainbow cookies, amaretti, and butter cookies that appear at weddings, holidays, and Sunday dinners.
The name can vary by region and family. Some people call them Italian butterballs, snowball cookies, almond wedding cookies, or Italian almond cookies. What matters most is the signature texture: the cookies should be tender and crumbly, not chewy or crisp all the way through. They should hold together when picked up, then melt slightly as you bite into them.
This version uses butter, flour, almond flour, finely chopped almonds, vanilla, a touch of almond extract, and powdered sugar. The result is traditional in spirit, easy to make at home, and perfect for anyone looking for reliable cookie recipes with an old-world feel.
Ingredients You’ll Need
For the cookies:
- 1 cup unsalted butter, softened but still cool
- 1/2 cup powdered sugar, plus more for coating
- 2 teaspoons vanilla extract
- 1/2 teaspoon almond extract
- 2 cups all-purpose flour
- 3/4 cup almond flour
- 3/4 cup finely chopped blanched almonds or toasted almonds
- 1/2 teaspoon fine sea salt
For finishing:
- 1 1/2 to 2 cups powdered sugar, sifted if lumpy
This ingredient list is intentionally simple. The butter gives richness, the powdered sugar keeps the crumb delicate, and the almonds provide flavor without making the cookie heavy. If you prefer a more pronounced almond flavor, use the full 1/2 teaspoon of almond extract. If you want a softer, more buttery cookie, reduce it slightly.
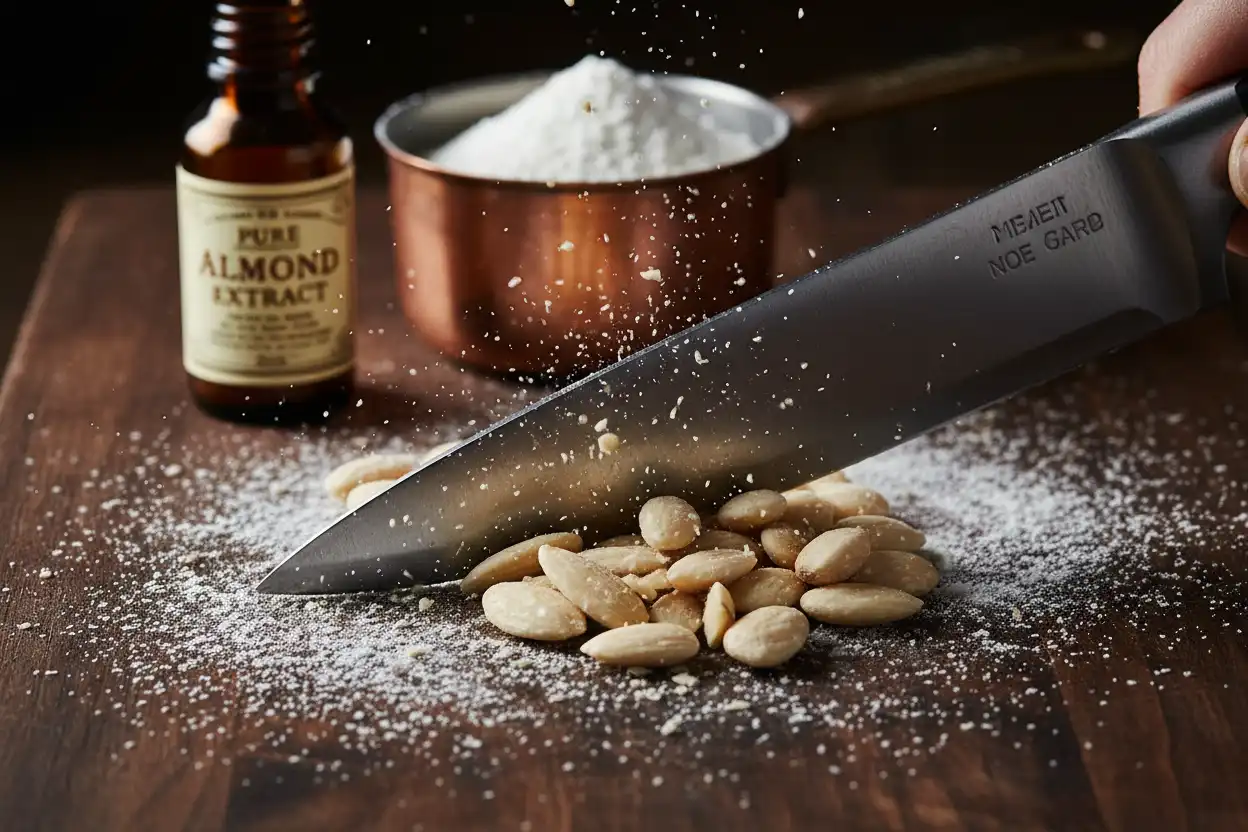
Choose the Right Almonds
The best Italian wedding cookies have a fine, even nut texture. Large almond pieces can make the dough crack or crumble, while nuts that are ground too far can turn oily.
For best results:
- Use blanched almonds for a pale, elegant cookie.
- Use lightly toasted almonds for deeper flavor.
- Chop nuts very finely, but do not turn them into paste.
- Combine almond flour with chopped almonds for both tenderness and texture.
If you only have whole almonds, pulse them in a food processor in short bursts. Stop as soon as the pieces look like coarse sand with a few tiny bits throughout.
Step 1: Soften the Butter Properly
Start with butter that is softened but not greasy. It should give slightly when pressed, yet still feel cool to the touch. Overly soft butter can cause the cookies to spread, while cold butter will not cream smoothly with the sugar.
If your kitchen is warm, cut the butter into small cubes and let it sit for 15 to 25 minutes. Avoid melting it in the microwave unless you can do so very carefully. Melted butter changes the dough structure and can make the cookies dense instead of tender.
Step 2: Cream the Butter and Powdered Sugar
Place the softened butter and 1/2 cup powdered sugar in a mixing bowl. Beat on medium speed for 2 to 3 minutes, until the mixture looks pale, smooth, and slightly fluffy.
This step matters. Creaming creates tiny air pockets that help the cookies bake up light instead of compact. Because this italian wedding cookies recipe uses powdered sugar instead of granulated sugar, the mixture will look creamy and soft rather than grainy.
Scrape down the sides of the bowl once or twice so the butter blends evenly.
Step 3: Add the Flavorings
Mix in the vanilla extract and almond extract until just combined.
Vanilla rounds out the buttery flavor, while almond extract gives these almond cookies their recognizable aroma. Almond extract is powerful, so measure carefully. Too much can taste artificial or overpower the cookie.
If you prefer a more subtle flavor, use 1/4 teaspoon almond extract instead of 1/2 teaspoon. You can also add a little citrus zest, such as lemon or orange, if that is part of your family’s cookie traditions.
Step 4: Combine the Dry Ingredients
In a separate bowl, whisk together the all-purpose flour, almond flour, finely chopped almonds, and salt.
Mixing the dry ingredients separately helps distribute the salt and nuts evenly through the dough. This prevents pockets of flour or clusters of almonds and gives every cookie the same flavor and texture.
If your almond flour is clumpy, break it up with your fingers or sift it before adding it to the bowl.
Step 5: Make the Dough
Add the dry ingredients to the butter mixture in two additions. Mix on low speed after each addition, stopping as soon as the dough comes together.
At first, the dough may look crumbly. Keep mixing briefly, and it should begin to form soft clumps. Do not overmix. Once the flour disappears and the dough holds together when pressed, it is ready.
The finished dough should be soft, slightly dense, and easy to shape. It should not be sticky like cake batter or dry like sand. If it feels too soft to roll, chill it for 20 to 30 minutes before shaping.
Step 6: Shape the Cookies
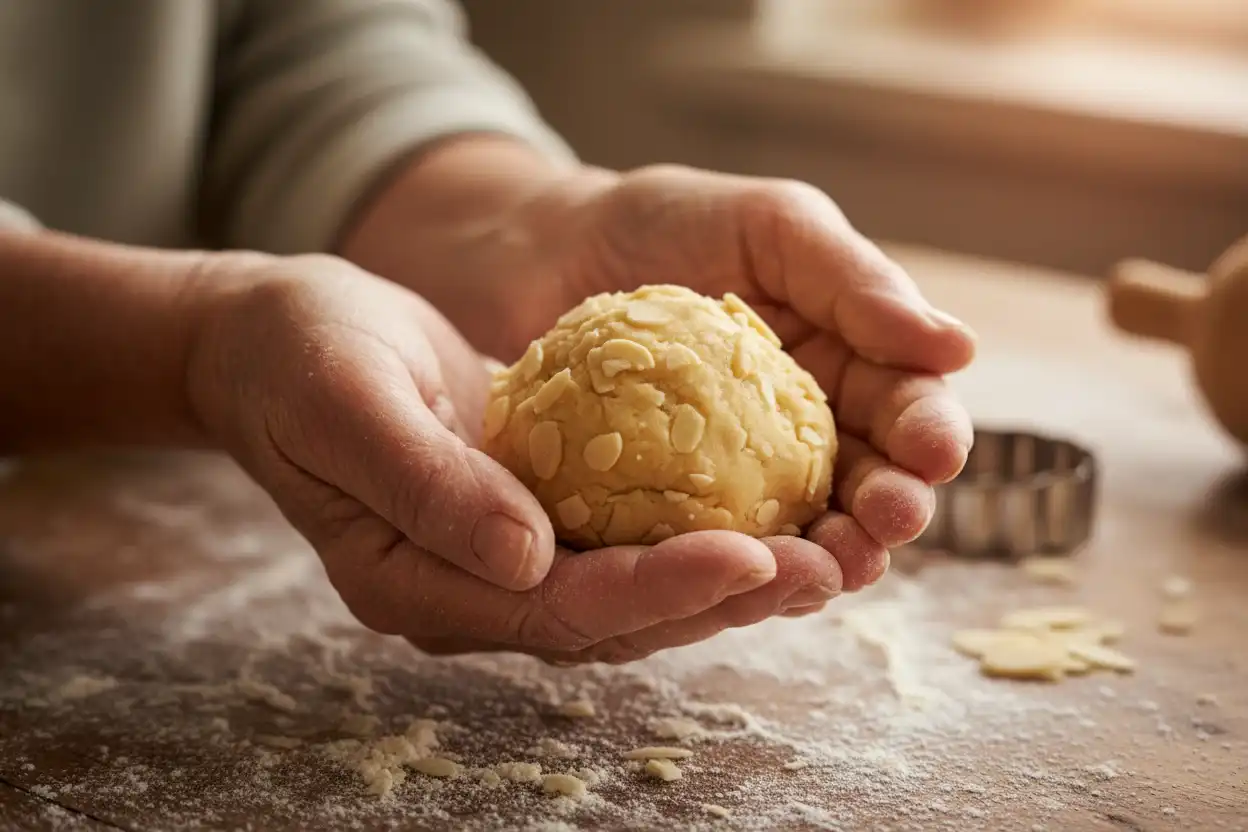
Line baking sheets with parchment paper. Scoop about 1 tablespoon of dough per cookie, then roll each portion gently between your palms to form a ball.
Place the dough balls about 1 inch apart on the prepared baking sheets. These cookies do not spread much, but they need enough room for air to circulate.
Try to keep the cookies uniform in size. Even sizing helps them bake at the same rate, which is especially important for small butter cookies. If some are much larger than others, the smaller ones may dry out before the larger ones finish baking.
Step 7: Chill Before Baking
Chill the shaped cookies for 20 to 30 minutes before baking. This short rest helps the butter firm up and keeps the cookies round in the oven.
Chilling is especially helpful if your kitchen is warm or if the dough softened while you rolled it. It also gives the flour and almond flour time to hydrate, which improves the final texture.
While the cookies chill, preheat the oven to 350°F.
Step 8: Bake Until Set, Not Brown
Bake the cookies for 12 to 15 minutes, depending on size. They are done when the bottoms are lightly golden and the tops look set but still pale.
Do not wait for the tops to brown. Italian wedding cookies should stay light in color, with only a hint of golden color underneath. Overbaking can make them dry and hard instead of tender and crumbly.
After baking, let the cookies rest on the baking sheet for 5 minutes. They will be fragile while hot, so avoid moving them too soon.
Step 9: Roll Once While Warm
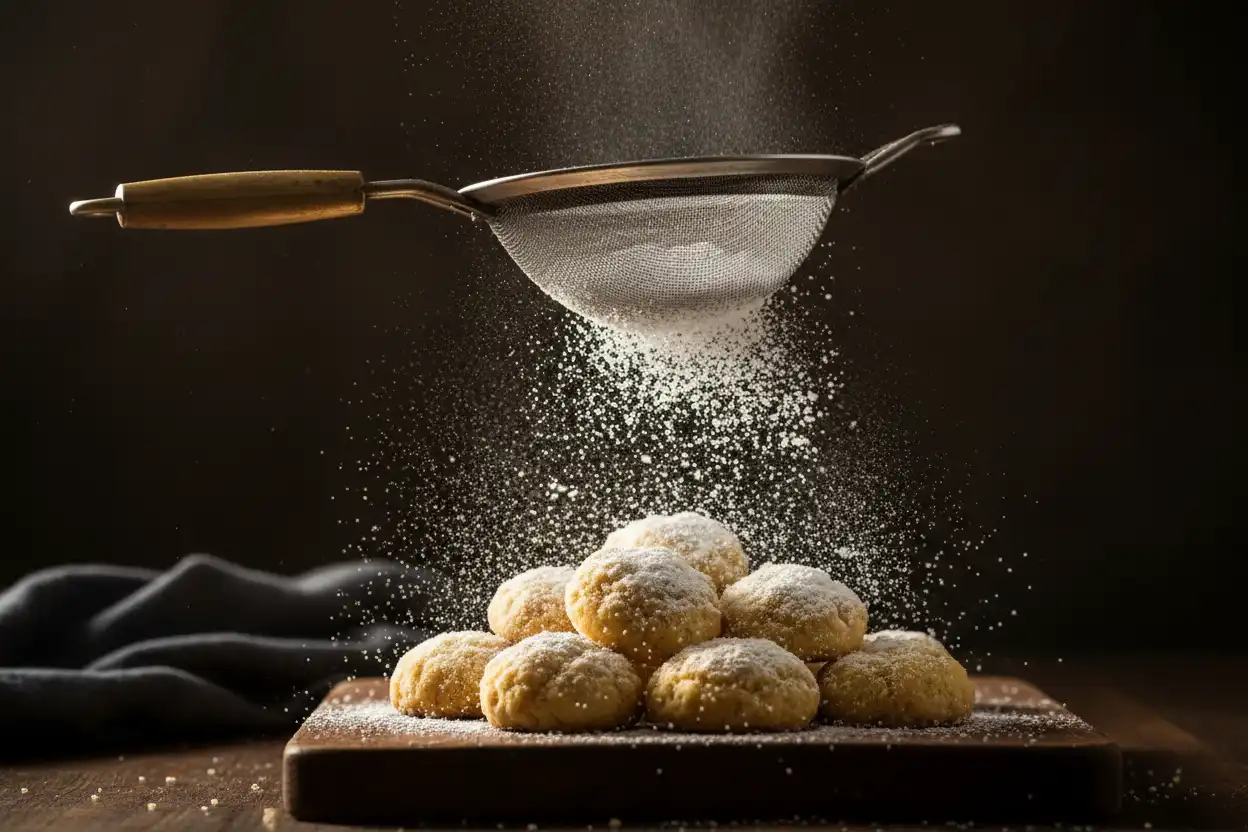
Add powdered sugar to a shallow bowl. While the cookies are still warm but not hot enough to fall apart, gently roll each one in powdered sugar.
The warmth helps the first layer of sugar cling to the cookie and form a delicate coating. Work carefully, using a spoon or your fingertips to turn each cookie. If one breaks, let the rest cool a few more minutes before continuing.
Place the coated cookies on a wire rack to cool completely.
Step 10: Roll Again After Cooling
Once the cookies are completely cool, roll them in powdered sugar a second time. This creates the classic snowy finish associated with italian wedding cookies.
The second coating is what makes them look bakery-worthy. The first layer may absorb slightly into the warm cookie, while the second layer stays powdery and beautiful.
If serving the cookies later, you can dust them lightly with more powdered sugar just before arranging them on a platter.
How to Know You Got the Texture Right
A well-made Italian wedding cookie should:
- Feel light for its size
- Hold its round shape
- Have a pale top and lightly golden bottom
- Break cleanly when bitten
- Taste buttery, nutty, and lightly sweet
- Leave a soft powdered sugar finish
If the cookies are hard, they may have been overbaked or overmixed. If they spread too much, the butter was likely too soft or the dough needed more chilling. If they crumble before you can coat them, they may need a few extra minutes of cooling before handling.
Gluten Free Italian Wedding Cookies Option
To make gluten free italian wedding cookies, replace the all-purpose flour with a high-quality 1-to-1 gluten-free baking flour designed for cookies. Choose a blend that contains a binder such as xanthan gum, unless you are familiar with adjusting gluten-free doughs yourself.
A few tips help the gluten-free version turn out well:
- Chill the dough before shaping if it feels soft.
- Let the mixed dough rest for 10 minutes before rolling so the flour can hydrate.
- Handle the baked cookies gently, as they may be more delicate.
- Bake until just set, not deeply golden.
Avoid replacing all the flour with almond flour unless you are using a tested recipe specifically designed for that. Almond flour alone changes the structure and can make the cookies too fragile or oily.
Mexican Wedding Cookies vs Italian Wedding Cookies
People often ask about mexican wedding cookies vs italian wedding cookies because they look very similar. Both are typically round, nut-based, buttery cookies coated in powdered sugar. The differences usually come down to family tradition, flavoring, and the type of nuts used.
Mexican wedding cookies often use pecans or walnuts, while Italian wedding cookies commonly lean toward almonds, almond flour, or almond extract. That said, many families make their own version, and the recipes overlap. These types of cookies are part of a larger family of celebration cookies found in many cultures.
If you are making an Italian-style version, almonds are the best place to start.
Flavor Variations
Once you master the basic method, you can adapt the recipe without losing its traditional feel.
Try one of these variations:
- Lemon almond: Add 1 teaspoon finely grated lemon zest to the dough.
- Orange vanilla: Add 1 teaspoon orange zest and use only vanilla extract.
- Pistachio almond: Replace half the chopped almonds with finely chopped pistachios.
- Hazelnut: Use toasted hazelnuts for a deeper, richer flavor.
- Extra almond: Add a few drops more almond extract, but be careful not to overdo it.
Keep add-ins small and dry. Wet ingredients or large chunks can change the texture and make the cookies harder to shape.
How to Store Italian Wedding Cookies
Store cooled cookies in an airtight container at room temperature. Place parchment paper between layers to protect the powdered sugar coating. They are usually best within several days, though the exact freshness window depends on your kitchen temperature and humidity.
For longer storage, freeze the baked cookies before the final powdered sugar coating. Let them cool completely, place them in a freezer-safe container, and separate layers with parchment. Thaw at room temperature, then roll in fresh powdered sugar before serving.
If the cookies absorb the sugar during storage, do not worry. A fresh dusting right before serving brings back the classic snowy look.
Serving Ideas

Italian wedding cookies are beautiful on their own, but they also pair well with other italian cookies and desserts. Serve them with:
- Espresso or cappuccino
- Tea or hot chocolate
- Sweet dessert wine
- Biscotti and pizzelle
- Fresh berries
- A mixed holiday cookie tray
For weddings, showers, or parties, place the cookies in small paper cups to keep the powdered sugar neat and make them easy for guests to pick up.
Troubleshooting Common Problems
If your cookies spread, chill the dough longer next time and make sure the butter is softened, not melted. You can also place the shaped dough balls in the refrigerator while the oven preheats.
If your cookies taste floury, they may be slightly underbaked or the flour may have been packed too tightly when measured. Spoon flour into the measuring cup and level it off instead of scooping directly from the bag.
If your cookies are dry, they may have baked too long. Pull them from the oven when the tops are set and the bottoms are only lightly golden.
If the powdered sugar disappears, the cookies were probably warm when stored or your kitchen is humid. Roll them again once they are cool, and refresh with more sugar before serving.
Final Tips for the Best Batch
For the most reliable results, measure carefully, use good butter, chop the almonds finely, and avoid overbaking. The beauty of this cookie is in its simplicity. Every ingredient has a purpose, and small details make a noticeable difference.
This is one of those cookie recipes that becomes easier each time you make it. Once you learn how the dough should feel and how pale the cookies should look when they come out of the oven, you can bake them confidently for holidays, weddings, and everyday coffee breaks.
Whether you grew up with Italian wedding cookies or are making them for the first time, this recipe delivers the classic combination of butter, almonds, and powdered sugar that makes these cookies so loved.