
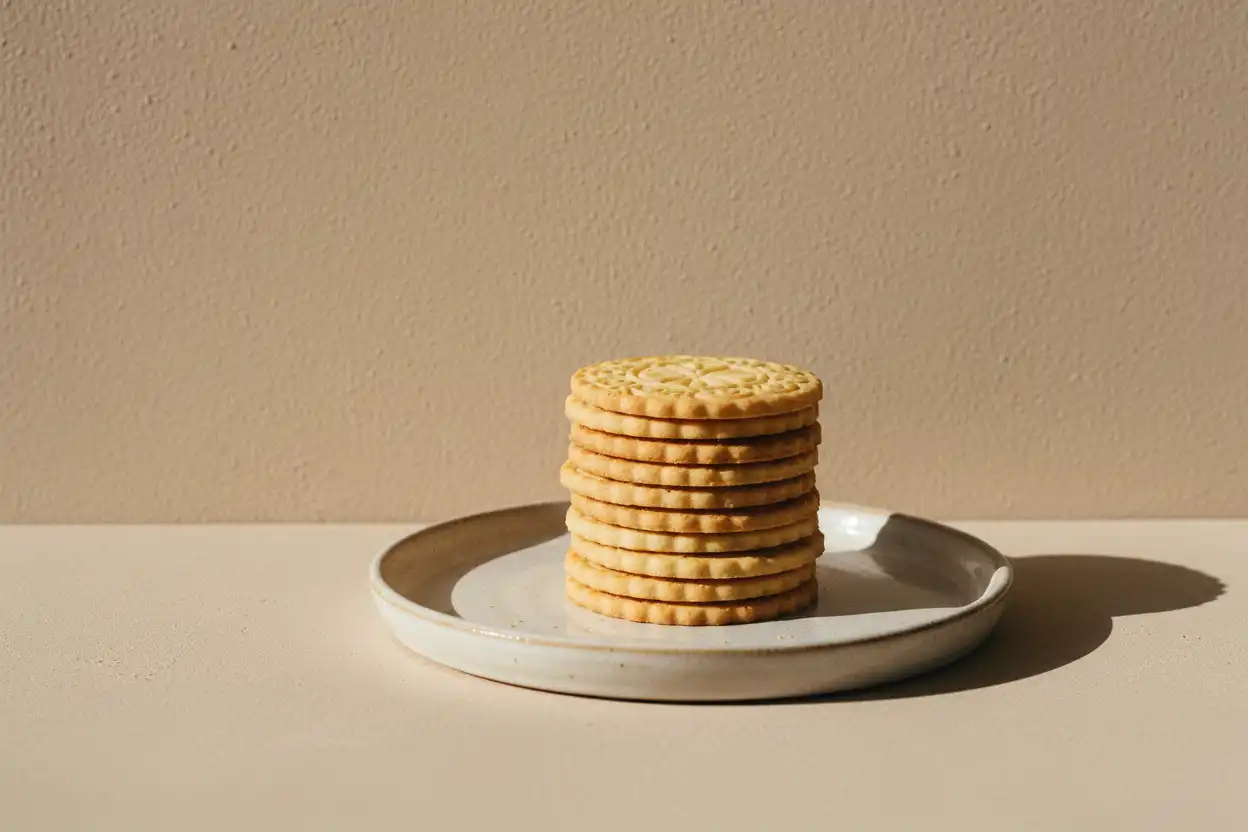
Crisp, lightly sweet, and perfect with coffee, tea, milk, or hot chocolate, maria cookies are the kind of simple biscuit that feels both nostalgic and practical. They are sturdy enough for dipping, mild enough for children, and versatile enough to use in desserts like cookie crusts, layered puddings, icebox cakes, and no-bake treats.
This homemade version keeps the classic character of Maria-style biscuits: a thin round cookie with a gentle vanilla flavor, a pale golden color, and a dry, snappy texture. If you have ever bought maria gamesa cookies, Gullón-style biscuits, or whole wheat Maria cookies at the store, this recipe will help you recreate a similar everyday cookie from scratch with ingredients you can adjust to your taste.
What Makes Maria Cookies Different?
Maria cookies are not meant to be rich, chewy, or heavily frosted. Their charm comes from simplicity. A good homemade Maria cookie should be:
- Lightly sweet, not sugary
- Thin and crisp, with a clean snap
- Mildly buttery, but not as rich as shortbread
- Neutral enough to pair with drinks or desserts
- Easy to store, pack, and serve
They are often compared to tea biscuits or digestive-style cookies, but Maria cookies are usually smoother, lighter, and less crumbly. The dough is simple, but the technique matters: thin rolling, resting the dough, and baking until dry are what create the classic texture.
Ingredients You’ll Need
This recipe for maria cookies uses pantry-friendly ingredients and makes a generous batch.
Basic Homemade Maria Cookies
- 2 cups all-purpose flour, plus more for rolling
- 1/2 cup granulated sugar
- 1/2 teaspoon baking powder
- 1/4 teaspoon fine salt
- 6 tablespoons unsalted butter, softened
- 1 large egg
- 2 tablespoons milk, plus more if needed
- 1 teaspoon vanilla extract
Optional Additions
- 1/4 teaspoon cinnamon for a warmer flavor
- 1 teaspoon lemon zest for a brighter biscuit
- 1 tablespoon honey for a slightly deeper sweetness
- A small pinch of nutmeg for a bakery-style aroma
The goal is not to overload the dough with flavor. Maria cookies are best when they stay delicate and simple.
Tools That Help
You do not need special equipment, but a few basic tools make the process easier:
- Mixing bowls
- Hand mixer, stand mixer, or wooden spoon
- Rolling pin
- Round cookie cutter or drinking glass
- Fork or skewer for docking the cookies
- Baking sheets
- Parchment paper
- Wire cooling rack
If you want a more classic look, use a small round cutter and prick the tops evenly before baking. This helps the cookies bake flat and gives them the familiar Maria cookie appearance.
Step 1: Mix the Dry Ingredients
In a medium bowl, whisk together the flour, sugar, baking powder, and salt. This helps distribute the leavening evenly so the cookies rise just enough without puffing too much.
If you are adding cinnamon, nutmeg, or citrus zest, mix it in at this stage. Dry ingredients should be evenly combined before you add the butter and wet ingredients.
Step 2: Work in the Butter
Add the softened butter to the dry mixture. Use your fingertips, a pastry cutter, a hand mixer on low speed, or a wooden spoon to work the butter into the flour until the mixture looks sandy and slightly clumpy.
You are not trying to cream the butter the way you would for soft cookies. Maria cookies should be crisp and biscuit-like, so the butter should be dispersed through the flour rather than whipped with lots of air.
Step 3: Add the Egg, Milk, and Vanilla
In a small bowl, lightly beat the egg with the milk and vanilla extract. Pour this into the flour-butter mixture and stir until a dough begins to form.
The dough should be firm but not dry. If it looks crumbly and refuses to come together, add milk 1 teaspoon at a time. Be careful not to add too much liquid, or the cookies may become tough and lose their crisp texture.
Once the dough comes together, gather it into a ball and knead it gently just a few times in the bowl. Stop as soon as it is smooth enough to roll.
Step 4: Rest the Dough
Flatten the dough into a disk, wrap it, and let it rest for about 20 to 30 minutes at room temperature. If your kitchen is warm or the dough feels sticky, refrigerate it instead.
Resting helps hydrate the flour and relax the dough, making it easier to roll thinly. This step also improves the final texture because the cookies are less likely to shrink or warp in the oven.
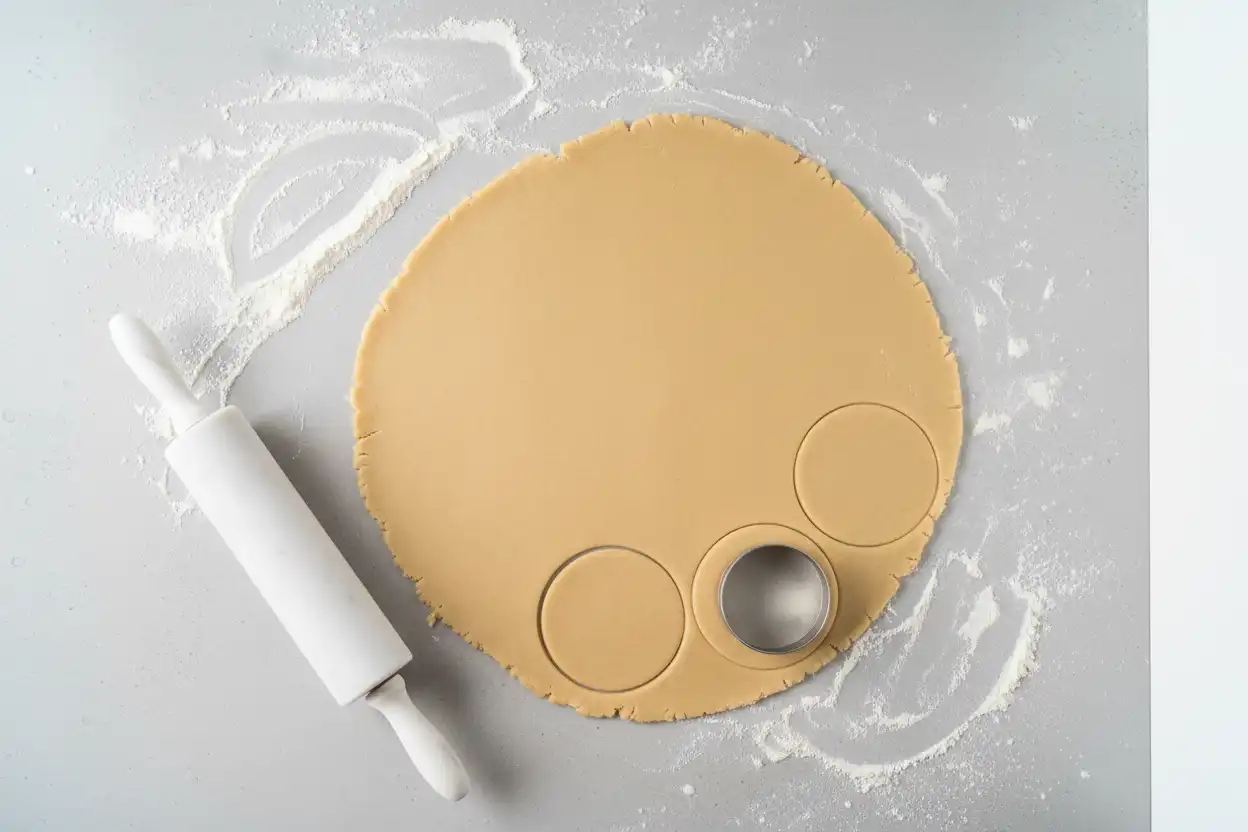
Step 5: Roll the Dough Thinly
Lightly flour your work surface and rolling pin. Roll the dough to about 1/8 inch thick. Thin dough is important because Maria cookies should be crisp, not soft or cakey.
If the dough sticks, dust with a little more flour. If it cracks around the edges, let it sit for a few minutes to soften slightly before continuing.
For the most even baking, try to keep the thickness consistent. Cookies that are too thick in the center may stay pale and soft, while thin edges can brown too quickly.
Step 6: Cut and Dock the Cookies
Use a round cookie cutter, biscuit cutter, or the rim of a small glass to cut circles. Transfer the rounds to parchment-lined baking sheets, leaving a little space between each cookie.
Prick the tops with a fork or skewer. This is called docking, and it helps steam escape so the cookies stay flat. You can make a simple pattern of small holes across the surface or add a decorative edge if you like.
Gather the dough scraps, reroll, and cut more cookies. Try not to reroll the same scraps too many times, as overworked dough can become tough.
Step 7: Bake Until Lightly Golden
Bake the cookies in a preheated 350°F oven for 10 to 14 minutes, depending on their size and thickness. The cookies should look dry on top and lightly golden at the edges.
For a paler, more delicate cookie, remove them when the edges just begin to color. For a crunchier dipping cookie, bake them a minute or two longer, watching carefully so they do not become too dark.
If your oven has hot spots, rotate the baking sheet halfway through baking.
Step 8: Cool Completely
Let the cookies rest on the baking sheet for a few minutes, then transfer them to a wire rack. They will continue to crisp as they cool.
Do not store them while warm. Even a little trapped steam can soften the cookies, especially if you plan to keep them for several days.
How to Make Maria Cookies Gluten Free
If you want maria cookies gluten free, use a good-quality gluten-free all-purpose flour blend designed for baking. Choose one that includes a binder such as xanthan gum or a similar ingredient, unless your blend recommends adding it separately.
For the best gluten-free texture:
- Let the dough rest a little longer so the flour can hydrate.
- Roll between two sheets of parchment if the dough is delicate.
- Keep the cookies thin so they bake crisp.
- Cool completely before judging the texture.
- Avoid adding too much extra milk, which can make gluten-free dough gummy.
Gluten-free Maria cookies may be slightly more tender or sandy than the classic wheat version, but they can still be delicious and crisp when rolled thin and baked thoroughly.
Whole Wheat Maria Cookies Variation
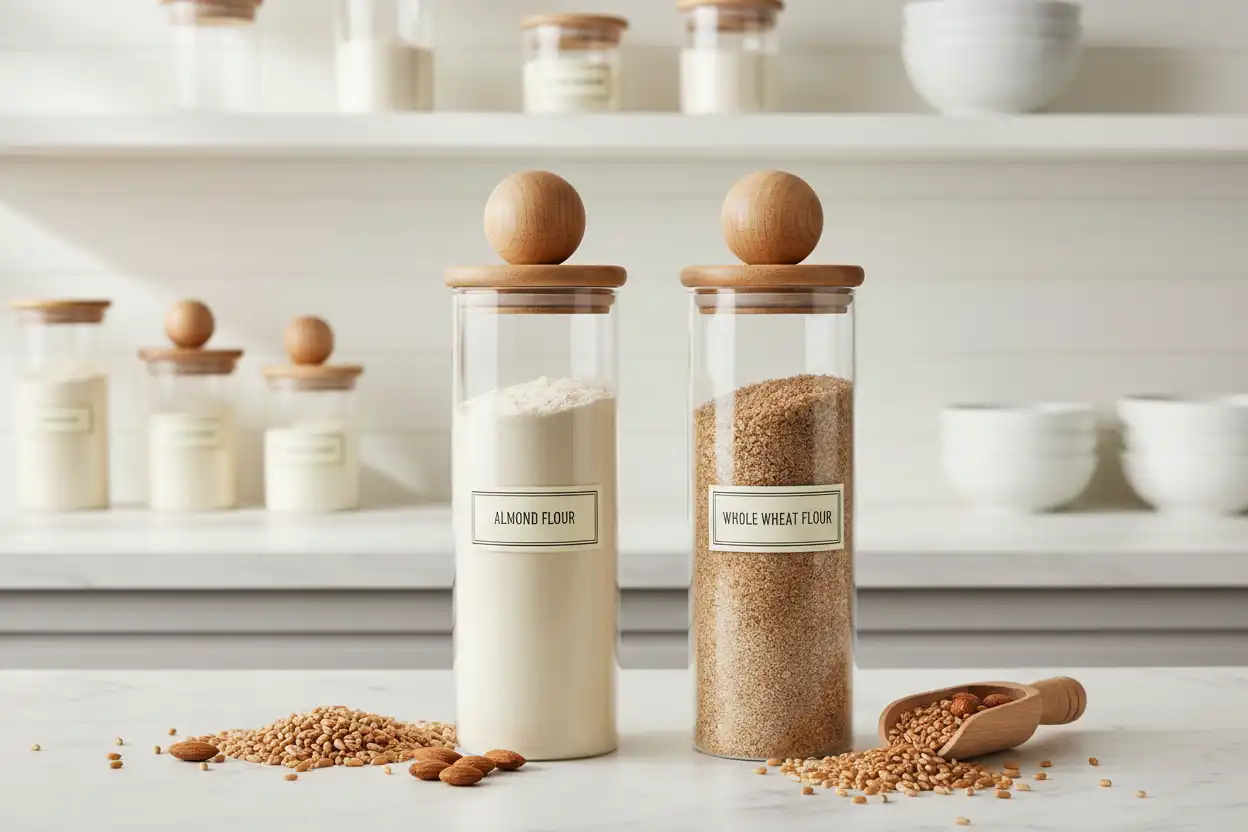
If you enjoy the flavor of whole grain biscuits or are inspired by products like gullon maria integ whle wht cookies, you can make a whole wheat variation at home.
Replace half of the all-purpose flour with whole wheat flour. For a stronger whole grain flavor, you can use more, but the cookies will become denser and less delicate. A half-and-half blend is a good starting point because it adds a lightly nutty taste while keeping the texture close to traditional Maria cookies.
You may need an extra teaspoon or two of milk because whole wheat flour absorbs more liquid. Add it slowly and only as needed.
Tips for the Best Homemade Maria Cookies
Roll the Dough Evenly
Uneven dough is the most common reason cookies bake inconsistently. Use gentle pressure and turn the dough as you roll so it does not stick to the counter.
Keep the Flavor Simple
Maria cookies are supposed to be subtle. Vanilla, a little citrus zest, or a touch of cinnamon is enough. Strong extracts, chocolate chips, or heavy spices can turn them into a different kind of cookie.
Bake Until Dry, Not Dark
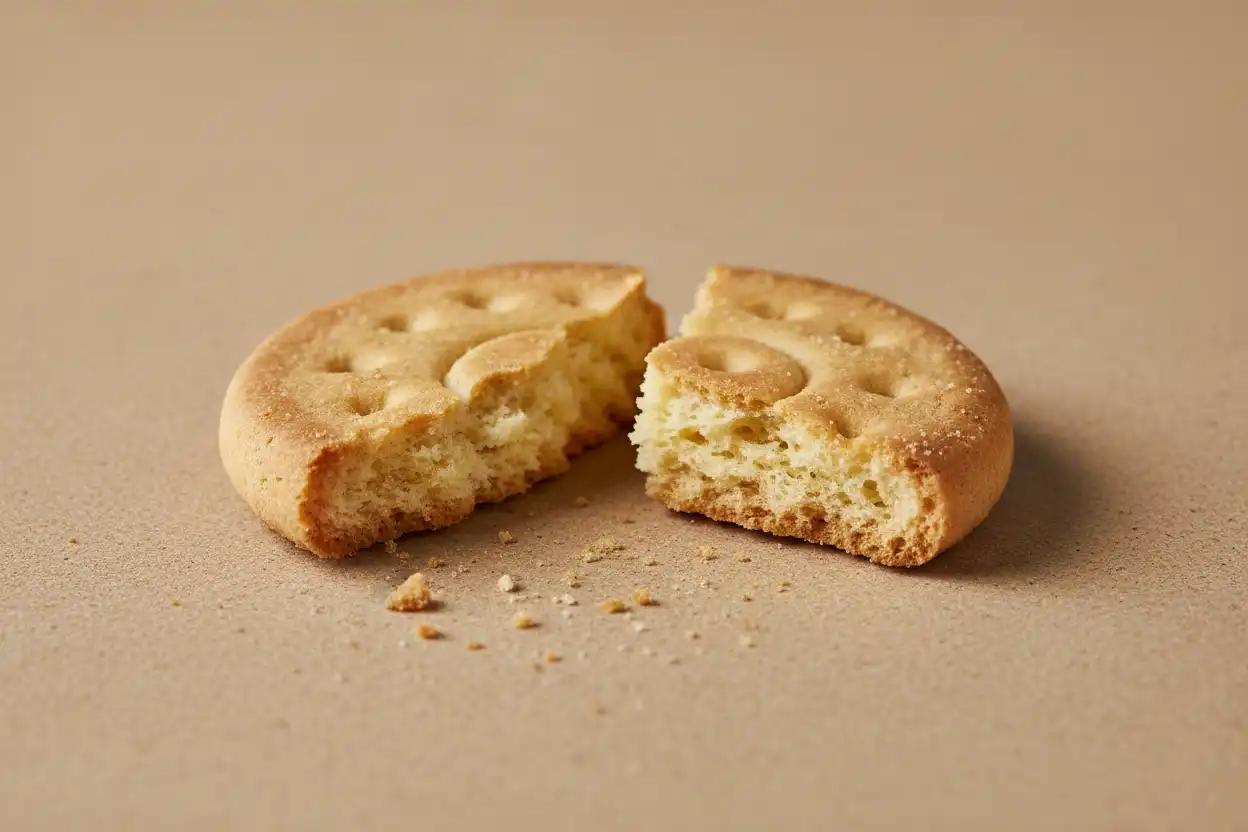
The cookies should be crisp, but they do not need to be deeply browned. Look for pale golden edges and a dry surface.
Cool Before Storing
Warm cookies release moisture. Let them cool fully on a rack before placing them in a container.
Refresh Soft Cookies
If stored cookies soften, place them on a baking sheet in a low oven for a few minutes, then cool again. This can help bring back some crispness.
Flavor Variations
Once you master the basic recipe, try one of these subtle variations:
- Vanilla Maria cookies: Add a little extra vanilla for a classic bakery aroma.
- Lemon Maria cookies: Add finely grated lemon zest for a fresh finish.
- Cinnamon Maria cookies: Add a small amount of cinnamon for warmth.
- Honey Maria cookies: Replace a spoonful of sugar with honey for a rounder flavor.
- Cocoa Maria cookies: Replace a small portion of the flour with unsweetened cocoa powder for a mild chocolate version.
Keep the additions modest so the cookies remain crisp and balanced.
How to Serve Maria Cookies
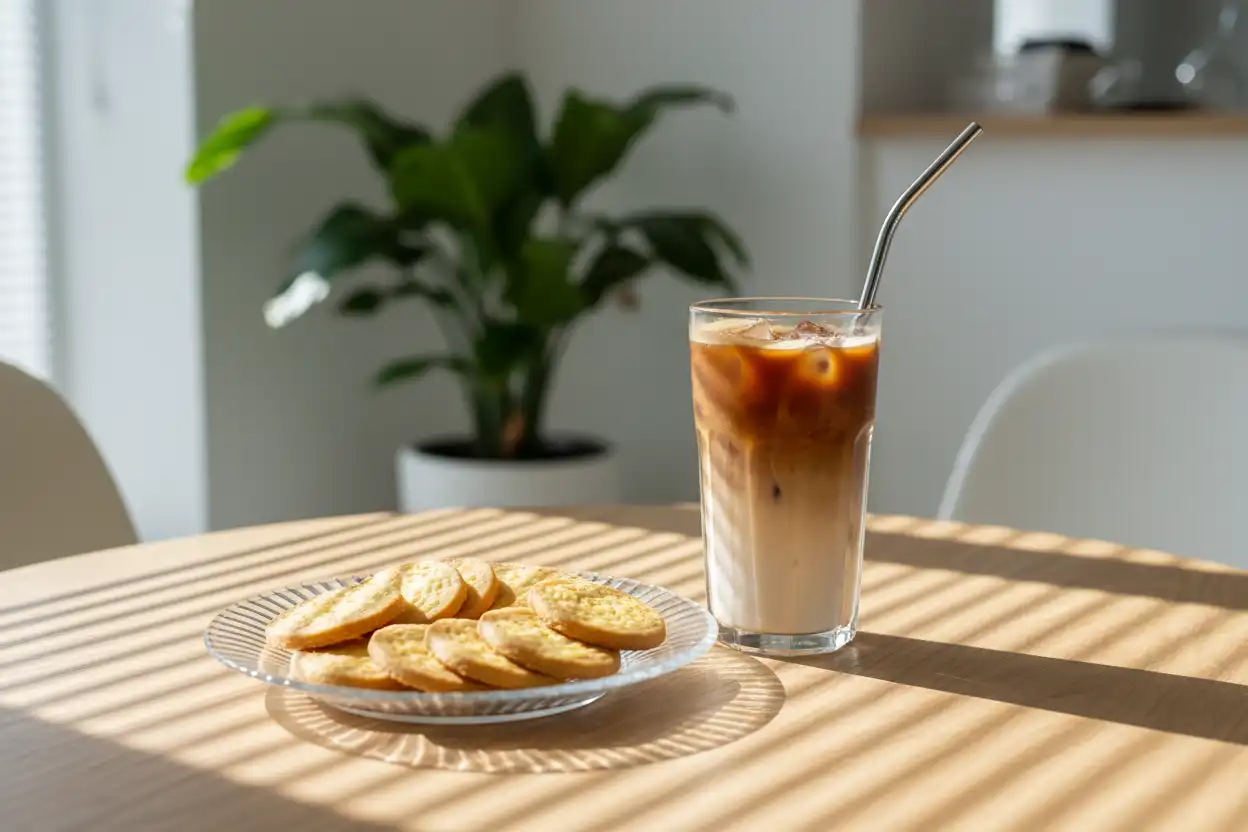
Homemade Maria cookies are excellent on their own, but they also work well in many simple desserts.
Try them with:
- Coffee or café con leche
- Hot tea
- Warm milk
- Hot chocolate
- Dulce de leche
- Nut butter
- Fruit preserves
- Vanilla pudding
- Ice cream
You can also crush them for a cookie crust, layer them with cream for an icebox dessert, or use them in place of store-bought biscuits in no-bake recipes.
How to Store Them
Store cooled cookies in an airtight container at room temperature. Keep them away from humidity, steam, and soft baked goods, which can make them lose their crispness.
For longer storage, freeze the baked cookies in a sealed freezer-safe container. Let them thaw uncovered at room temperature so condensation does not soften them.
You can also freeze the dough disk. Thaw it in the refrigerator, let it soften slightly, then roll, cut, and bake as usual.
Maria Cookies Nutrition: What to Know
When comparing homemade cookies with packaged options, maria cookies nutrition can vary widely depending on the ingredients, cookie size, flour type, and amount of sugar or butter used. Homemade Maria cookies give you more control because you can adjust sweetness, choose whole wheat flour, make smaller cookies, or prepare a gluten-free version if needed.
A few practical nutrition notes:
- Smaller cookies make portioning easier.
- Whole wheat flour adds a heartier texture and more whole grain character.
- Gluten-free does not automatically mean lower in calories or sugar.
- Homemade cookies can be made with fewer additives than many packaged versions.
- The final nutrition depends on the exact ingredients and number of cookies you make.
If nutrition details are important for a specific diet, calculate the recipe using the exact brands and measurements you use at home.
Troubleshooting Common Problems
The Cookies Are Too Soft
They may be too thick, underbaked, or stored before cooling completely. Roll thinner next time and bake until the tops look dry and the edges are lightly golden.
The Dough Is Too Sticky
The butter may be too warm, or there may be too much liquid. Chill the dough briefly and dust your surface lightly with flour.
The Dough Cracks When Rolling
It may be too cold or too dry. Let it rest at room temperature for a few minutes. If needed, knead in a few drops of milk.
The Cookies Shrink
The dough may need more resting time, or it may have been overworked. Rest the dough before rolling and handle scraps gently.
The Cookies Brown Too Fast
The oven may be running hot, or the cookies may be rolled very thin. Lower the temperature slightly or check them earlier.
Final Baking Notes
Homemade Maria cookies are a reminder that simple recipes often depend on technique more than complicated ingredients. Keep the dough firm, roll it thin, dock the tops, and bake until the cookies are dry and lightly golden. Once cooled, they should be crisp, gently sweet, and ready for dunking, snacking, or layering into desserts.
Whether you are trying to recreate a childhood favorite, make a homemade alternative to packaged Maria biscuits, or experiment with whole wheat or gluten-free baking, this recipe gives you a flexible base you can return to again and again.