
A well-stocked cookie decorating kit turns a simple batch of cookies into a creative project, a holiday activity, or a polished homemade gift. Whether you are decorating with kids, preparing treats for a party, or practicing detailed cookie art, the right tools make the process cleaner, easier, and more enjoyable.
The best part is that you do not need a professional bakery setup to get beautiful results. With a few dependable cookie decorating supplies, the right icing consistency, and some practical organization, you can create cookies that look thoughtful, festive, and delicious.
Why the right decorating tools matter
Cookie decorating is both baking and design. The cookie itself needs to be sturdy enough to hold icing, the icing needs to flow properly, and the tools need to give you control. When one of those pieces is missing, even simple designs can feel frustrating.
A complete cookie decorating kit helps you:
- Apply icing smoothly and consistently
- Create clean outlines, borders, lettering, and details
- Separate colors without mess
- Add texture, shimmer, sprinkles, and finishing touches
- Decorate faster when making cookies in batches
- Keep supplies organized for holidays and special occasions
If you are building a kit from scratch, it helps to think in categories: baking basics, cookie icing tools, decorating tips, color supplies, embellishments, and storage.
Start with the cookie base
Before you reach for the icing, your decorating success begins with the cookie. A soft, crumbly cookie can taste wonderful, but it may not be ideal for detailed designs. Decorated cookies usually work best when they have a flat surface, hold their shape, and are firm enough to handle.
Good cookie bases for decorating include:
- Sugar cookies with a smooth surface
- Gingerbread cookies for holiday themes
- Shortbread-style cookies for simple designs
- Chocolate cutout cookies for contrast with light icing
A reliable rolling pin, cookie cutters, parchment paper, and baking sheets are part of the foundation of any baking decoration kit. If your cookies bake unevenly or spread too much, even the best icing tools will have to work harder.
For consistent results, roll dough to an even thickness. Chilled dough is usually easier to cut, transfer, and bake without losing shape. Let cookies cool completely before decorating so the icing does not melt, slide, or absorb into the surface.
Must-have cookie cutters
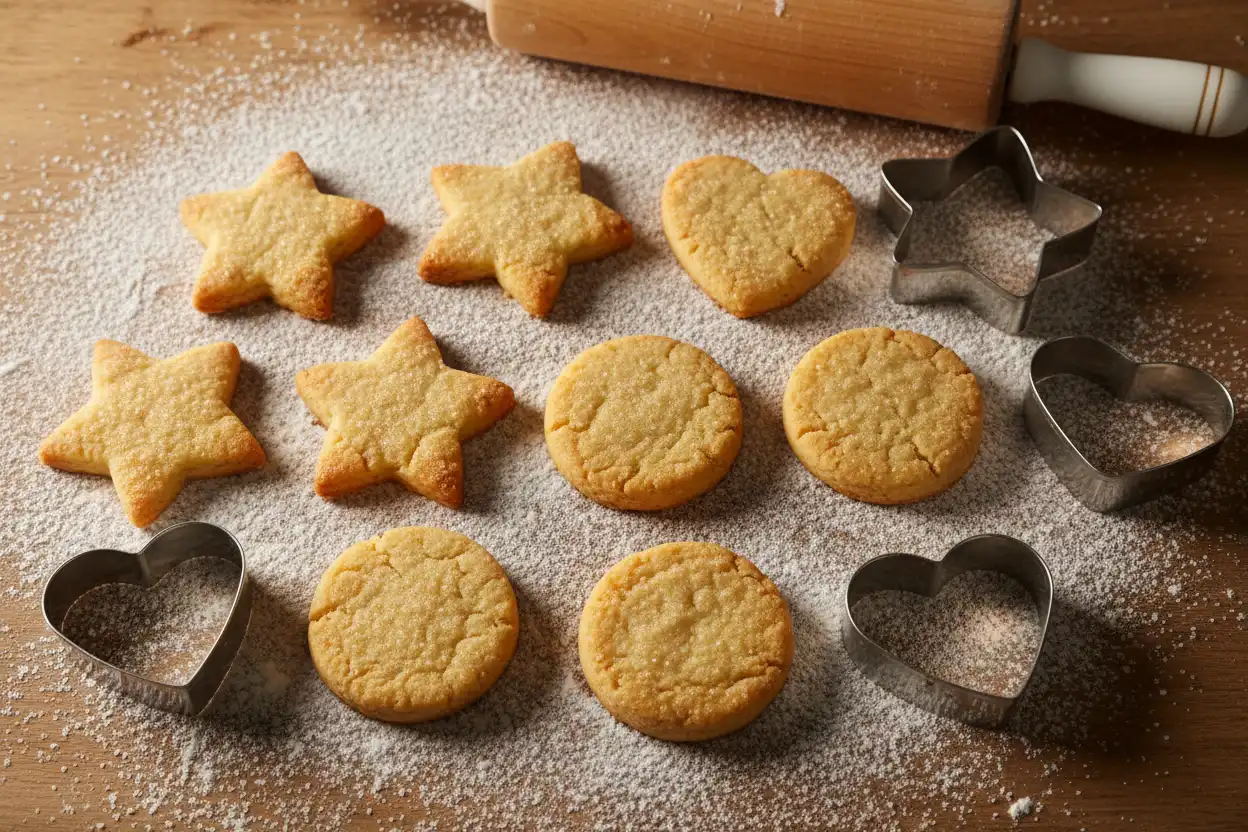
Cookie cutters are one of the most recognizable parts of a cookie design kit. They define the theme before any icing is added. A versatile set should include basic shapes plus seasonal options.
Useful everyday shapes include:
- Circles
- Hearts
- Stars
- Squares and rectangles
- Ovals
- Plaques or label shapes
Seasonal cutters can help you create themed sets with less effort. For example, a thanksgiving cookie decorating kit may include pumpkins, leaves, turkeys, acorns, and pie slice shapes. A diy christmas cookie decorating kit often benefits from trees, ornaments, stockings, snowflakes, mittens, and gingerbread people. A valentines day cookie decorating kit should include hearts, lips, envelopes, arrows, and simple message shapes.
You do not need dozens of cutters right away. Start with shapes you will use often, then add occasion-specific cutters as your cookie decoration ideas grow.
Icing bags and couplers
Icing bags are essential for outlining, flooding, lettering, and adding details. Disposable piping bags are convenient for parties or large decorating sessions, while reusable bags are a good choice if you decorate often and want less waste.
Couplers are small connector pieces that let you switch piping tips without changing bags. They are especially useful when one icing color needs to do multiple jobs, such as outlining with a fine tip and adding dots with a round tip.
For most home decorators, a practical setup includes:
- Small piping bags for detail work
- Medium bags for flood icing
- Couplers for easy tip changes
- Bag ties or clips to prevent icing leaks
- Tall cups for filling bags neatly
If you are decorating with children or hosting a cookie party, pre-filled bags can make the activity more fun and less chaotic.
Piping tips for outlines, details, and texture
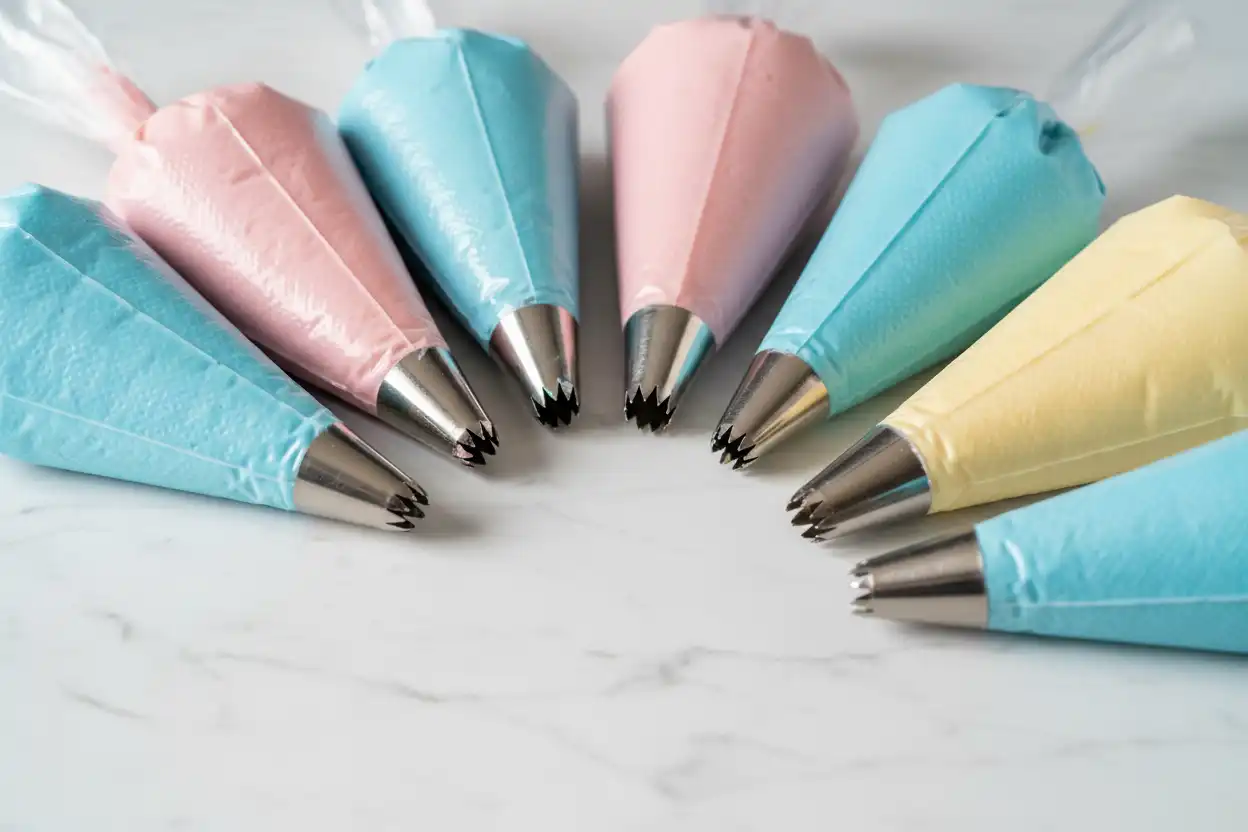
Piping tips are among the most important cookie art tools because they control the shape and size of the icing line. Beginners can create many designs with just a few tips.
Start with round tips in multiple sizes. Small round tips are useful for lettering, dots, lace, facial features, and delicate outlines. Medium round tips work well for borders and general decorating. Larger round tips can help with filling areas quickly.
Other helpful tips include:
- Star tips for textured borders and rosettes
- Leaf tips for floral and nature-inspired cookies
- Petal tips for flowers, ruffles, and dimensional details
- Specialty tips for grass, fur, or basket-style texture
If you are still learning, focus on control before complexity. A clean outline and smooth flood icing often look more polished than an overly complicated design with uneven details.
Squeeze bottles for flooding
Squeeze bottles are a beginner-friendly alternative to piping bags for flood icing. They are easy to hold, refill, and control, especially for larger cookie areas.
Use squeeze bottles when you want to:
- Fill outlined cookie sections with thinner icing
- Decorate with kids
- Prepare several colors for a cookie decorating station
- Reduce hand fatigue during large batches
The key is icing consistency. Flood icing should be thin enough to settle smoothly but not so watery that it runs over the edges. After filling the outlined area, use a scribe tool or toothpick to guide icing into corners and pop air bubbles.
Scribe tools, toothpicks, and detail tools
A scribe tool is one of the smallest items in a cookie decorating kit, but it can make a big difference. It looks simple, yet it helps with many precision tasks.
Use a scribe tool to:
- Move icing into tight corners
- Smooth small imperfections
- Pop air bubbles
- Create wet-on-wet designs
- Drag lines for hearts, feathers, flowers, and marbling
- Adjust tiny details before icing sets
Toothpicks can work in a pinch, but a dedicated scribe tool is easier to clean and more comfortable to use. For detailed cookie art, this tool quickly becomes a favorite.
Food coloring and color mixing supplies
Color transforms basic cookies into themed designs. Gel food coloring is commonly preferred for cookie icing because it provides strong color without adding too much liquid. Liquid coloring can thin icing quickly, which may affect consistency.
A helpful starter palette includes:
- Red
- Blue
- Yellow
- Green
- Black
- Brown
- Pink or purple
- White gel color for brightening icing
You can mix many shades from a small set. For a thanksgiving cookie decorating kit, warm colors like orange, golden yellow, deep red, brown, and ivory work beautifully. and a diy christmas cookie decorating kit, classic red, green, white, gold, and icy blue are popular. For a valentines day cookie decorating kit, try pink, red, white, lavender, and soft peach.
Use small bowls, spatulas, and covered containers when mixing icing colors. Let darker colors sit for a short time when possible, because some shades deepen as they rest.
Sprinkles, sanding sugar, and edible accents
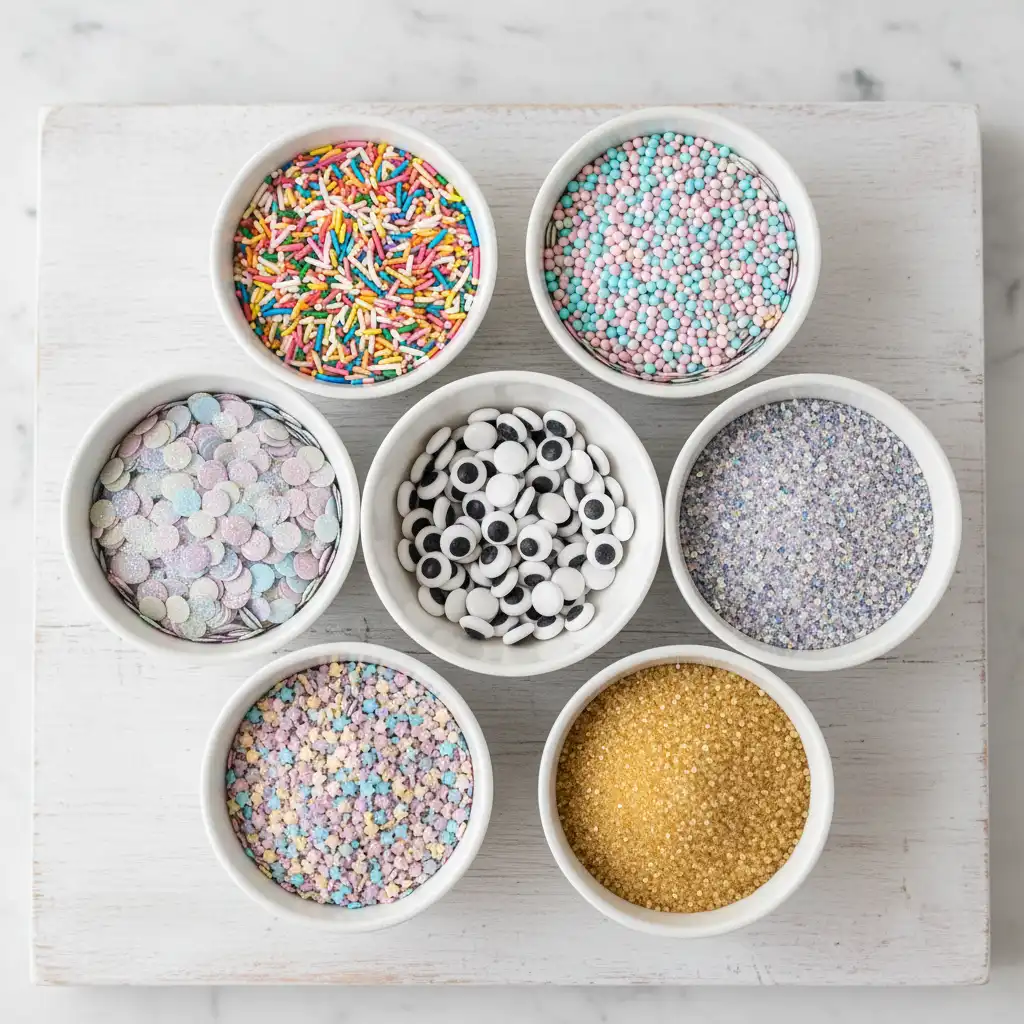
Sprinkles are the fastest way to add personality to cookies. They work especially well for beginner designs, kids’ activities, and party kits.
Popular decorative accents include:
- Nonpareils for tiny colorful texture
- Jimmies for playful designs
- Sanding sugar for sparkle
- Edible glitter or shimmer dust for special occasions
- Confetti sprinkles for birthdays and celebrations
- Candy eyes for animals, monsters, and characters
- Mini chocolate chips or candies for added dimension
Apply sprinkles while icing is still wet so they stick securely. For more controlled placement, pour sprinkles into a small dish and use tweezers or a spoon instead of shaking directly over the cookie.
Stencils, brushes, and airbrush-style effects
Once you are comfortable with basic icing, stencils can help create polished patterns without requiring advanced piping skills. They are useful for backgrounds, monograms, snowflakes, lace patterns, and repeating designs.
Food-safe brushes are also helpful cookie art tools. Use them for painting with edible color, adding shimmer, brushing away extra crumbs, or creating watercolor effects on dry icing.
If you enjoy more advanced decorating, you may eventually explore airbrush tools. However, they are not necessary for a beginner cookie decorating kit. Stencils and brushes can achieve plenty of beautiful effects with less equipment.
Royal icing, buttercream, and ready-made icing
The icing you choose affects both flavor and design possibilities. Royal icing is a classic choice for decorated cookies because it dries firm and allows for detailed work. It is excellent for stacking, gifting, and intricate designs.
Buttercream has a softer texture and richer flavor, but it does not harden the same way. It is great for casual cookies, rosettes, borders, and simple decorations, especially if the cookies do not need to be packaged tightly.
Ready-made icing is convenient for quick projects, party kits, and beginner decorating. It may not offer the same level of control as homemade royal icing, but it can be a practical option when time is limited.
For the most flexible cookie decorating supplies, keep both outline-consistency icing and flood-consistency icing in mind. Outline icing should hold its shape. Flood icing should settle into a smooth surface.
Seasonal kit ideas
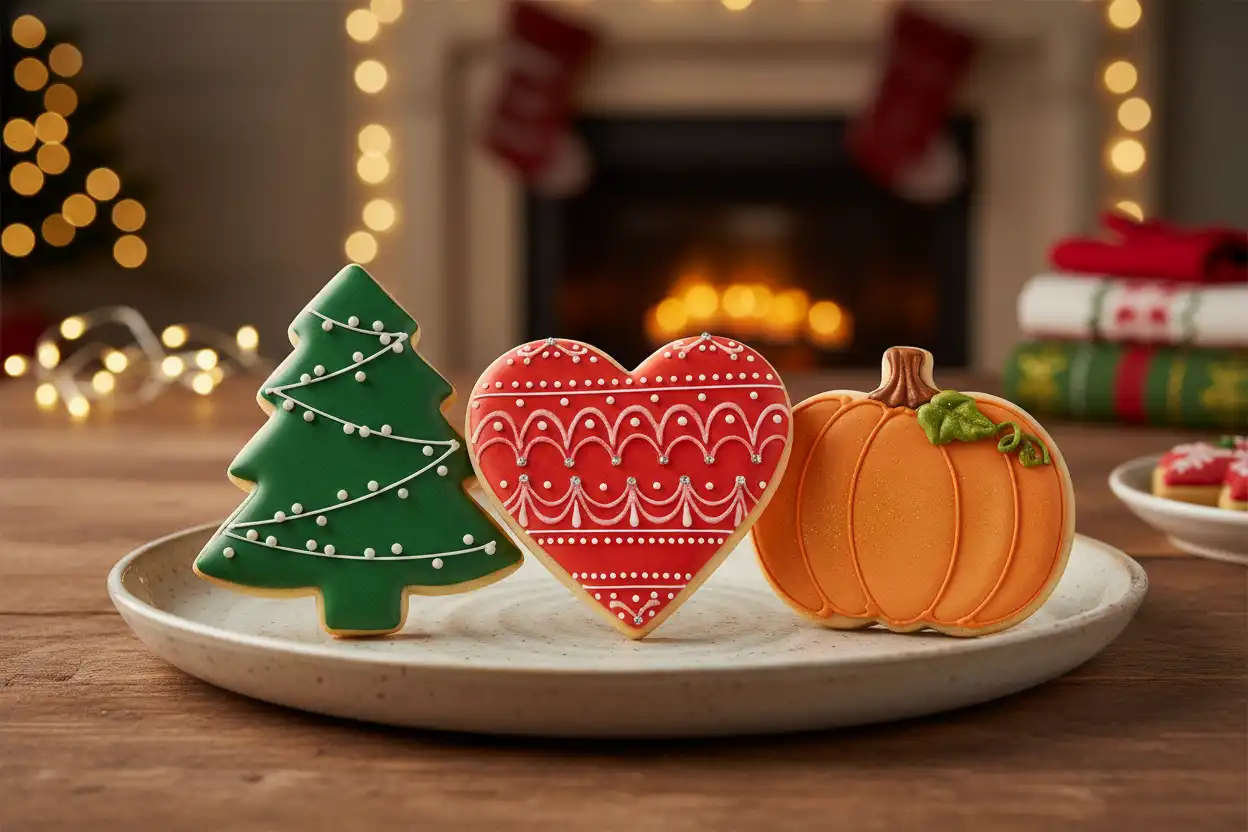
A themed cookie decorating kit makes holidays and events easier to plan. Instead of gathering supplies from scratch each time, create small seasonal collections.
For Thanksgiving, include:
- Leaf, pumpkin, turkey, and acorn cutters
- Orange, brown, ivory, burgundy, and gold icing colors
- Sanding sugar in warm tones
- Edible markers for simple names or place cards
- Packaging bags for take-home favors
then Christmas, include:
- Tree, ornament, stocking, snowflake, and gingerbread cutters
- Red, green, white, blue, and metallic accents
- Star tips for textured trees and wreaths
- Sprinkles shaped like snowflakes or ornaments
- Gift boxes or tins for sharing cookies
Valentine’s Day, include:
- Heart, envelope, arrow, and lips cutters
- Pink, red, white, and lavender icing
- Fine round tips for lettering
- Heart sprinkles and edible glitter
- Small bags for classroom treats or party favors
Seasonal planning helps you refresh your cookie decoration ideas without buying entirely new supplies every time.
Tools for lettering and personalization
Personalized cookies feel extra special, whether they feature names, short messages, dates, initials, or place card details. Lettering can be done with icing, edible markers, stamps, or stencils.
Helpful personalization tools include:
- Fine round piping tips
- Edible food markers
- Letter stencils
- Small alphabet stamps made for food use
- Projector tools for advanced decorators
- Practice sheets for piping consistency
If handwriting with icing feels intimidating, start with dots, initials, or short words. Edible markers are a simple way to add names after royal icing has dried.
Packaging and storage supplies
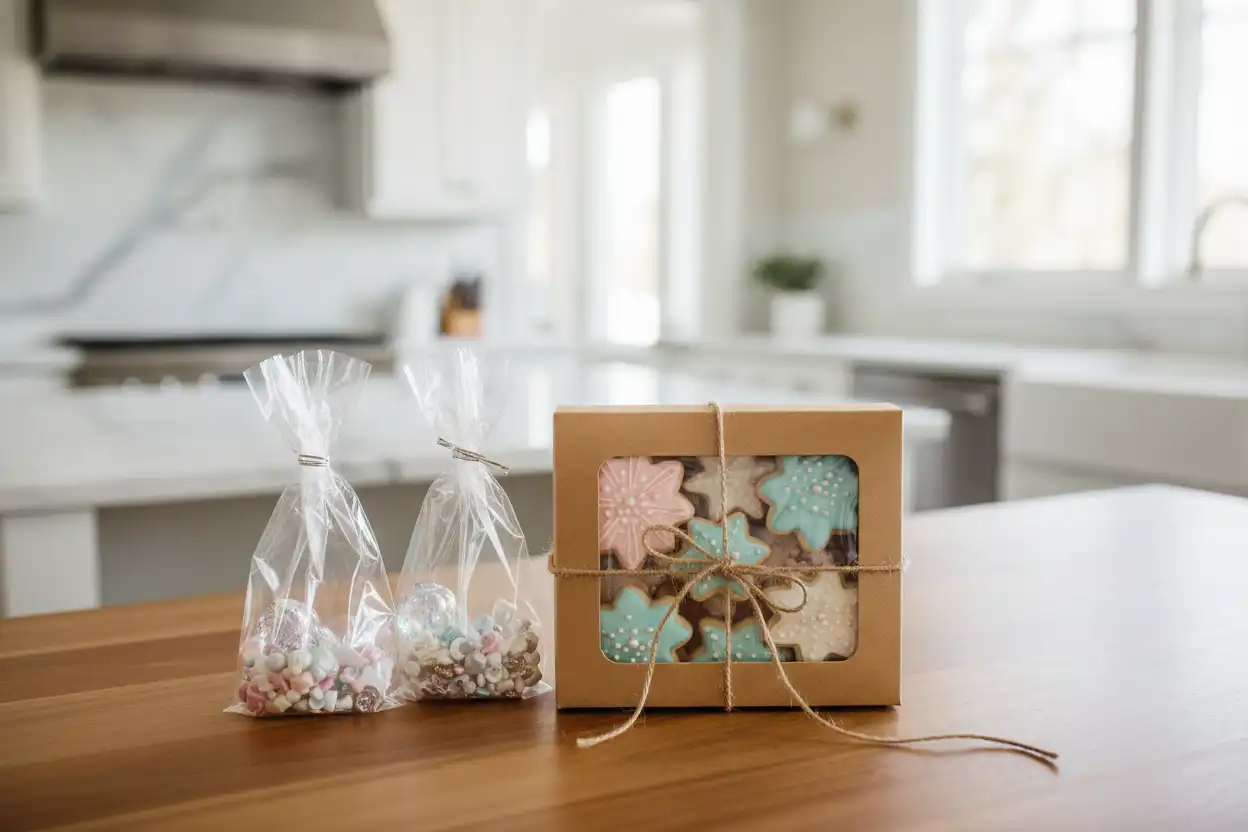
A complete cookie decorating kit should also include supplies for storing and sharing finished cookies. Packaging protects your work and makes homemade cookies feel more polished.
Useful packaging items include:
- Clear treat bags
- Twist ties, ribbon, or stickers
- Bakery boxes
- Parchment squares
- Food-safe tissue or crinkle paper
- Airtight containers for storage
Make sure decorated cookies are fully dry before stacking or packaging. Royal icing may feel dry on the surface before it is completely set, so allow extra time for detailed or heavily flooded cookies.
How to organize your decorating kit
Organization saves time and helps prevent duplicate purchases. Use clear bins, labeled containers, or divided storage boxes to group supplies by type.
Consider organizing your cookie decorating supplies into categories:
- Cutters by season or shape
- Piping tips by size and style
- Food coloring in one sealed container
- Sprinkles grouped by color or theme
- Bags, couplers, and clips together
- Brushes, scribes, and edible markers in a small tool pouch
After each decorating session, wipe down tools, check which icing colors or sprinkles are running low, and store everything in a cool, dry place. Good organization makes spontaneous baking much easier.
Beginner mistakes to avoid
Even with the right tools, cookie decorating takes practice. The most common problems are usually easy to fix.
Avoid these beginner mistakes:
- Decorating cookies before they are completely cool
- Using icing that is too thin for outlining
- Overfilling piping bags
- Cutting bag tips too large
- Adding sprinkles after icing has dried
- Packaging cookies before icing is fully set
- Trying too many complicated techniques at once
Start with simple designs and repeat them. A clean heart, pumpkin, ornament, or snowflake can be more impressive than a crowded cookie with too many details.
Simple cookie decoration ideas to try first
If you are new to decorating, choose designs that use basic shapes and limited colors. These projects build confidence while still looking attractive.
Try these easy ideas:
- Polka dot cookies using wet-on-wet icing
- Marbled hearts with two or three icing colors
- Pumpkins with simple curved lines and a green stem
- Snowflakes with white icing on blue backgrounds
- Christmas trees with zigzag garland and sprinkle ornaments
- Conversation heart cookies with edible marker messages
- Leaf cookies with blended autumn colors
- Round cookies decorated as ornaments, flowers, or wreaths
The best cookie decoration ideas are the ones that match your skill level, time, and occasion. As you improve, you can add layers, textures, shading, and more detailed piping.
Building your ideal kit over time
You do not have to buy every tool at once. A simple cookie decorating kit can start with cutters, icing bags, round tips, gel colors, sprinkles, and a scribe tool. From there, add supplies based on the designs you enjoy most.
If you love holiday baking, invest in seasonal cutters and themed sprinkles.and you enjoy detailed artwork, add fine piping tips, brushes, stencils, and edible markers. If you host decorating parties, focus on squeeze bottles, disposable bags, extra sprinkles, and easy packaging.
A thoughtful cookie design kit should fit the way you actually decorate. With the right mix of practical tools and creative extras, every batch becomes an opportunity to practice, experiment, and share something memorable.