
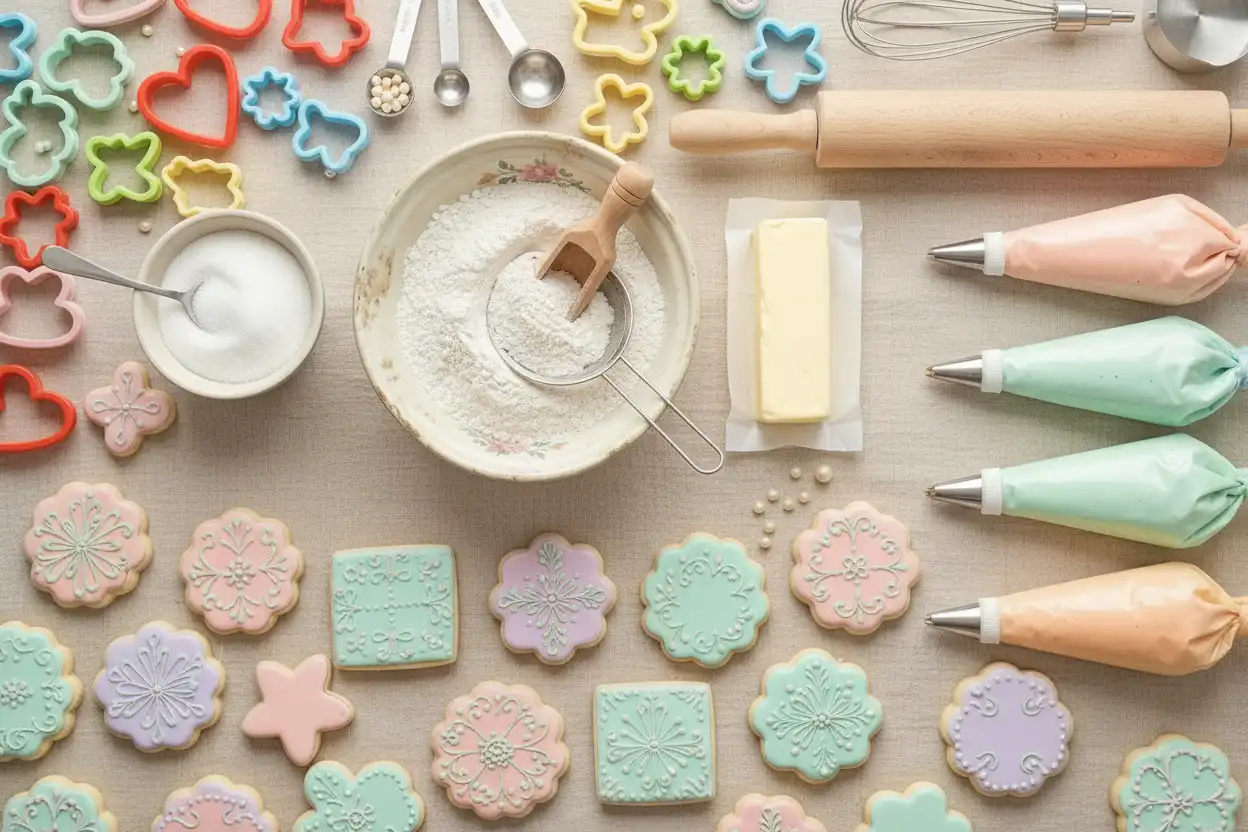
A good batch of iced cookies starts with two simple goals: bake cookies that hold their shape, then decorate them with icing that dries smooth, colorful, and delicious. Whether you are making holiday cutouts, birthday shapes, or a weekend baking project, this guide walks you through the full process from dough to final details.
These steps are beginner-friendly, but they also include practical cookie icing tips that help your decorated cookies look cleaner and more consistent. You do not need professional tools to make beautiful iced sugar cookies. You just need the right dough, the right icing consistency, and a little patience between layers.
What You’ll Need
Before you begin, gather your ingredients and tools so the process feels smooth from start to finish.
For the cookies
Use a sturdy sugar cookie dough that is made for rolling and cutting. Soft drop-cookie doughs spread too much and can make cookie decorating harder.
You will typically need:
- Unsalted butter, softened
- Granulated sugar
- Egg
- Vanilla extract or almond extract
- All-purpose flour
- Baking powder or a small amount of leavening
- Salt
For the cleanest iced cookies, avoid doughs that are too greasy, too warm, or too heavily leavened. The goal is a cookie that stays flat enough for icing and keeps the edges of your cutter shape.
For the icing
There are two common options for frosted cookies and iced sugar cookies:
- Royal icing: Best for crisp designs, outlines, flooding, lettering, and cookies that need to be stacked once dry.
- Simple glaze icing: Best for easy iced cookies with a softer bite and a glossy finish.
Royal icing is the most popular choice for detailed decorated cookies because it dries firm. A glaze is simpler and still beautiful, especially if you want a quick homemade look.
Helpful tools
You can keep things simple, but these tools make cookie decorating easier:
- Rolling pin
- Cookie cutters
- Baking sheets
- Parchment paper or silicone baking mats
- Cooling racks
- Mixing bowls
- Gel food coloring
- Piping bags or zip-top bags
- Small round piping tips, optional
- Toothpicks or a scribe tool
- Small offset spatula, optional

Step 1: Make a Roll-Out Cookie Dough
Start with room-temperature butter, not melted butter. Cream the butter and sugar until the mixture looks lighter and slightly fluffy. This helps create a tender cookie without making the dough too airy.
Add the egg and extract, then mix just until combined. Overmixing at this stage can add extra air, which may cause cookies to puff or spread in the oven.
In a separate bowl, whisk the flour, salt, and leavening. Add the dry ingredients gradually to the butter mixture. Mix until the dough comes together and no dry streaks remain. The dough should feel soft but not sticky. If it sticks heavily to your hands, add a small spoonful of flour at a time until it is manageable.
Step 2: Chill the Dough
Chilling is one of the most important cookie icing tips because it helps your cookies bake into neat, even shapes. Divide the dough into two portions, flatten each portion into a disk, and wrap tightly.
Chill the dough until firm enough to roll. If the dough becomes rock hard, let it sit at room temperature for a few minutes before rolling. You want it cool, not brittle.
For even easier rolling, place the dough between two sheets of parchment paper before chilling. This lets you roll it out without adding too much extra flour, which can make cookies dry.

Step 3: Roll and Cut the Cookies
Lightly flour your work surface or roll the dough between parchment sheets. Aim for an even thickness, usually about 1/4 inch. Cookies that are too thin can brown quickly and break easily. Cookies that are too thick may take longer to bake and can be harder to decorate neatly.
Cut out your shapes and transfer them to a lined baking sheet. Leave a little space between cookies so air can circulate. If the dough has warmed up during cutting, place the baking sheet in the refrigerator or freezer for a few minutes before baking. Cold cutouts hold their edges better.
Try to group similar-sized shapes on the same baking sheet. Small stars and large circles bake at different speeds, so separating them helps prevent overbaked edges.
Step 4: Bake Until Set, Not Brown
Bake the cookies until the edges look set and the tops no longer appear shiny. For classic iced sugar cookies, you usually want pale cookies with only the slightest hint of golden color around the edges.
Let the cookies rest on the baking sheet for a few minutes before moving them to a cooling rack. Warm cookies are fragile, and moving them too early can cause cracks or broken corners.
Most importantly, let the cookies cool completely before icing. Even slightly warm cookies can melt icing, create dull patches, or cause colors to bleed.
Step 5: Choose Your Icing Style
The icing you choose depends on the look you want and how much detail you plan to add.
Option 1: Royal icing
Royal icing is ideal for decorated cookies with clean edges, layered details, and designs that need to dry firm. It is usually made with powdered sugar, meringue powder, water, and flavoring. The texture can be adjusted from thick to thin depending on how much water you add.
Use royal icing if you want:
- Crisp outlines
- Smooth flooded centers
- Lettering or fine details
- Cookies that can be packaged or stacked after drying
- More polished cookie decorating results
Option 2: Simple glaze icing
A simple glaze is usually made with powdered sugar, milk or water, corn syrup if desired, and flavoring. It dries softer than royal icing but creates a pretty finish and tastes great.
Use glaze icing if you want:
- Easy iced cookies with minimal equipment
- A softer bite
- A glossy finish
- Casual decorating for family baking
- Simple drizzles or dipped cookies
For the rest of this guide, the steps focus mainly on royal icing because it gives the most control for iced cookies, but many of the same decorating principles apply to glaze icing.
Step 6: Mix the Icing
Add powdered sugar and meringue powder to a mixing bowl. Add water slowly and mix on low speed at first so the sugar does not fly out of the bowl. Once combined, increase the speed and beat until the icing becomes smooth, bright white, and slightly fluffy.
The icing will likely be too thick at first. That is good. It is easier to thin icing than to thicken it. If you need to thicken it later, add more sifted powdered sugar.
Cover the bowl with plastic wrap or a damp towel when you are not using it. Royal icing dries quickly when exposed to air, which can create crusty bits that clog piping tips.
Step 7: Adjust the Icing Consistency
Consistency is the secret to clean iced cookies. Instead of thinking of icing as one texture, think of it in three useful stages.
Stiff icing
Stiff icing holds peaks when lifted with a spoon. Use it for flowers, dimensional details, and anything that needs structure.
Outline icing
Outline icing is thick enough to hold its shape when piped, but soft enough to flow smoothly from the bag. Use it to create borders around each cookie. These borders act like a wall that keeps thinner icing from running over the edge.
Flood icing
Flood icing is thinner and settles into a smooth surface. When you drag a spoon through the bowl, the line should disappear after several seconds. If it disappears instantly, the icing may be too thin. If it stays for too long, add a tiny bit more water.
One of the best cookie icing tips is to add water in very small amounts. A few drops can change the texture quickly. Use a spray bottle or 1/4 teaspoon at a time for better control.
Step 8: Color the Icing
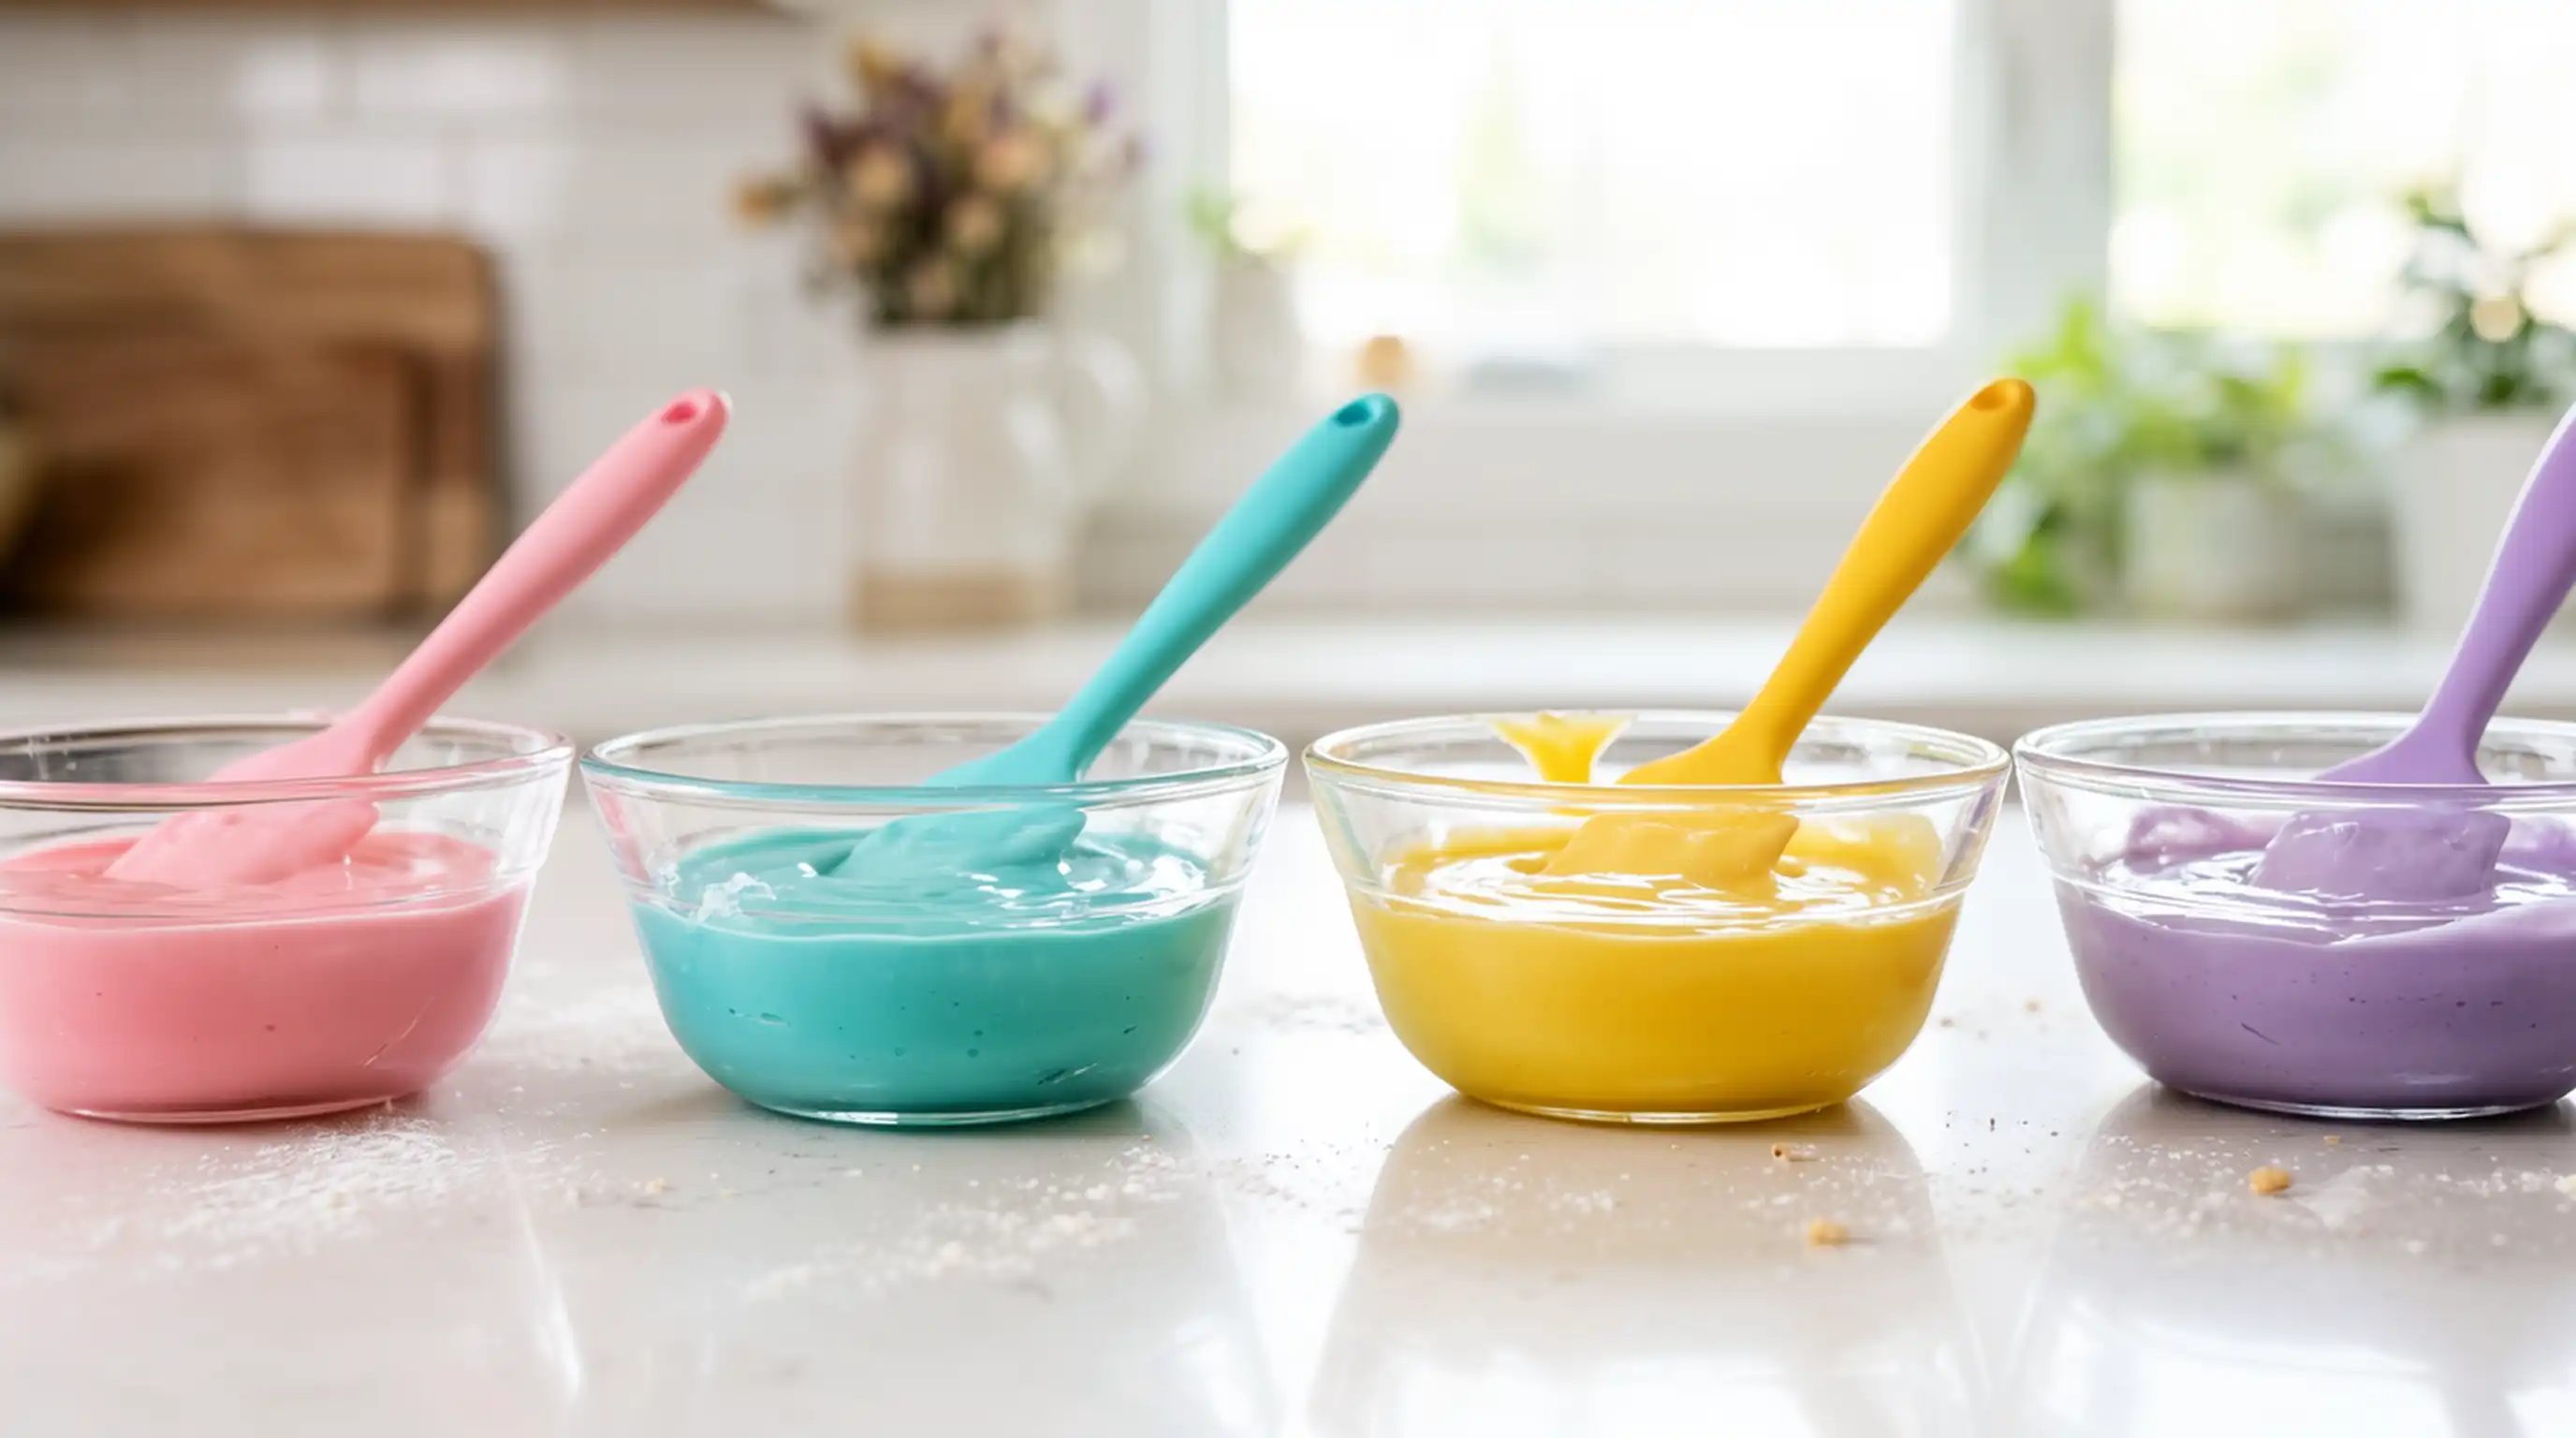
Divide the icing into small bowls before adding color. Gel food coloring works best because it gives strong color without thinning the icing too much.
Start with a small amount of color and build gradually. Icing often deepens as it sits, especially darker shades like red, navy, black, and green. If you are making several colors, cover each bowl while you work so the icing does not dry out.
For a cohesive set of decorated cookies, choose a simple color palette. Two or three main colors plus white is often enough. Too many colors can make the project feel more complicated than it needs to be.
Step 9: Fill Your Piping Bags
Place each icing color into a piping bag. If you do not have piping bags, use sturdy zip-top bags and snip a very small corner. It is better to start with a tiny opening and make it larger if needed.
For beginners, prepare one bag of outline icing and one bag of flood icing for your main color. Labeling the bags can help if the colors look similar.
Twist the top of each bag closed and keep the tip covered with a damp paper towel when not in use. This prevents the icing from drying at the opening.
Step 10: Outline the Cookies
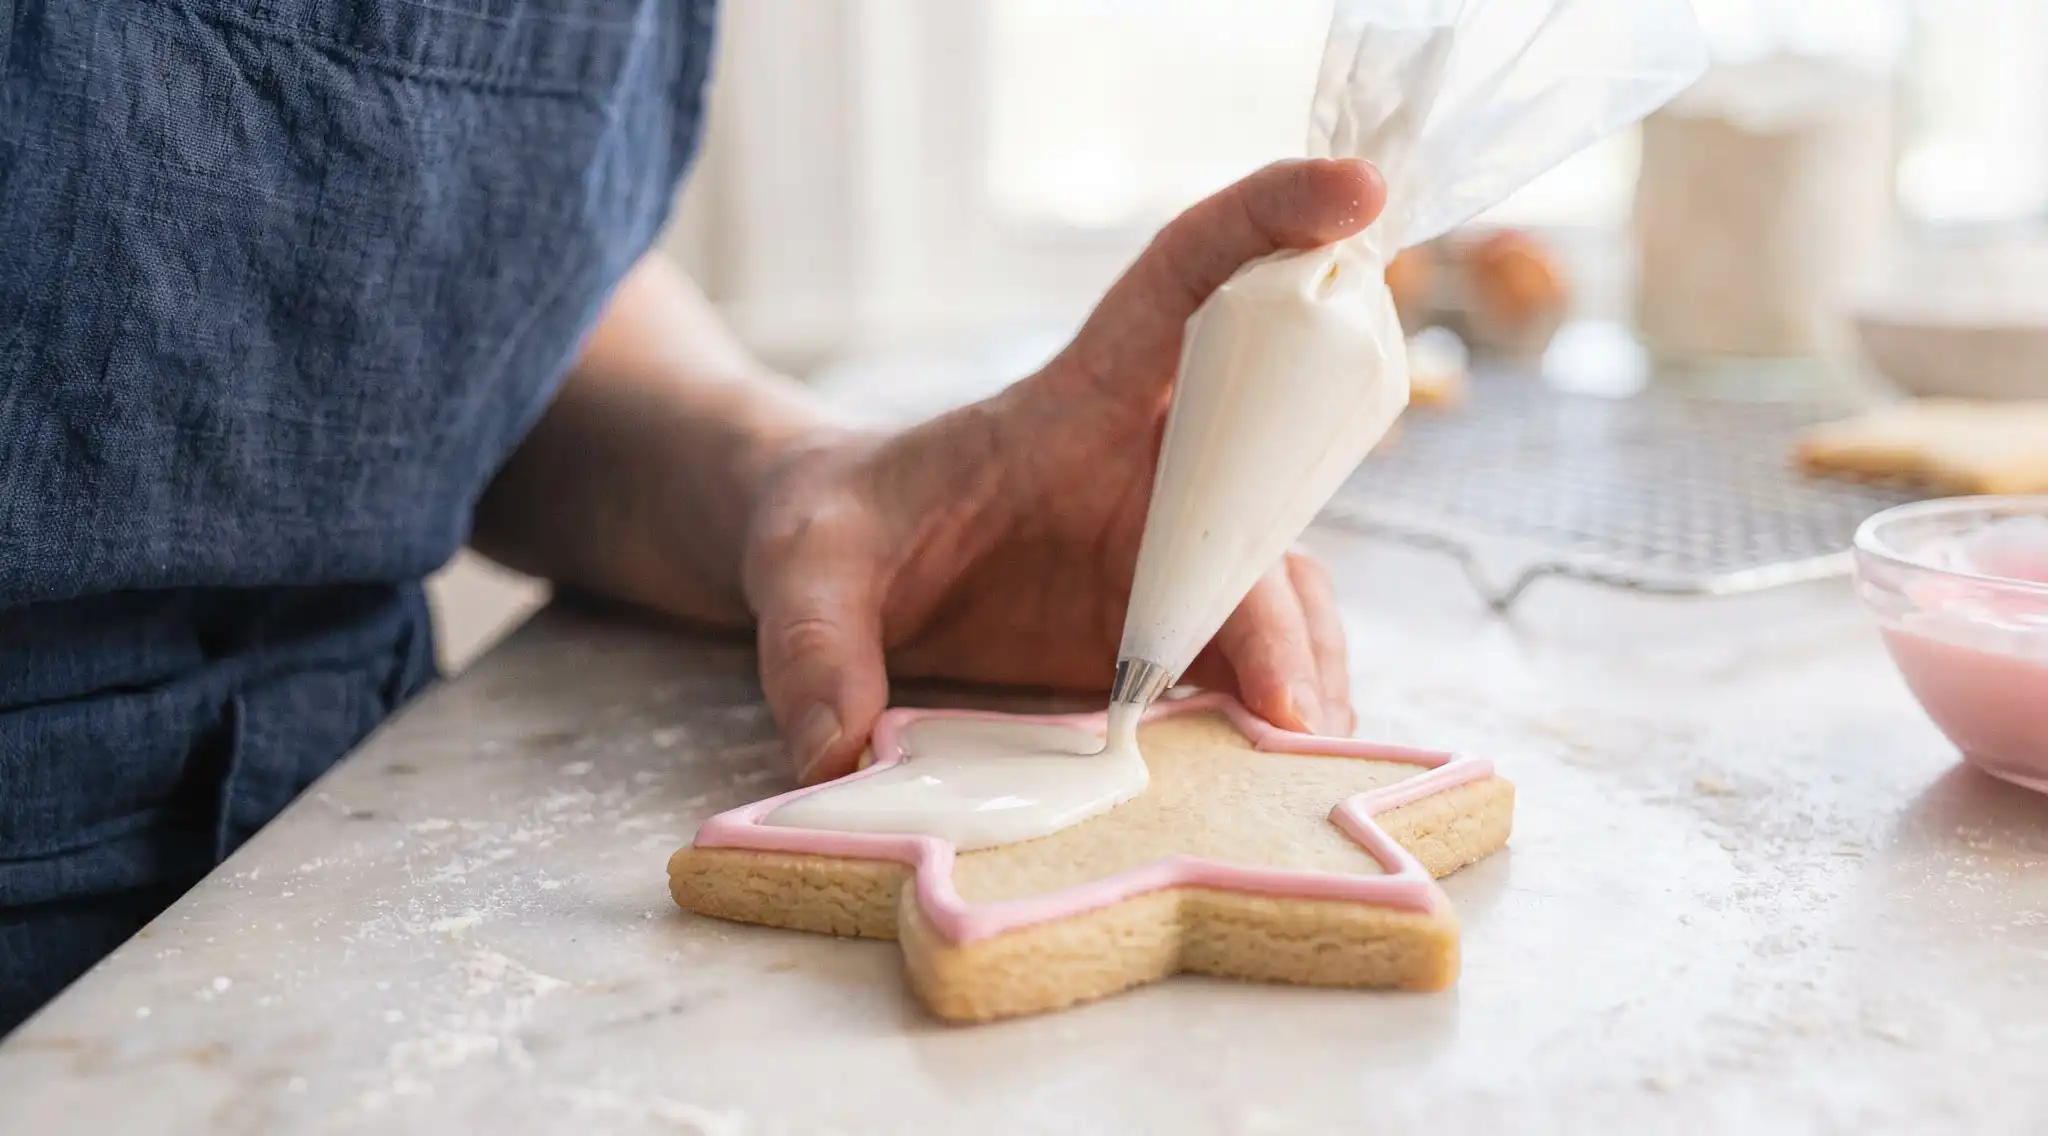
Start by piping a border around the edge of each cookie. Hold the piping bag slightly above the surface, not pressed directly into the cookie. Let the icing fall into place as you guide it. This creates smoother lines.
Move slowly around corners and keep steady pressure on the bag. If your line breaks, stop, wipe the tip, and continue. Small mistakes are easy to fix while the icing is still wet. Use a toothpick to nudge lines into place or scrape away a small section.
Let the outline sit for a few minutes before flooding. It does not need to dry completely, but it should be stable enough to contain the thinner icing.
Step 11: Flood the Centers
Pipe flood icing inside the outline. Start near the edges, then fill the center. Use a toothpick or scribe tool to guide the icing into corners and pop air bubbles.
Do not overfill the cookie. The icing should spread into a smooth layer without bulging over the outline. If the surface looks uneven, gently shake the cookie side to side while keeping it flat on the counter.
For a smooth finish, work on one cookie at a time. Flood icing begins to set quickly, and adding details while the surface is wet gives you more design options.
Step 12: Add Simple Designs
Once the base layer is flooded, you can keep the cookies simple or add decorative effects.
Try these beginner-friendly ideas:
- Add dots of wet icing and drag a toothpick through them to make hearts.
- Pipe stripes in a second color while the base is wet for a smooth, flat pattern.
- Swirl two colors gently for a marbled effect.
- Let the base dry, then pipe names, borders, or small details on top.
- Add sanding sugar or sprinkles while the icing is still wet.
For layered designs, allow the first layer to dry before adding details. This prevents colors from sinking together and creates dimension.
Step 13: Let the Cookies Dry Properly
Drying time depends on the icing type, thickness, humidity, and room temperature. Royal icing needs enough time to set fully before cookies are stacked or packaged. A cookie may feel dry on the surface but still be soft underneath, so avoid rushing this step.
Place the cookies in a single layer on trays or cooling racks. Keep them away from steam, heat, and strong airflow. If your kitchen is humid, drying may take longer.
Once dry, the surface should look smooth and feel firm when lightly touched. For best results, wait until the icing is fully set before adding cookies to bags, tins, or gift boxes.
Step 14: Store Your Iced Cookies
Store finished iced cookies in an airtight container. Place parchment paper between layers if stacking. Royal icing cookies generally stack better than soft frosted cookies, but it is still wise to handle them gently.
Keep cookies at room temperature unless your specific recipe requires refrigeration. Refrigeration can sometimes create condensation, which may make icing spotty or sticky. If you need to freeze decorated cookies, freeze them in a single layer first, then pack carefully once firm. Thaw them in the container so condensation forms on the outside instead of directly on the icing.
Troubleshooting Common Icing Problems
Even experienced bakers run into decorating issues. Here is how to fix the most common problems.
The icing is too thick
Add water a few drops at a time and stir well before adding more. If you thin it too quickly, it may become runny.
The icing is too thin
Mix in sifted powdered sugar until the icing holds the consistency you need. Let it rest for a few minutes, then check again.
The icing has air bubbles
Let the icing sit after mixing, then stir slowly before bagging. After flooding cookies, pop bubbles with a toothpick while the icing is wet.
Colors are bleeding
Bleeding can happen when icing is too wet, colors are oversaturated, or layers are added too soon. Let base layers dry longer and avoid adding too much food coloring.
Cookies spread in the oven
Chill the dough before baking, avoid overmixing, and make sure your baking sheet is cool before adding the next batch.
Extra Cookie Icing Tips for Better Results
Small adjustments can make a big difference when making iced cookies at home.
- Bake and cool cookies the day before decorating if you want a more relaxed process.
- Use light-colored baking sheets to help prevent overbrowning.
- Keep icing covered at all times when not in use.
- Practice lines and dots on parchment paper before decorating the cookies.
- Make extra icing in your background color so you do not run out halfway through.
- Use consistent cookie thickness for even baking.
- Let dark icing colors rest before using so the color can deepen naturally.
- Start with simple shapes like circles, hearts, stars, and trees before trying intricate cutters.
Beginner Design Ideas
If you are new to cookie decorating, choose designs that look impressive but do not require advanced piping skills.
For round cookies, flood the base in one color and add small dots around the edge. For hearts, use wet-on-wet dots and drag through them to create tiny hearts. For stars, outline in white and flood with gold or yellow, then add sanding sugar while wet. For holiday cookies, use a simple base color and add contrasting lines after the first layer dries.
Easy iced cookies do not need to be perfect. A set of cookies with coordinated colors and simple patterns often looks more polished than a set with too many complicated details.
Final Check Before Serving or Gifting

Before serving, packaging, or stacking your frosted cookies, check that the icing is fully dry and the bottoms of the cookies are not greasy or warm. Look for any fragile decorations that may need extra care.
If gifting, choose a container that fits the cookies without too much movement. Add parchment between layers and avoid packing delicate shapes too tightly. For party platters, arrange larger cookies first, then fill gaps with smaller shapes.
With a reliable dough, the right icing consistency, and a few careful decorating steps, homemade iced sugar cookies can look beautiful and taste fresh. Start simple, practice often, and treat each batch as a chance to improve your cookie decorating skills.