
There is something undeniably magical about twisting open a rich, dark cookie to reveal a silky, sweet cream center. For years, I kept asking myself: can a homemade version actually beat the store-bought classic?
After countless trials in my own kitchen, I am thrilled to share that the answer is a resounding yes. My homemade chocolate sandwich cookies deliver a deeper cocoa flavor, a far superior crisp-yet-tender crunch, and a lush vanilla bean buttercream that puts mass-produced cookies to shame.
If you have been craving a treat that tastes genuinely artisan yet comes together with simple pantry staples, you are in the right place. Grab your favorite mixing bowl, and let us dive into the ultimate recipe step by step.
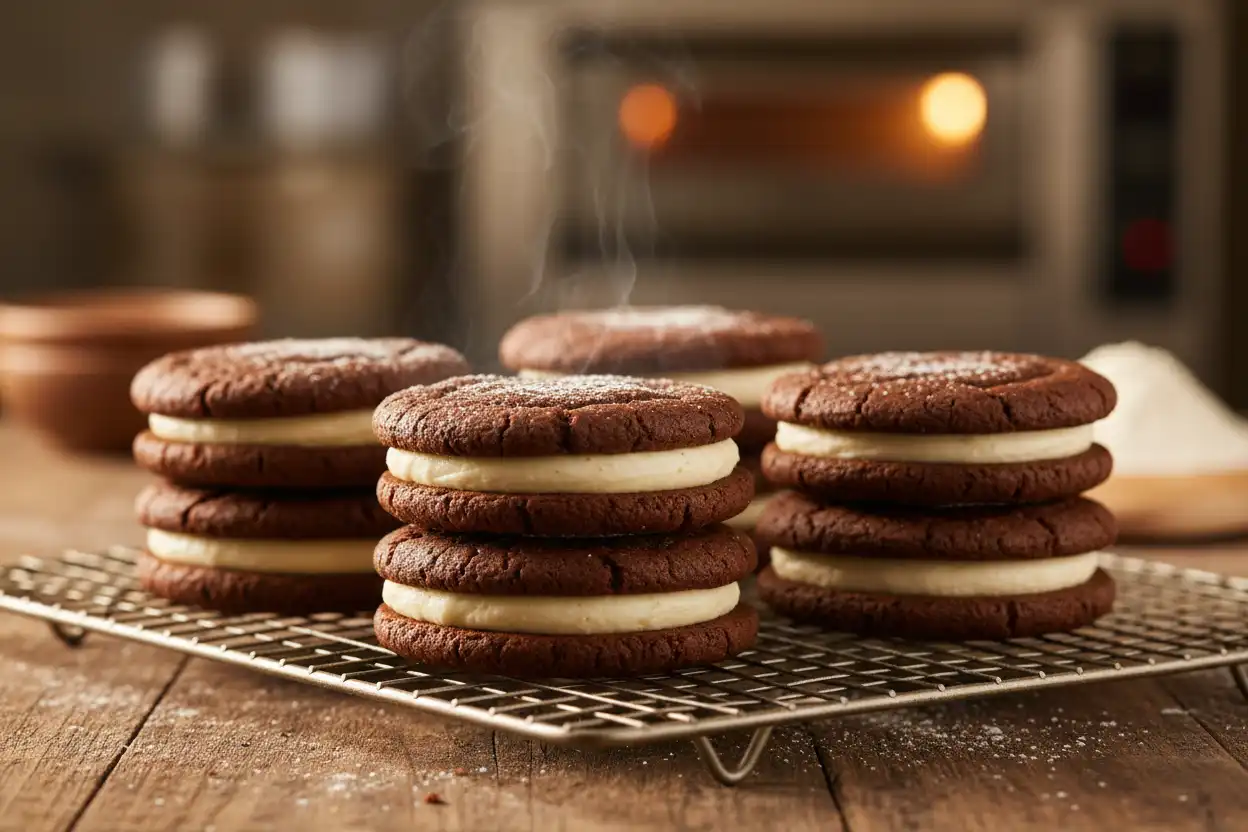
Why You Will Love This Recipe
Before we even turn on the oven, let us talk about what makes this recipe stand out from every other recipe on the web.
- Deep Cocoa Flavor: We use a custom combination of dark cocoa powder and espresso powder to unlock maximum chocolate richness.
- Perfect Texture Balance: These cookies stay crisp enough to hold their sandwich structure without turning hard as a rock.
- Customizable Cream Filling: The luscious center can easily be adjusted for sweetness or flavored with peppermint, espresso, or fruit extracts.
- Foolproof Bake Time: Detailed visual cues ensure you never over-bake your dough, preserving that melt-in-your-mouth quality.
The Science Behind the Perfect Chocolate Sandwich Cookie
Baking is pure chemistry, and small details make a massive difference in your final results. When crafting the ideal chocolate shell, the primary challenge is balancing structure with tenderness.
Using all-purpose flour provides just enough gluten network to prevent the cookies from spreading into flat discs, while cornstarch breaks up that gluten strength just enough to produce a soft, delicate crumb.
Furthermore, creamed unsalted butter creates micro-pockets of air when beaten with sugar. This process gives your cookies an even, light texture that snaps cleanly when you take a bite, rather than shattering into crumbs or feeling chewy like a standard chocolate chip cookie.
Essential Kitchen Tools You Will Need
Having the right tools ready before you begin will make your baking experience smooth and stress-free.
- Electric Hand Mixer or Stand Mixer: Essential for whipping air into the butter and sugar for both the dough and the filling.
- Fine-Mesh Sifter: Ensures your cocoa powder and flour are free of lumps.
- Rolling Pin: Allows you to roll the dough out into an even layer.
- Rolling Pin Guides or Parchment Paper: Keeps your dough thickness consistent throughout.
- Round Fluted Cookie Cutter (5 cm wide): Gives your cookies that classic, recognizable edge.
- Baking Sheets and Silicone Mats: Distributes heat evenly to prevent hot spots.
- Wire Cooling Rack: Stops the cooking process immediately once removed from the oven.
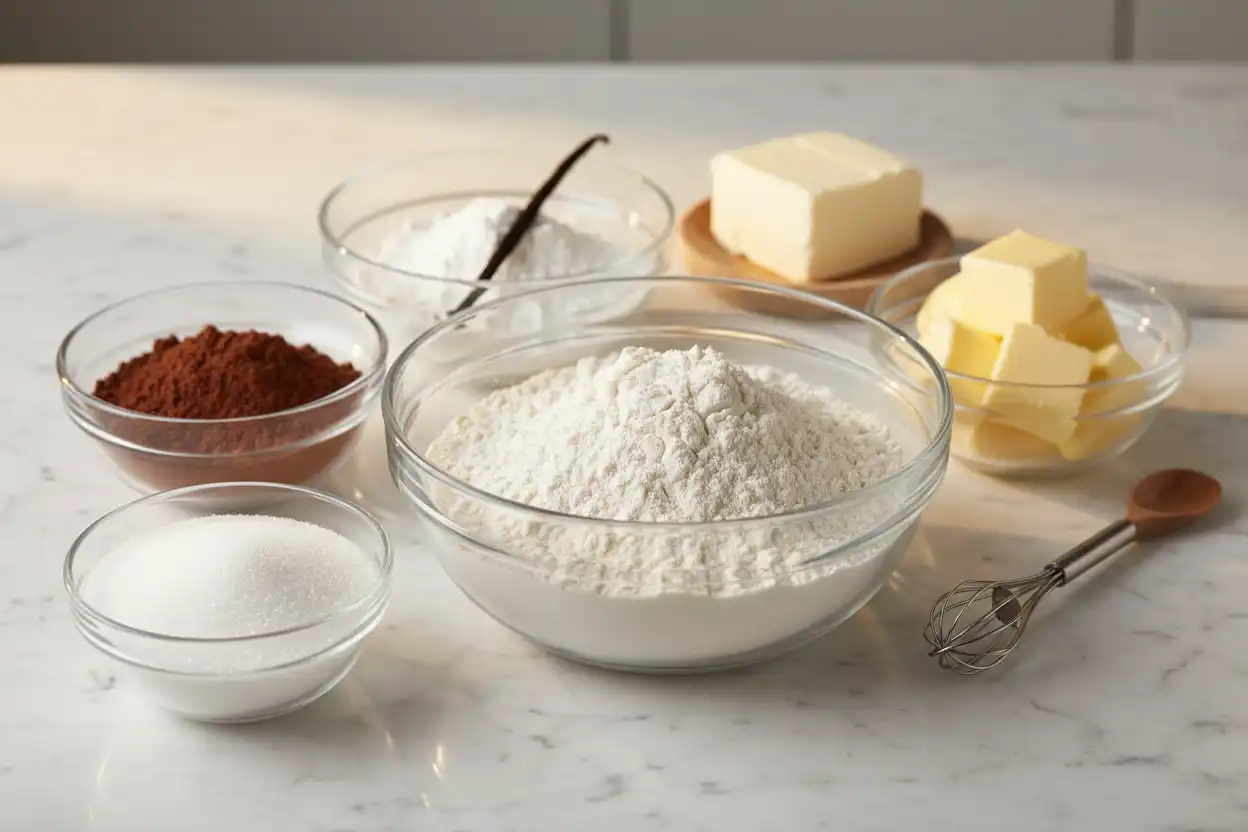
Detailed Ingredients and Exact Measurements
Accuracy is key in baking. To keep things clean and easy to read without any display errors, all dry ingredients are measured precisely in grams and standard kitchen units.
For the Chocolate Cookie Wafers:
- Unsalted Butter: 225 grams (1 cup), softened to room temperature
- Granulated White Sugar: 150 grams (3/4 cup)
- Light Brown Sugar: 50 grams (1/4 cup, packed)
- Large Egg: 1 whole egg, room temperature
- Pure Vanilla Extract: 5 milliliters (1 teaspoon)
- All-Purpose Flour: 250 grams (2 cups)
- Unsweetened Dutch-Process Cocoa Powder: 75 grams (3/4 cup)
- Cornstarch: 15 grams (2 tablespoons)
- Instant Espresso Powder: 3 grams (1 teaspoon) — enhances chocolate flavor without adding coffee taste
- Fine Sea Salt: 3 grams (1/2 teaspoon)
- Baking Powder: 2 grams (1/2 teaspoon)
For the Creamy Vanilla Buttercream Filling:
- Unsalted Butter: 115 grams (1/2 cup), softened
- Powdered Sugar (Confectioners’ Sugar): 240 grams (2 cups), sifted
- Heavy Cream or Whole Milk: 15 to 30 milliliters (1 to 2 tablespoons)
- Pure Vanilla Bean Paste or Vanilla Extract: 5 milliliters (1 teaspoon)
- Pinch of Salt: 1 gram (1/8 teaspoon) to balance sweetness
Step-by-Step Instructions: How to Bake the Cookies
Follow these easy steps carefully to guarantee flawless results on your very first try.
Step 1: Cream the Butter and Sugars
In a large mixing bowl, combine the 225 grams of softened butter, 150 grams of granulated sugar, and 50 grams of light brown sugar. Beat on medium speed for about 3 minutes until the mixture looks pale, fluffy, and smooth.
Scrape down the sides of your bowl with a rubber spatula. Add the room temperature egg and 5 milliliters of vanilla extract, beating for another minute until fully combined.
Step 2: Sift and Combine Dry Ingredients
In a separate medium bowl, sift together the 250 grams of all-purpose flour, 75 grams of Dutch-process cocoa powder, 15 grams of cornstarch, 3 grams of espresso powder, 3 grams of fine sea salt, and 2 grams of baking powder.
Turn your mixer to low speed and gradually add the sifted dry ingredients to the butter mixture. Mix just until a cohesive dough forms. Do not overmix, or the cookies will turn tough.
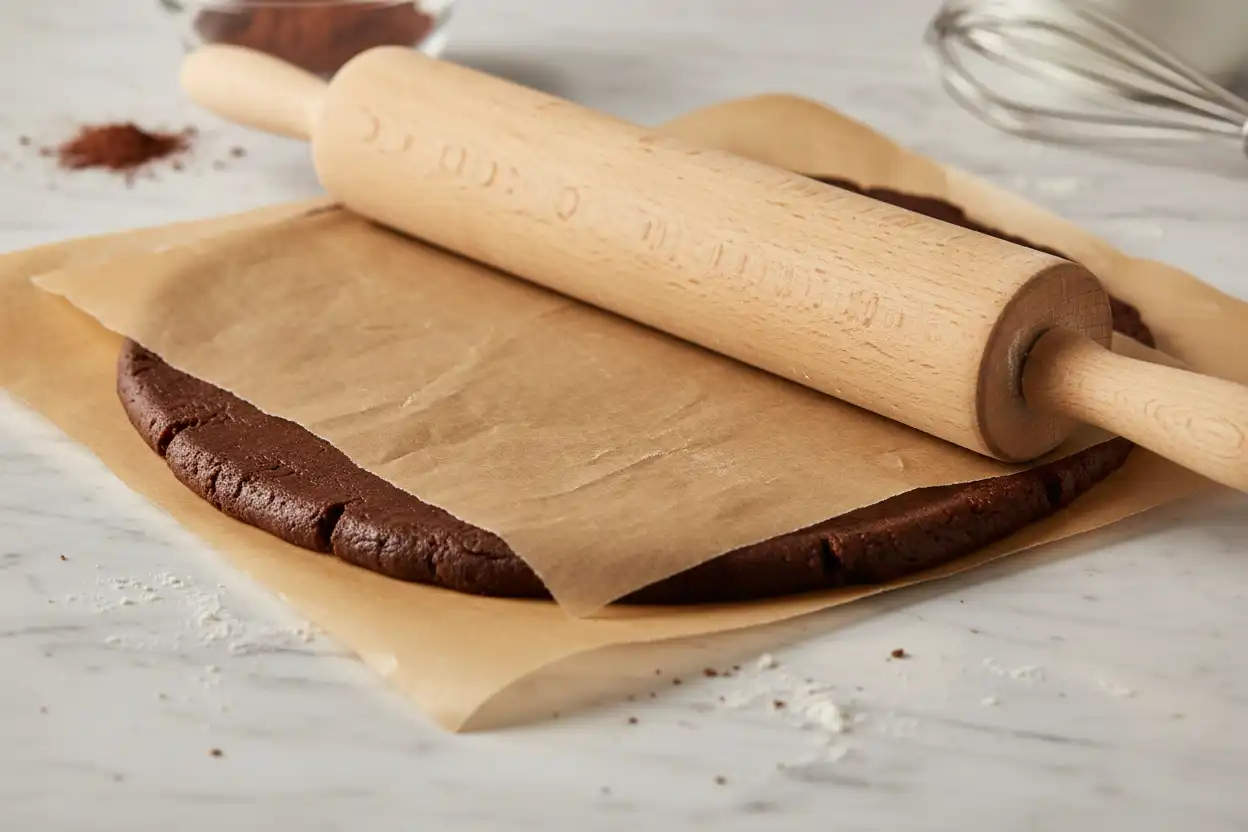
Step 3: Chill and Roll the Dough
Divide the dough into two equal portions. Place each portion between two sheets of parchment paper and roll out to an even thickness of about 4 millimeters (1/8 inch).
Slide the flat dough sheets onto a baking tray and chill in the refrigerator for at least 45 minutes. Chilling prevents spreading and ensures cleanly cut edges.
Step 4: Cut and Bake
Preheat your oven to 175°C (350°F) and line two large baking sheets with parchment paper or silicone mats.
Remove one dough sheet from the fridge. Use a 5 cm round cutter to punch out cookie rounds. Transfer the cut rounds gently onto your prepared baking sheets, leaving about 2 cm of space between them.
Bake at 175°C (350°F) for 10 to 12 minutes. The edges should look set and firm to the touch. Let the cookies cool on the baking sheet for 5 minutes before moving them to a wire cooling rack to cool completely.
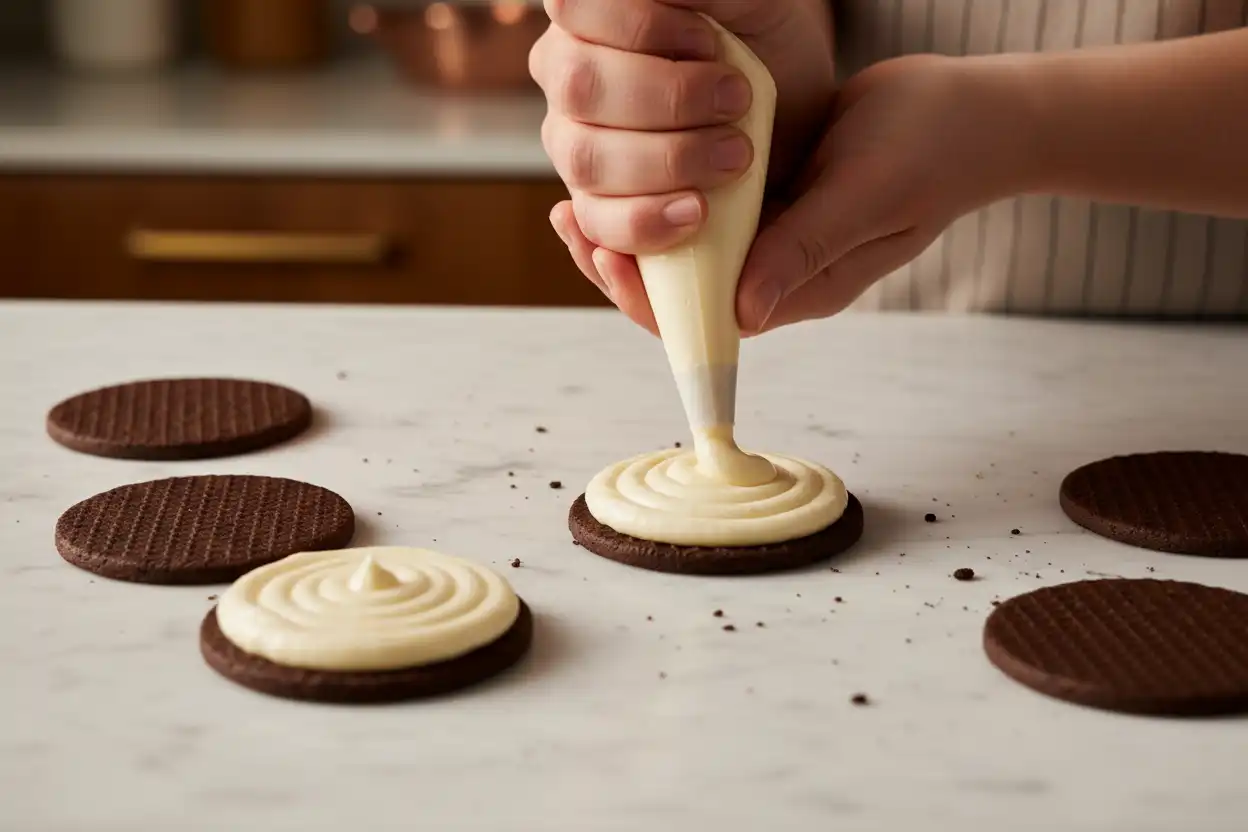
Step 5: Make the Cream Filling
While the cookie wafers cool completely, prepare the filling. In a medium bowl, beat 115 grams of softened butter on high speed for 2 minutes until very smooth.
Gradually add 240 grams of sifted powdered sugar alternating with 15 milliliters of heavy cream. Add the vanilla paste and salt. Beat on high speed for 3 full minutes until light, fluffy, and easy to spread.
Step 6: Assemble the Cookie Sandwiches
Match up cooled cookie wafers into pairs of equal size. Pipe or spoon about 1 tablespoon of cream filling onto the flat side of one cookie.
Place the second cookie flat-side down on top of the cream. Press gently until the cream squeezes out right to the edges. Repeat for all cookies.
Pro-Tips for Bakery-Quality Results
- Use Dutch-Process Cocoa: Dutch-processed cocoa powder is treated with alkali to reduce acidity. It gives your cookies a dark, rich black-brown color and a smooth, mellow chocolate flavor.
- Don’t Skip the Espresso Powder: A tiny bit of instant espresso does not make the cookies taste like coffee; instead, it deepens the natural cocoa flavor profile significantly.
- Measure Dough Thickness Uniformly: If some cookies are thicker than others, they will bake unevenly in the oven. Using dough thickness guides ensures perfection.
- Cool Completely Before Filling: Never attempt to pipe cream onto warm cookies, or the butter in the filling will melt into a messy liquid.
Troubleshooting Common Baking Mistakes
Problem: My cookies spread out into flat blobs in the oven.
Solution: Your butter was likely too warm when mixing, or the dough was not chilled long enough before baking. Always chill your cut dough shapes for 10 to 15 minutes right before putting them into the hot oven.Problem: The cookie wafers turned out hard and dry.
Solution: Over-baking is the main culprit here. Dark chocolate dough makes it tricky to see browning, so keep a strict eye on the timer. Remove them as soon as the edges set.Problem: The filling is too soft and squishes out completely.
Solution: Your buttercream needs more structural support. Chill the assembled sandwich cookies in the fridge for 15 minutes to firm up the filling.

Frequently Asked Questions (FAQs)
Can I make the cookie dough in advance?
Yes! You can store the wrapped cookie dough in the refrigerator for up to 3 days or freeze it for up to 2 months. Thaw frozen dough overnight in the fridge before rolling out.
How should I store leftover chocolate sandwich cookies?
Store assembled cookies in an airtight container at room temperature for up to 4 days, or in the refrigerator for up to 1 week. They actually taste even better on day two as the filling softens the wafers slightly!
Can I use gluten-free flour for this recipe?
Absolutly. You can swap all-purpose flour with a high-quality 1:1 gluten-free baking flour blend containing xanthan gum without changing the rest of the recipe.
Storage and Freezing Instructions
- Room Temperature: Keep in a sealed container lined with parchment paper for up to 4 days.
- Refrigerator: Chilling keeps the cream center firm and gives the cookie wafer a delightful chilled texture.
- Freezer: Flash-freeze assembled cookies on a baking tray for 1 hour, then transfer to a freezer-safe zip-top bag for up to 3 months. Thaw at room temperature for 15 minutes before enjoying.
Summary Recipe Card
| Recipe Info | Details |
|---|---|
| Prep Time | 30 Minutes |
| Cook Time | 12 Minutes |
| Chill Time | 45 Minutes |
| Total Time | 1 Hour 27 Minutes |
| Yield | 20 Sandwich Cookies |
| Difficulty | Easy / Intermediate |
Final Thoughts
Making your own chocolate sandwich cookies at home is one of the most rewarding simple baking projects you can undertake. The combination of crispy dark cocoa shells and sweet vanilla buttercream provides an unforgettable taste that commercial brands simply cannot replicate.
Give this recipe a try this weekend, and share your results with family and friends! Happy baking!
Chocolate Sandwich Cookie
- Electric Hand Mixer or Stand Mixer
- Fine-Mesh Sifter
- Rolling Pin
- Rolling Pin Guides or Parchment Paper
- Round Fluted Cookie Cutter (5 cm wide)
- Baking Sheets and Silicone Mats
- Wire Cooling Rack:
- Unsalted Butter: 225 grams (1 cup, softened to room temperature)
- Granulated White Sugar: 150 grams (3/4 cup)
- Light Brown Sugar: 50 grams (1/4 cup, packed)
- Large Egg: 1 whole egg (room temperature)
- Pure Vanilla Extract: 5 milliliters (1 teaspoon)
- All-Purpose Flour: 250 grams (2 cups)
- Unsweetened Dutch-Process Cocoa Powder: 75 grams (3/4 cup)
- Cornstarch: 15 grams (2 tablespoons)
- Instant Espresso Powder: 3 grams (1 teaspoon — enhances chocolate flavor without adding coffee taste)
- Fine Sea Salt: 3 grams (1/2 teaspoon)
- Baking Powder: 2 grams (1/2 teaspoon)
- For the Creamy Vanilla Buttercream Filling:
- Unsalted Butter: 115 grams (1/2 cup, softened)
- Powdered Sugar (Confectioners’ Sugar: 240 grams (2 cups), sifted)
- Heavy Cream or Whole Milk: 15 to 30 milliliters (1 to 2 tablespoons)
- Pure Vanilla Bean Paste or Vanilla Extract: 5 milliliters (1 teaspoon)
- Pinch of Salt: 1 gram (1/8 teaspoon to balance sweetness)
-
Use Dutch-Process Cocoa: Dutch-processed cocoa powder is treated with alkali to reduce acidity. It gives your cookies a dark, rich black-brown color and a smooth, mellow chocolate flavor.
-
Don’t Skip the Espresso Powder: A tiny bit of instant espresso does not make the cookies taste like coffee; instead, it deepens the natural cocoa flavor profile significantly.
-
Measure Dough Thickness Uniformly: If some cookies are thicker than others, they will bake only in the oven. Using dough thickness guides ensures perfection.
-
Cool Completely Before Filling: Never attempt to pipe cream onto warm cookies, or the butter in the filling will melt into a messy liquid.