
Decorating sugar cookies with sugar is one of the easiest ways to get bakery-worthy, sparkling treats without spending hours messing around with sticky royal icing. When I first started baking in my own home kitchen, I used to think gorgeous cookies required intricate piping bags, steady hands, and endless patience.
That all changed one weekend when I was baking with my grandmother’s old wooden rolling pin. I was out of powdered sugar for traditional frosting, but I had a pantry stocked with coarse sanding sugar and granulated sugar. I decided to press raw cookie dough directly into colored sugar before baking, and the results were mind-blowing. The sugar melted just enough to adhere tightly while creating a crunchy, sparkling crust that kept the center soft and buttery.
If you want a stress-free way to make stunning cookies for holidays, bake sales, or weekend treats, this complete guide covers everything you need to know.
The Fascinating Cultural Story Behind Sugar Cookies
Sugar cookies have a rich and comforting history that dates back centuries. The modern sugar cookie traces its roots directly to 18th-century Pennsylvania, where German Protestant settlers created what was then known as the Nazareth Cookie. These early bakers crafted a simple, buttery drop cookie that was easily preserved and highly delicious.
Over the decades, as refined sugar became more accessible to everyday households, bakers across the world began experimenting with decorative toppings. Long before royal icing and intricate edible paints became popular on social media, home bakers relied entirely on coarse sugars, spices, and natural seeds to decorate their baked goods.
Using sugar crystals as a decorative topping is actually the most authentic, historical way to finish a classic butter cookie. It honors traditional baking heritage while giving you a timeless aesthetic that never goes out of style.
Why You Will Love Decorating Sugar Cookies with Sugar
- Zero Waiting Time: No need to wait hours for royal icing to dry or harden.
- Kid-Friendly: Perfect for baking with children because there are no messy piping bags involved.
- Texture Contrast: Gives you a crisp, crunchy exterior with a soft, chew-in-the-middle texture.
- Budget-Friendly: Requires basic pantry staples you already have in your kitchen.
- Long Shelf Life: Without liquid toppings, these cookies stay crisp and fresh for days longer.
Ingredients List and Exact Measurements
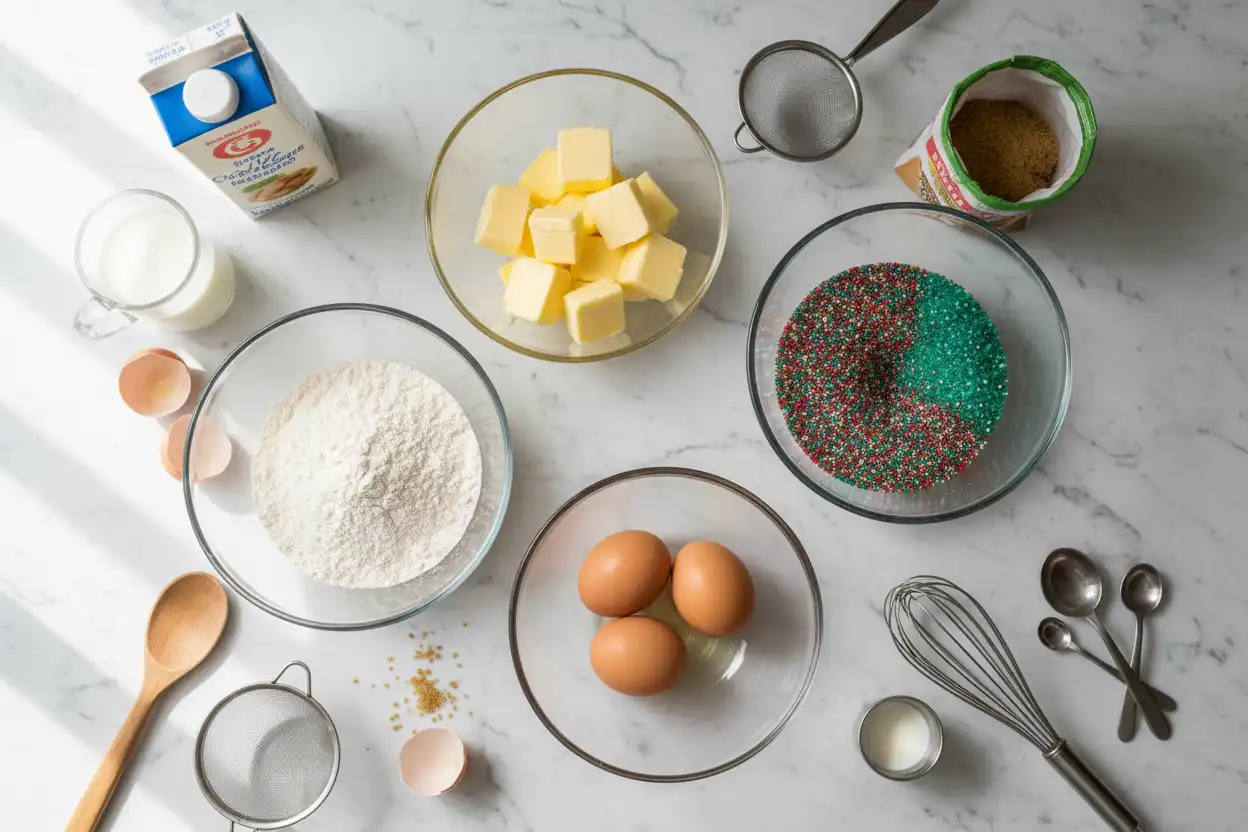
To get consistent results every single time, measuring your ingredients by weight using a digital scale is essential. Here is the exact breakdown for the dough and topping:
DOUGH INGREDIENTS:
- 225 grams Unsalted Butter (softened at room temperature)
- 200 grams Granulated White Sugar
- 1 Large Egg (approximately 50 grams, room temperature)
- 5 milliliters Pure Vanilla Extract (or 1 teaspoon)
- 360 grams All-Purpose Flour
- 6 grams Baking Powder (or 1.5 teaspoons)
- 3 grams Salt (or 0.5 teaspoon)
TOPPING INGREDIENTS:
- 150 grams Decorative Sugar (Coarse Sanding Sugar, Sparkling Sugar, or Granulated Sugar)
Ingredients Breakdown Table
| Ingredient | Exact Weight (Grams) | Standard Volume | Purpose in Recipe |
| Unsalted Butter | 225g | 1 cup (2 sticks) | Provides richness, flavor, and tender crumb |
| Granulated Sugar | 200g | 1 cup | Adds sweetness and aids in creaming |
| Large Egg | 50g | 1 Whole Egg | Binds dough structure and adds moisture |
| Vanilla Extract | 5g / 5ml | 1 Teaspoon | Enhances overall flavor profile |
| All-Purpose Flour | 360g | 3 Cups | Creates core cookie structure |
| Baking Powder | 6g | 1.5 Teaspoons | Provides gentle rise without spreading |
| Fine Salt | 3g | 0.5 Teaspoon | Balances sweetness |
| Decorative Sugar | 150g | As needed | Creates sparkling crunchy coating |
Essential Kitchen Tools You Will Need
- Digital Kitchen Scale: For precision measurement and foolproof results.
- Electric Hand Mixer or Stand Mixer: To cream the butter and sugar properly.
- Baking Sheets: Light-colored aluminum pans work best for even baking.
- Parchment Paper or Silicone Mats: Prevents sticking and burning on the bottom.
- Cookie Scoop (1.5 tablespoon size): Ensures uniform cookie sizes for even baking.
- Shallow Bowls: Essential for dipping and coating the dough balls in sugar easily.
- Cooling Rack: Allows air circulation so bottoms stay crisp as they cool.
Step-by-Step Guide to Decorating Sugar Cookies with Sugar
Step 1: Cream the Butter and Sugar
In a large mixing bowl, combine 225 grams of softened unsalted butter and 200 grams of granulated white sugar. Beat on medium speed for 2 to 3 minutes until the mixture turns pale, fluffy, and smooth.
Step 2: Add Wet Ingredients
Add the single egg and 5 milliliters of pure vanilla extract to the creamed butter. Beat on low speed until fully incorporated. Scrape down the sides of the bowl with a rubber spatula to ensure everything mixes evenly.
Step 3: Combine Dry Ingredients
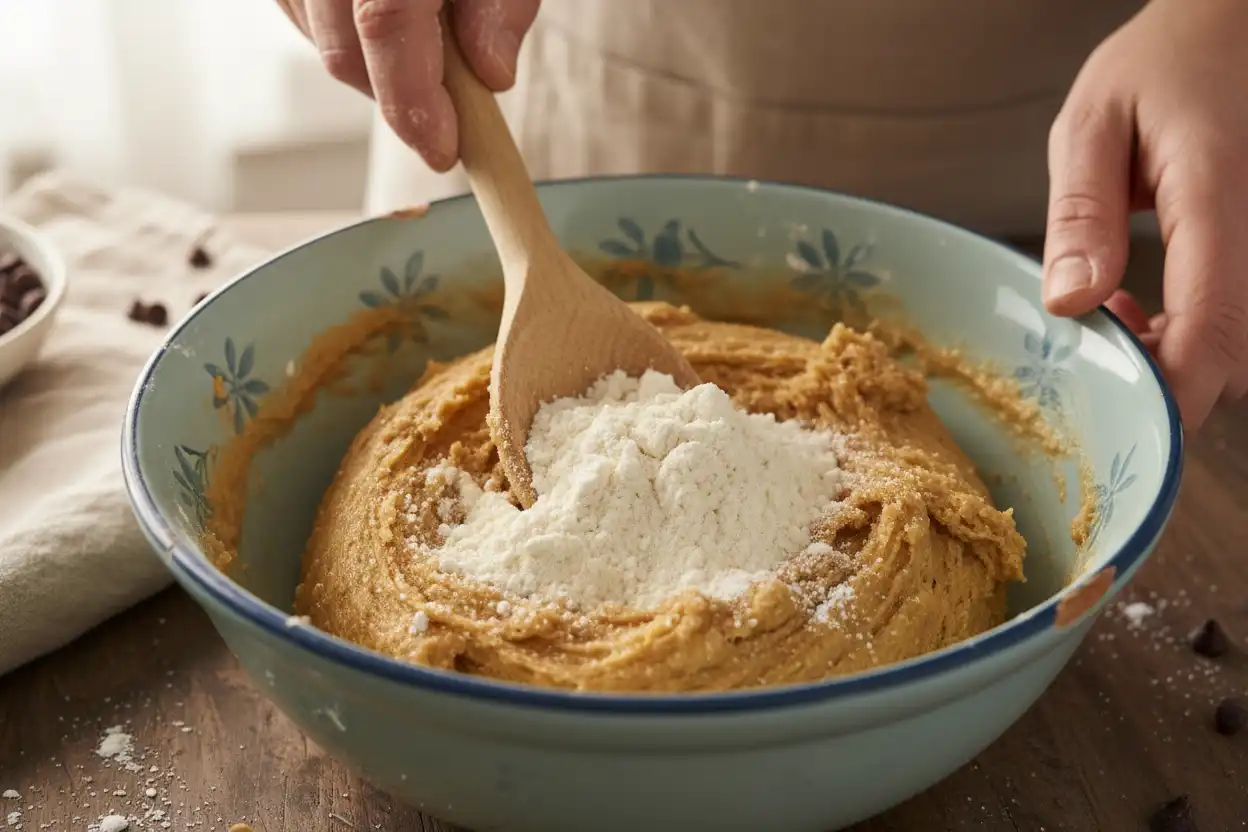
In a separate bowl, whisk together 360 grams of all-purpose flour, 6 grams of baking powder, and 3 grams of salt. Gradually add the dry mixture to the wet mixture, mixing on low speed just until a cohesive dough forms. Do not overmix or the cookies will become tough.
Step 4: Scoop and Portion
Portion the cookie dough into equal balls using a 1.5-tablespoon cookie scoop. Roll each portion gently between your palms until smooth and completely round.
Step 5: Coat with Decorative Sugar
Pour your chosen sugars into shallow dishes. Roll each dough ball generously in the sugar, pressing lightly so the crystals stick securely to all sides of the dough.

Step 6: Bake to Perfection
Place the sugar-coated dough balls on a parchment-lined baking sheet, leaving 2 inches of space between each cookie. Bake in a preheated oven at 175°C (350°F) for 9 to 11 minutes. The edges should look set, but the centers should remain pale and soft.
Choosing the Right Sugar for Cookie Decorating
Not all sugars perform the same way under oven heat. Choosing the right crystal size dramatically changes the final texture, crunch, and visual impact of your finished cookies.
| Sugar Type | Crystal Size | Oven Heat Resistance | Best Visual Effect |
| Sanding Sugar | Large & Coarse | High (Does not melt) | Bright colors and intense shine |
| Sparkling Sugar | Extra Large (Clear) | Very High | Diamond-like glitter effect |
| Granulated Sugar | Fine & Standard | Medium (Melts slightly) | Subtle crunch and classic look |
| Turbinado / Raw | Medium Coarse | High | Rustic brown look with caramel notes |
Sanding Sugar
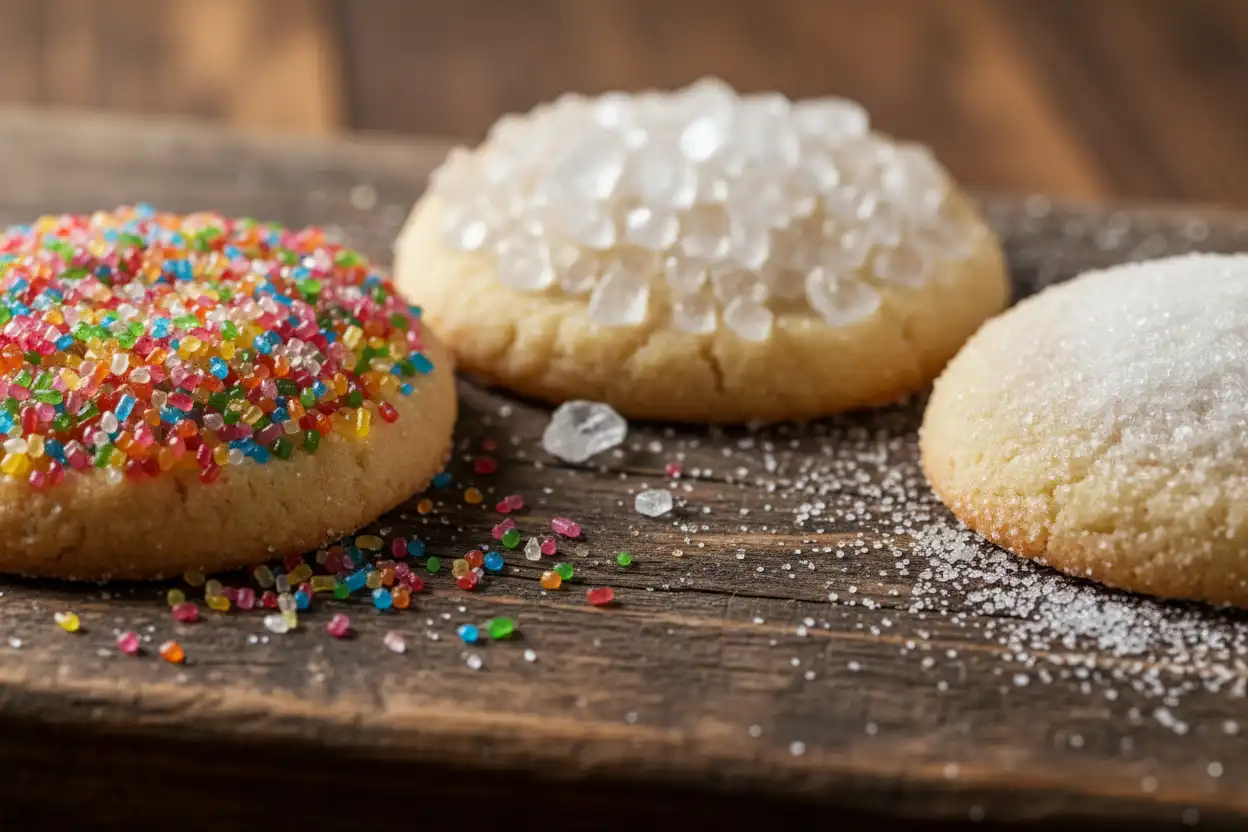
Sanding sugar features large crystals that reflect light beautifully. It comes in vibrant colors and does not melt easily during baking, making it the top choice for cookie decorating.
Sparkling Sugar
Sparkling sugar has extra-large, clear crystals. It gives cookies a brilliant, diamond-like glitter effect and holds its sharp shape perfectly in a hot oven.
Granulated White Sugar
Standard table sugar creates a fine, subtle crust. It is ideal if you prefer a delicate crunch without bold visual patterns or artificial food dyes.
Pro Techniques for Stenciling and Advanced Designs
Decorating sugar cookies with sugar does not mean you are limited to plain round shapes. You can create intricate patterns using simple everyday kitchen items.
1. The Water Misting Method
Cut out your dough using classic cookie cutters. Spray a fine mist of water over the top of the unbaked cookies using a clean spray bottle. Sprinkle sugar evenly over the top. The mist acts as a glue, ensuring full and even coverage.
2. Cookie Stenciling
Place a food-grade stencil gently over your unbaked rolled cookie dough. Lightly brush the exposed dough with egg white or water, sprinkle colored sanding sugar generously over the stencil, then lift the stencil straight up to reveal a sharp pattern.
3. Multi-Color Dipping
Dip one half of a rounded dough ball in red sanding sugar and the opposite half in green sanding sugar to create a clean, split-color design perfect for festive holidays.
Troubleshooting Common Cookie Baking Mistakes
Even simple recipes can hit a snag. Here is how to fix common issues when decorating sugar cookies with sugar:
Problem 1: The sugar melted completely in the oven
- Cause: You used a sugar with very small crystals (like fine powdered sugar or caster sugar), or your oven temperature was too low, causing prolonged heat exposure.
- Fix: Stick to coarse sanding sugar or sparkling sugar. Always verify your oven temperature with an independent oven thermometer.
and,Problem 2: The sugar falls off after baking
- Cause: The dough surface was too dry before rolling in the sugar.
- Fix: Press the sugar gently into the dough ball using your palms, or brush the top lightly with milk or egg white before coating.
Problem 3: The cookies spread too flat
- Cause: The butter was too warm or melted when making the dough.
- Fix: Chill the shaped, sugar-coated dough balls in the refrigerator for 20 to 30 minutes before baking.
Dietary Alternatives and Ingredient Swaps
You can easily adapt this sugar cookie recipe to suit different dietary preferences without losing the signature crunch:
- Gluten-Free Option: Substitute the 360g of all-purpose flour with an equal weight (360g) of a 1-to-1 gluten-free baking flour blend containing xanthan gum.
- Dairy-Free Option: Replace the 225g of unsalted butter with high-quality block vegan butter. Ensure it is firm and cold when starting.
- Lower Sugar Option: You can reduce the sugar inside the dough to 150g, relying on the outer decorative sugar coating to provide the primary sweetness.
Storing and Preserving Freshness
Sugar-decorated cookies stay fresh longer than iced cookies because there is no liquid icing to transfer moisture back into the cookie base.
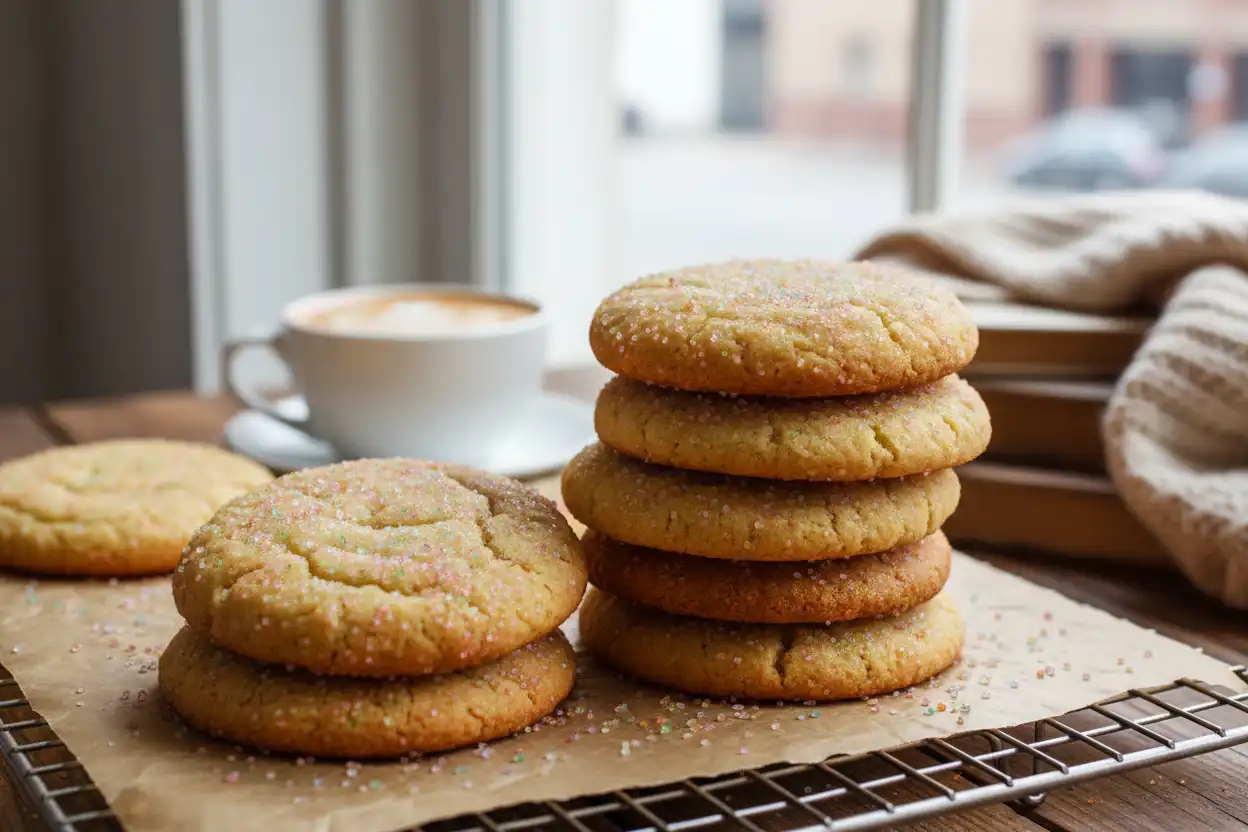
- Room Temperature: Store in an airtight container at room temperature for up to 7 days. Place parchment paper between layers to prevent sugar crystals from rubbing off.
- Freezing Dough: You can freeze uncoated dough balls for up to 3 months. Thaw in the refrigerator overnight, roll in sugar, and bake as directed.
- Freezing Baked Cookies: Freeze baked cookies in an airtight container for up to 2 months. Thaw at room temperature for 15 minutes before serving.
Frequently Asked Questions
Can I decorate sugar cookies with sugar after baking?
Yes, but you will need an edible adhesive. Brush a thin layer of simple syrup, warm honey, or light corn syrup over warm cookies, then immediately sprinkle the sugar over them.
Does sanding sugar melt when baked?
High-quality sanding sugar is heat-resistant and will retain its shape and shiny texture in temperatures up to 180°C (350°F).
How do I make homemade colored sugar?
Place 100 grams of granulated white sugar in a zip-top bag. Add 2 to 3 drops of gel food coloring. Seal the bag and massage it until the color is evenly distributed. Spread the sugar on a plate for 10 minutes to dry completely before using.
What is your favorite sugar topping for home baking? Do you prefer bright festive colors or classic sparkling white? Let me know in the comments below!
Decorating Sugar Cookies with Sugar.

- 225 grams Unsalted Butter (softened at room temperature)
- 200 grams Granulated White Sugar
- 1 Large Egg (approximately 50 grams, room temperature)
- 5 milliliters Pure Vanilla Extract (or 1 teaspoon)
- 360 grams All-Purpose Flour
- 6 grams Baking Powder (or 1.5 teaspoons)
- 3 grams Salt (or 0.5 teaspoon)
- Digital Kitchen Scale: For precision measurement and foolproof results.
- Electric Hand Mixer or Stand Mixer: To cream the butter and sugar properly.
- Baking Sheets: Light-colored aluminum pans work best for even baking.
- Parchment Paper or Silicone Mats: Prevents sticking and burning on the bottom.
- Cookie Scoop (1.5 tablespoon size): Ensures uniform cookie sizes for even baking.
- Shallow Bowls: Essential for dipping and coating the dough balls in sugar easily.
- Cooling Rack: Allows air circulation so bottoms stay crisp as they cool.