
The authentic Toll House cookie recipe pairs equal parts granulated white sugar and packed brown sugar with creamed butter, whole eggs, all-purpose flour, baking soda, and semi-sweet chocolate morsels. Baked at 375°F (190°C) for 9 to 11 minutes, this balanced dough yields crisp, golden-brown edges with soft, chewy centers.
Precision is key to preventing greasy puddles or dry, cakey discs. Weighing your flour at 280 grams and keeping your butter at a pliable 65°F ensures the ideal spread and structure every single time.
- Prep Time: 15 minutes
- Chilling Time: 30 minutes (optional, but highly recommended)
- Bake Time: 9 to 11 minutes at 375°F (190°C)
- Yield: Approximately 36 cookies (using a #40 / 1.5-tablespoon scoop)
Few baked goods evoke the comfort of a warm chocolate chip cookie pulled fresh from the oven. The original Toll House formula remains the gold standard in home kitchens across the world for good reason.
This guide breaks down the classic recipe through both practical technique and culinary science. Whether you are baking your first batch with your family or troubleshooting why your cookies spread too thin, you will find every answer here.
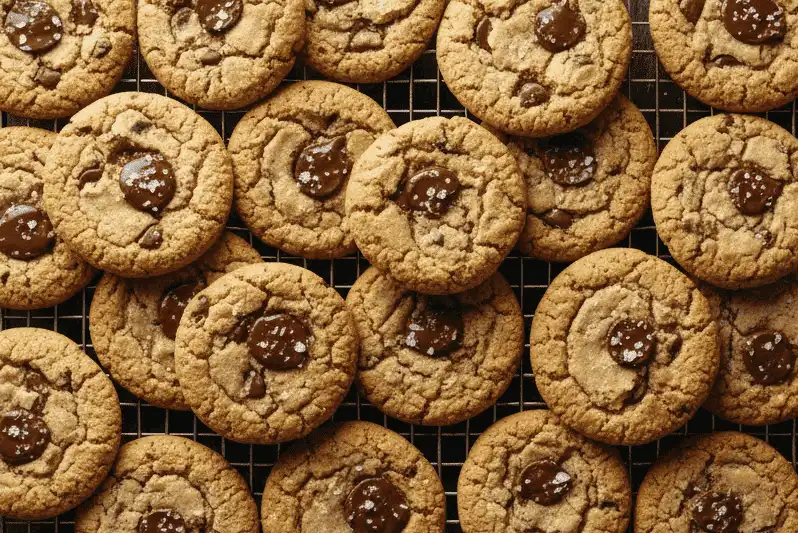
The Origin & Food Science of Toll House Cookies
In the 1930s, chef Ruth Wakefield ran the Toll House Inn in Whitman, Massachusetts. Rather than an accidental discovery, her addition of broken semi-sweet chocolate into butter drop dough was a deliberate test of flavor and texture balance.
The culinary chemistry of this cookie relies on the interplay between moisture, fat, and leavening. When you understand how these elements interact, you gain total control over the finished cookie.
The Role of Sugar Synergy
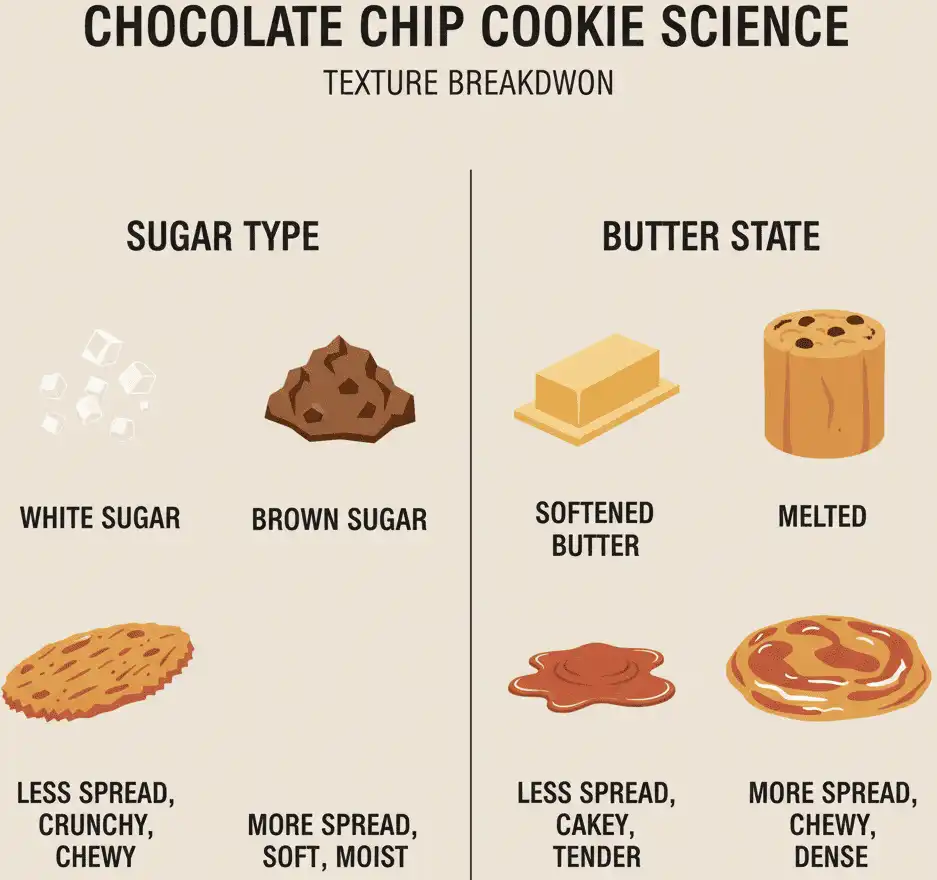
The original recipe uses a 1:1 ratio of white granulated sugar to brown sugar (3/4 cup each). White sugar promotes caramelization, browning, and edge crisping through moisture loss.
Brown sugar contains molasses, which adds natural acidity and attracts water. This hygroscopic quality keeps the center tender and activates the alkaline baking soda for a gentle rise.
Fat Temperature and Gluten Development
Butter brings both fat and water to the dough, roughly 80% to 82% milkfat and 16% to 18% water. When butter creams with sugar at 65°F (18°C), sharp sugar crystals cut microscopic air pockets into the fat matrix.
As the dough heats, butter water turns to steam, expanding those air pockets before the flour proteins set. If the butter is fully melted, the dough loses structural aeration and spreads flat across the sheet.
Ingredients: Baker’s Grams & Volume Measurements
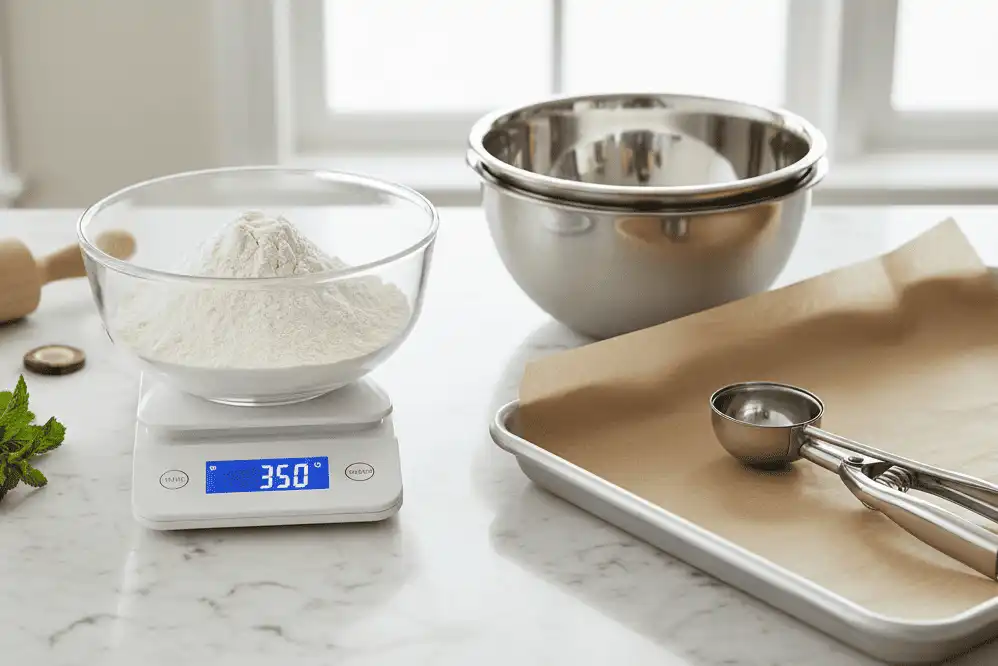
Professional bakers rely on weight rather than volume. A scooped cup of flour can vary by up to 30 grams depending on how firmly it is packed, drastically altering your cookie density.
Use the metric measurements below for guaranteed, repeatable perfection.
| Ingredient | US Volume | Metric Weight | Baker’s Function |
|---|---|---|---|
| All-Purpose Flour | 2 1/4 cups | 280 g | Provides structure via moderate gluten (10-11.7% protein) |
| Baking Soda | 1 tsp | 5 g | Neutralizes acid, creates lift, accelerates browning |
| Fine Sea Salt | 1 tsp | 6 g | Controls sweetness and enhances buttery notes |
| Unsalted Butter | 1 cup (2 sticks) | 226 g | Adds rich flavor, tenderness, and controlled spread |
| Granulated Sugar | 3/4 cup | 150 g | Promotes spread, crispness, and outer ring carmelization |
| Packed Brown Sugar | 3/4 cup | 165 g | Retains moisture, brings caramel notes, boosts chewiness |
| Pure Vanilla Extract | 1 tsp | 5 ml | Aromatics and depth of base flavor |
| Large Eggs | 2 whole | 100 g (out of shell) | Yolks provide emulsification; whites provide steam lift |
| Semi-Sweet Chocolate Morsels | 2 cups (12 oz bag) | 340 g | Melting chocolate pockets with bittersweet contrast |
| Chopped Walnuts or Pecans | 1 cup (optional) | 115 g | Adds earthy crunch and balances sweet dough fats |
Essential Baking Tools and Equipment
Great ingredients fail without proper thermal control. The surfaces and implements you choose dictate heat transfer from the pan directly into the dough base.
Baking Sheets
Choose heavy-gauge, light-colored aluminum half-sheet pans. Dark, nonstick pans absorb radiant heat too fast, scorching your cookie bottoms before the center finishes baking.
Pan Liners
Line your baking sheets with genuine unbleached parchment paper. While silicone mats work, they insulate the bottom slightly too much, reducing crispness and causing cookies to spread wider.
Portion Scoops
A spring-loaded mechanical scoop guarantees identical dough sizes across the pan. Uniform portions ensure that every cookie bakes at the exact same rate without over-baking smaller mounds.
Step-by-Step Instructions with Visual Guidance
Follow this precise sequence to build stable emulsions and preserve proper dough texture.
Step 1: Dry Ingredient Whisking
Action: In a medium bowl, combine 280g all-purpose flour, 5g baking soda, and 6g fine salt. Whisk vigorously for 30 seconds.
Why: Whisking aerates the dry mix and breaks up clumps of baking soda. Uneven leavener causes bitter spots and irregular spreading during the bake.
Common Mistake: Sifting directly onto the wet ingredients often leads to over-mixing the dough later.
Step 2: Creaming Butter and Sugars
Action: Place 226g softened butter, 150g granulated sugar, 165g brown sugar, and 5ml vanilla extract in a stand mixer fitted with the paddle attachment. Beat on medium speed for exactly 2 minutes until creamy, scraping down the bowl halfway through.
Why: Creaming suspends sugar granules in fat. You want a cohesive paste, not a fluffy, whipped cake batter.
Pro Tip: If your butter is shiny or oily, it is too warm. Chill it for 10 minutes before starting.
Step 3: Emulsifying the Eggs
Action: Add the eggs one at a time, beating on medium-low speed for 30 seconds after each addition until completely integrated.
Why: Egg yolks supply lecithin, a powerful natural emulsifier that binds water in the egg whites to fat in the butter. Adding them gradually prevents the emulsion from breaking and curdling.
Pro Tip: Use room temperature eggs (around 65°F to 70°F). Cold eggs shock the butter fat, causing it to harden into tiny solid specks.
Step 4: Incorporating the Flour Matrix
Action: Turn the mixer to lowest speed and gradually add the dry mixture in three batches. Stop the mixer when a few streaks of dry flour remain visible.
Why: Flour develops gluten networks when agitated with liquid. Stopping early protects the cookies from becoming tough, bready, or dense.
Common Mistake: Running the mixer on high speed after adding flour overworks the gluten and makes rubbery cookies.
Step 5: Folding Chocolate and Nuts
Action: Pour in 340g semi-sweet morsels and optional nuts. Fold by hand with a sturdy rubber spatula using broad sweeping motions until evenly dispersed.
Why: Hand folding prevents the mixer paddle from grinding the chocolate chips and bruising the gluten structure.
Step 6: Portioning and Thermal Chilling
Action: Scoop rounded 1.5-tablespoon mounds (#40 scoop, roughly 40g each) onto a parchment-lined tray. Chill the portioned dough balls in the refrigerator for at least 30 to 45 minutes.
Why: Chilling solidifies the butterfat so it melts more slowly in the hot oven. It also allows flour starches to hydrate, deepening caramel flavors through enzymatic breakdown.
Step 7: The Precise Bake
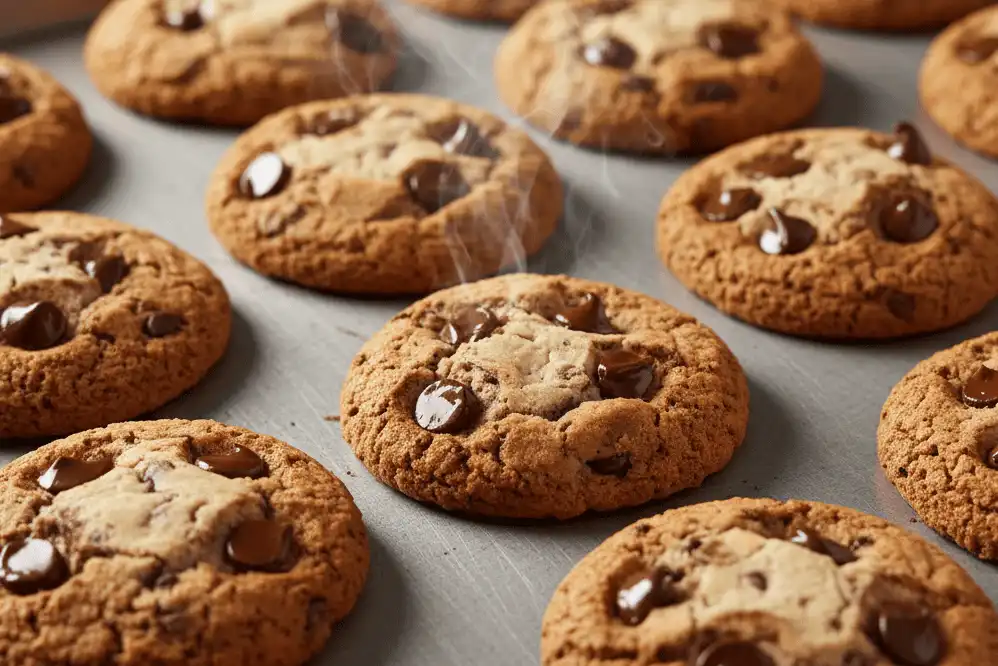
Action: Preheat your oven to 375°F (190°C). Place dough balls on baking sheets spaced 2 inches apart. Bake on the center rack for 9 to 11 minutes until edges are golden brown and centers remain pale and soft.
Why: A 375°F oven sets the exterior quickly while keeping the interior rich and moist. Lower temperatures like 325°F dry out the entire cookie before the rim can brown.
Pro Tip: For bakery-style ripples, tap the sheet pan firmly against the oven rack at minute 8 to deflate rising steam pockets.
Step 8: Carryover Cooling
Action: Remove the pan from the oven and let cookies rest directly on the hot sheet for 2 to 3 minutes. Transfer them carefully to a wire cooling rack.
Why: Residual heat from the metal pan finishes baking the delicate undersides without overcooking the centers.
Texture Adjustment Comparison Table
Compare how specific adjustments change the physical properties and bake dynamics of your batch.
| Bake Style | Butter Prep | Sugar Ratio | Egg Ratio | Bake Temp & Time | Finished Texture |
|---|---|---|---|---|---|
| Classic Original | Softened (65°F) | 50% White / 50% Brown | 2 Whole Large | 375°F | 9-11 min | Crisp edges with tender, balanced centers |
| Chewy & Bendable | Softened (65°F) | 33% White / 67% Brown | 1 Whole + 1 Yolk | 350°F | 11-13 min | Dense, fudgy bite with prolonged chewiness |
| Crisp & Snappy | Melted & Cooled | 67% White / 33% Brown | 2 Whole Large | 375°F | 12-14 min | Lacy, uniform golden crunch throughout |
| Bakery Mounded | Cold-Cubed (55°F) | 40% White / 60% Brown | 2 Whole Large | 400°F | 10-12 min | Tall profile, crisp shell, gooey interior |
Professional Baker Secrets & Edge Cases
Refined kitchen techniques elevate a simple home recipe into a showstopper. Implement these test-kitchen practices to take your cookies to the next level.
The Pan-Banging Trick for Ring Ripples
When cookies puff up at the 8-minute mark, open the oven door and lift the sheet pan 3 inches. Let it drop flat onto the rack with a firm rap.
This collapses the center air pocket, forcing the molten interior outward to form crisp, wrinkled ridges around the perimeter. Repeat two more times during the final 2 minutes of baking.
Mix-In Ratios and Chocolate Quality
Standard grocery store chocolate chips contain stabilizers like soy lecithin to help retain their cone shape under high heat. While great for classic appearance, they stay somewhat firm when cooled.
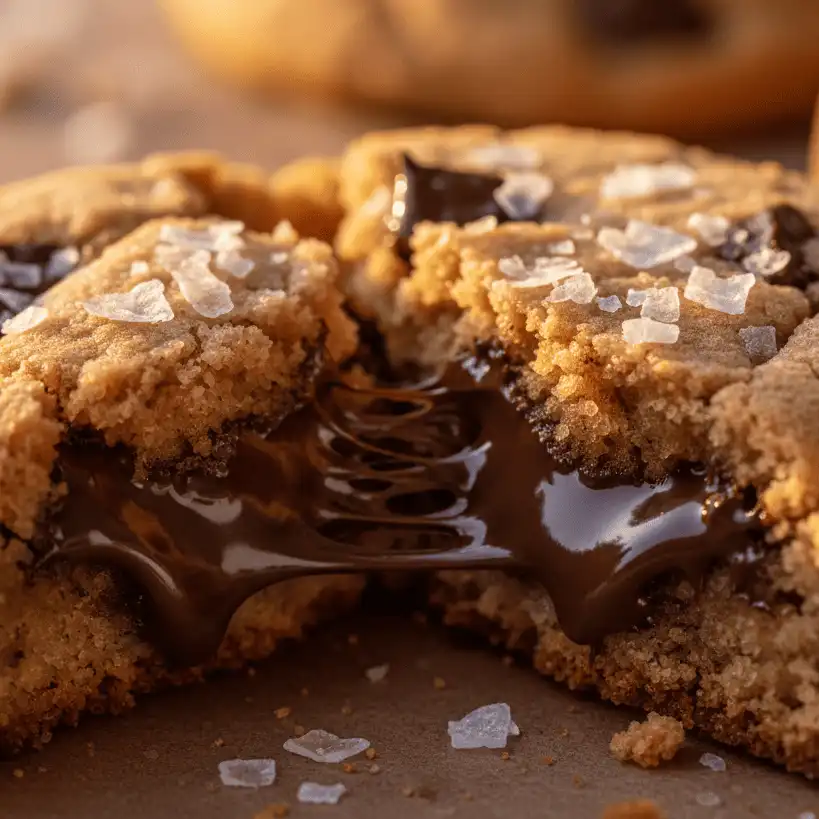
For luscious chocolate puddles, replace half of the morsels with an equal weight of chopped dark chocolate baking bars (60% to 70% cacao). The irregular chopped shards melt into glossy pools throughout the dough.
The Flaky Sea Salt Finish
Sprinkle a pinch of flaky sea salt (such as Maldon) across the tops of the cookies immediately after they come out of the oven. The warm surface fat grips the crystals.
The sudden mineral crunch cuts through sweet chocolate and rich butter, sharpening every layer of flavor on the palate.
Common Mistakes & How to Fix Flat or Puffy Cookies
Baking is precise chemistry. If your batch turns out different than expected, review these common issues and their direct solutions.
Problem 1: Cookies Spread Flat and Greasy
The Cause: The butter was warm or melted during creaming, or the dough went onto a warm baking sheet straight from a previous batch.
The Fix: Keep butter firm enough that your thumb leaves a slight dent without sinking through. Always let baking sheets cool completely to room temperature before placing new dough mounds.
Problem 2: Cookies Are Puffy, Pale, and Cakey
The Cause: Too much flour from scooping directly with the measuring cup, or using baking powder instead of baking soda.
The Fix: Use a kitchen scale to measure 280 grams of flour. If measuring by volume, fluff your flour with a fork, spoon it gently into the cup, and level it with a knife.
Problem 3: Burned Bottoms with Raw Centers
The Cause: Using dark coated sheet pans, placing the pan on the bottom oven rack, or an uncalibrated oven running hotter than the dial indicates.
The Fix: Bake on the center rack using heavy light-colored aluminum pans. Hang an independent oven thermometer on your middle rack to confirm actual internal temperature.
Problem 4: Dry, Crumbly Dough That Won’t Hold Together
The Cause: Using medium or small eggs rather than US Large eggs, or excess flour packed into the measuring cup.
The Fix: Large eggs provide roughly 50 grams of liquid each. If the dough seems dry, knead in 1 tablespoon of room-temperature milk or water to restore proper hydration.
Storage, Freezing, and Make-Ahead Dough Instructions
A fresh chocolate chip cookie straight from the oven is unmatched. Fortunately, this dough handles freezing exceptionally well, letting you bake small portions on demand.
Storing Baked Cookies
Allow the cookies to cool completely to room temperature on a wire rack before packing them away. Storing warm cookies traps condensation, turning crisp edges soggy.
Keep them in an airtight glass or BPA-free container at room temperature for up to 5 days. Place a plain slice of white sandwich bread inside the container; the cookies absorb moisture from the bread to stay soft without altering their flavor.
Freezing Raw Dough Balls
Scoop the dough into individual mounds onto a parchment-lined baking sheet and freeze until rock solid (about 1 hour). Transfer the frozen dough balls into a zip-top freezer storage bag, press out excess air, and label with the date.
Freeze for up to 3 months. When craving cookies, bake directly from frozen at 350°F (175°C) for 12 to 14 minutes without thawing.
Freezing Baked Cookies
Layer baked cookies between sheets of parchment paper in a freezer-safe container. Freeze for up to 2 months.
To refresh, warm frozen cookies in a 300°F (150°C) toaster oven for 4 to 5 minutes to restore their crisp exterior and melty center.
High-Altitude and Dietary Adjustments
Environmental factors and nutritional preferences require deliberate recipe adjustments to protect the finished texture.
High-Altitude Baking Adjustments (Above 3,500 Feet)
Lower atmospheric pressure causes leaveners to expand faster and liquids to evaporate quickly. At high elevations, cookies often over-expand and collapse into thin, dry sheets.
- Flour: Add 2 to 3 tablespoons of all-purpose flour to strengthen the dough structure.
- Baking Soda: Reduce baking soda to 3/4 teaspoon to prevent premature gas expansion.
- Liquid: Add 1 to 2 tablespoons of milk or water to offset rapid evaporation.
- Oven Temperature: Increase baking temperature to 390°F (199°C) to set the structure before it over-spreads.
Gluten-Free Substitution Guidelines
Substitute an equal weight (280g) of a high-quality 1:1 gluten-free baking blend containing xanthan gum. Gluten-free starches absorb liquid more slowly than wheat flour.
Let the mixed gluten-free dough rest at room temperature for 30 minutes before scooping. This rest step hydrates the rice flours and eliminates gritty mouthfeel.
Baking Calculators and Trusted Resources
Reliable kitchen resources simplify batch scaling and temperature accuracy.
- King Arthur Baking Ingredient Weight Chart: An exceptional reference for verifying accurate metric weights across various flour and sugar brands.
- USDA FoodData Central: Precise nutrient composition data for butter fat, egg solids, and sugars.
- National Center for Home Food Preservation: Guidelines on safe food handling and egg pasteurization temperatures.
- Digital Kitchen Scale: Any standard digital scale with 1-gram precision will dramatically improve your baking consistency.
Related Baking Guides
Expand your home baking skills with these related step-by-step guides:
- How to Make Brown Butter Chocolate Chip Cookies
- Baking Soda vs. Baking Powder: Chemical Leavening Explained
- The Science of Creaming Butter and Sugar Properly
- Old-Fashioned Soft Peanut Butter Cookies
- Tested & Reviewed: The Best Aluminum Baking Sheets for Even Bakes
- Fudgy Double Chocolate Bakery Cookies
Key Takeaways for Success
Keep these core principles in mind whenever you bake chocolate chip cookies:
- Weigh your dry ingredients: Measuring 280 grams of flour eliminates the primary cause of dry, pale, cakey cookies.
- Mind the butter temperature: Softened means cool and pliable (65°F), not melting or warm to the touch.
- Do not over-mix: Stop the mixer the second flour pockets vanish to keep gluten tender and soft.
- Chill before baking: A brief 30-minute rest in the refrigerator solidifies butterfat and develops deeper caramelization.
- Rely on visual cues: Pull cookies when edges are golden brown but centers appear slightly underbaked.
Start Your Next Batch
Baking the classic Toll House cookie recipe is an essential skill for any home cook. With weighed ingredients, controlled butter temperatures, and careful baking times, you will turn out golden, bakery-quality cookies every time.
Preheat your oven, grab your kitchen scale, and enjoy the process of making this timeless American favorite.
Frequently Asked Questions (FAQ)
Why did my Toll House cookies turn out flat?
Cookies turn out flat when butter is melted or too warm during creaming. Warm butter lacks the structure to hold trapped air, causing dough to spread rapidly across the pan before flour starches set. Placing chilled dough onto completely cool baking sheets prevents premature spreading.
Can I use melted butter instead of softened butter?
Using melted butter changes the dough structure entirely. Melted butter cannot properly hold air pockets during creaming, producing thinner, greasier cookies with crisp, lacy edges rather than thick, chewy centers. For classic texture, stick to butter softened to 65°F.
Why are my chocolate chip cookies puffy and cakey?
Puffy, cake-like cookies are almost always caused by excess flour. Scooping directly with a measuring cup packs flour tightly, adding up to 30% more starch than intended. Weighing out 280 grams of flour on a kitchen scale solves this issue immediately.
Should I use salted or unsalted butter for Toll House cookies?
Unsalted butter is standard because it gives you precise control over sodium levels. Salt content varies widely between butter brands. If you only have salted butter, reduce the added fine sea salt in the recipe from 1 teaspoon to 1/2 teaspoon.
How do I make Toll House cookies extra chewy?
To maximize chewiness, increase brown sugar to 1 cup while cutting white granulated sugar to 1/2 cup. Replace one whole egg with a single egg yolk. Brown sugar attracts moisture, while the extra yolk provides fat and richness without drying egg white albumen.
Is chilling the Toll House cookie dough necessary?
While the original recipe allows immediate baking, chilling dough for 30 minutes to 24 hours improves both texture and flavor. Cold dough spreads more evenly in the oven, and resting lets flour enzymes break down starches into complex, caramel-like sugars.
Can I bake Toll House cookies on parchment paper or foil?
Use parchment paper rather than aluminum foil. Parchment provides clean release and balanced thermal insulation. Aluminum foil conducts heat aggressively, which scorches the bottoms of your cookies before the centers have finished baking through.
How can you tell when chocolate chip cookies are done baking?
Look for golden brown, set edges and a pale, slightly soft center. Cookies continue cooking on the hot baking sheet for several minutes after removal from the oven. If the center looks fully browned inside the oven, the finished cookie will turn out hard and dry once cooled.