
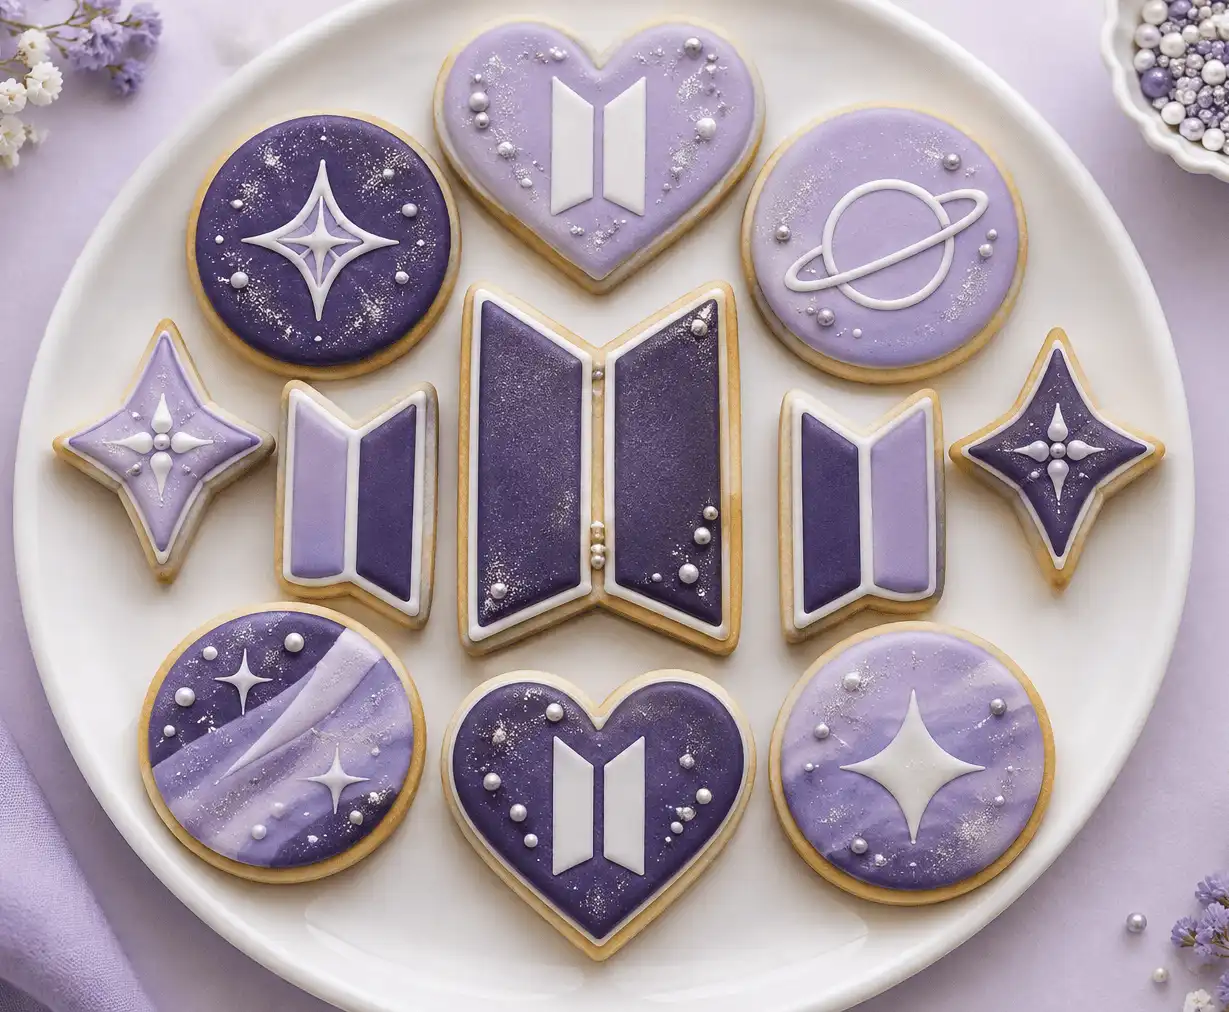
BTS-inspired cookies are a fun way to bring music, color, and creativity into a birthday party, comeback celebration, viewing night, or handmade gift box. With the right dough, clean cookie cutter shapes, and simple decorating techniques, you can make polished treats that feel personal without needing professional baking skills. This guide walks through the full process, from choosing a bts logo cookie cutter to baking, icing, packaging, and avoiding common mistakes.
What makes BTS-inspired cookies work so well?
BTS-inspired cookies work because they combine recognizable shapes, soft colors, and fan-focused details in a format that is easy to share. A logo cookie cutter gives the design its foundation, while icing, sprinkles, edible shimmer, and packaging help create the finished look. The best results come from planning the design before baking, using a dough that holds its shape, and keeping the decorations clean rather than overcrowded.
These treats are also flexible. You can keep them simple with purple icing and a crisp logo outline, or build a whole dessert set using hearts, stars, microphones, music notes, albums, and initials. If you are making cookies for personal use, fan events, or gifts, BTS-inspired designs can feel just as exciting as bts merchandise because they are handmade and edible.
One important note: if you plan to sell decorated cookies using protected logos, names, or branding, check the relevant trademark and licensing rules first. For personal parties and gifts, inspiration-based designs are common. For commercial sales, it is safer to use general K-pop themes, purple color palettes, and music-inspired cookie cutter shapes unless you have permission.
Choosing the right cookie cutter shapes
The cutter determines how clean the finished cookie looks. Thin, detailed cutters can look beautiful, but they may be harder to use with soft dough. A simple bts logo cookie cutter or a clean emblem-style cutter is usually easier for beginners because the shape remains clear after baking.
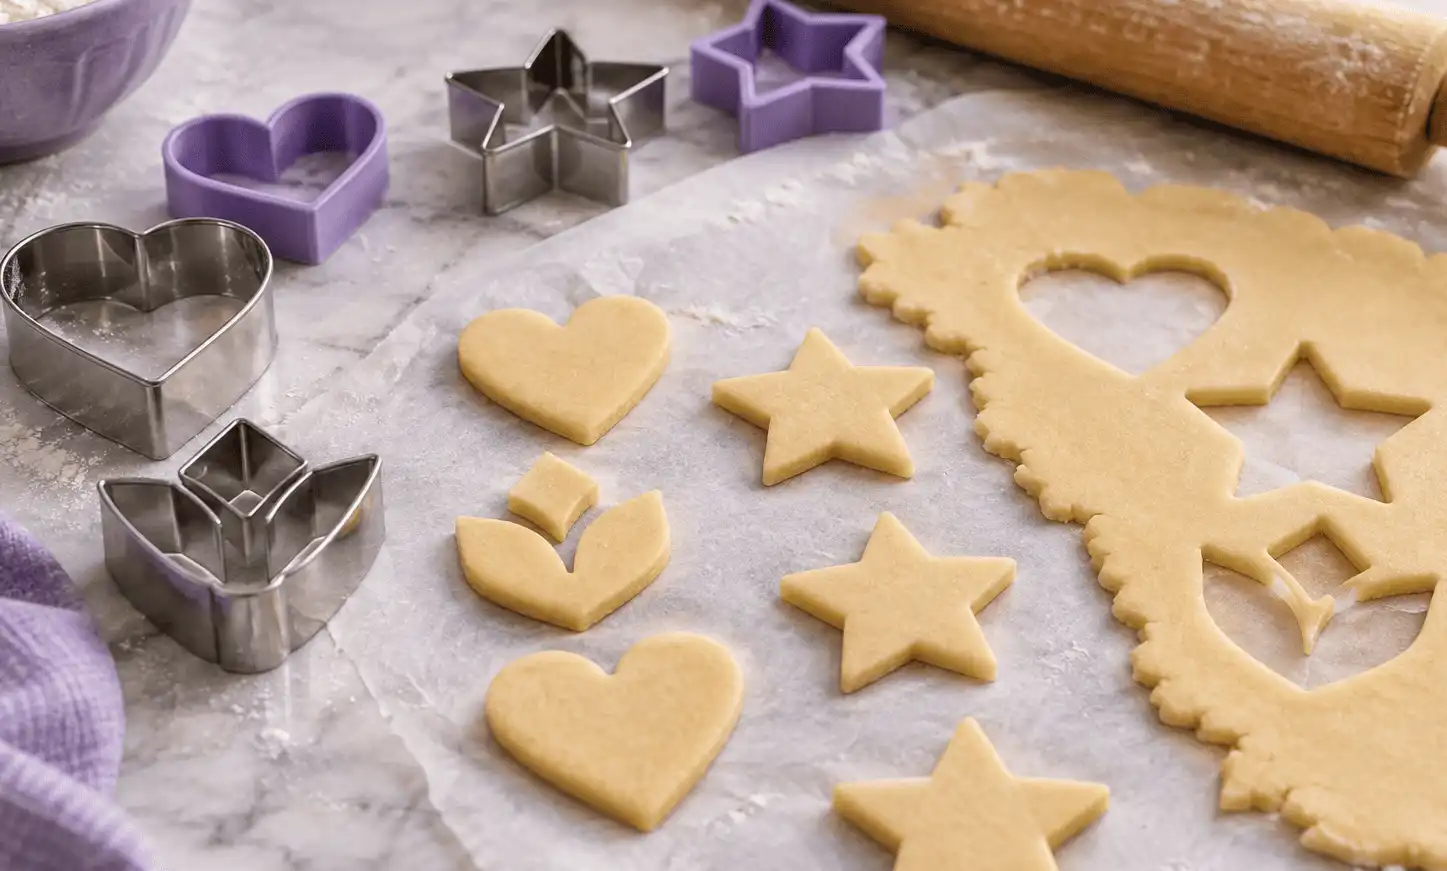
When choosing cutters, look for:
- Sharp, defined edges so the dough cuts cleanly.
- A sturdy grip that does not bend when pressed.
- Medium size for easier decorating and packaging.
- Smooth interior details that release dough without tearing.
- Food-safe material if the cutter is 3D printed or plastic.
You do not need to use only one design. A complete treat box often looks better with a mix of cookie cutter shapes, such as:
- Logo-inspired cookies as the main feature.
- Purple hearts for color and softness.
- Stars for a concert-night feel.
- Circles for message cookies.
- Rectangles for album-card style designs.
- Microphones or music notes for a performance theme.
If you already collect bts merchandise, use it as visual inspiration. Look at colors, packaging, patterns, and symbols. Then translate those ideas into edible details instead of trying to copy every element exactly.
Ingredients and equipment for clean, sharp cookies
A cut-out sugar cookie dough is the best base because it can hold detailed shapes. The key is using enough flour for structure, chilling the dough properly, and avoiding excess baking powder, which can make cookies spread.
Cookie ingredients
For about 24 medium cookies, gather:
- 2 3/4 cups all-purpose flour.
- 1/2 teaspoon baking powder.
- 1/4 teaspoon fine salt.
- 1 cup unsalted butter, softened but not melted.
- 3/4 cup granulated sugar.
- 1 large egg.
- 2 teaspoons vanilla extract.
- 1/2 teaspoon almond extract, optional.
- Extra flour for rolling.
Decorating ingredients
For a simple BTS-inspired finish, use:
- Royal icing or firm sugar cookie icing.
- Purple gel food coloring.
- White icing for outlines and lettering.
- Black or silver edible marker.
- Edible glitter or shimmer dust, optional.
- Sanding sugar, sprinkles, or small edible pearls.
Gel coloring works better than liquid coloring because it gives stronger color without thinning the icing too much. Purple can shift as it dries, so mix a small amount first and let it sit for a few minutes before adjusting.
Recommended tools
Good tools make the process smoother. You do not need a professional kitchen, but a few items help a lot:
- A kitchen scale for more accurate flour measurement.
- An electric mixer for creaming butter and sugar evenly.
- A silicone spatula for scraping the bowl without overmixing.
- A rolling pin with thickness guides.
- Parchment paper or silicone baking mats.
- Light-colored baking sheets.
- A cooling rack.
- Piping bags with small round tips.
- Toothpicks or a scribe tool for guiding icing.
- Airtight containers for storing finished cookies.
If you are baking for a larger event, prepare extra dough. Detailed logo cookie cutter designs can sometimes break during transfer or decorating, especially while you are learning.
Step-by-step baking guide
Follow these steps in order for cookies that keep their shape and look neat after decorating. Move slowly during the rolling, chilling, and cutting stages. Those are the moments that matter most for sharp edges.
1. Plan your design before mixing
Decide which cookie cutter shapes you want to use. Choose your main logo cutter, then add supporting shapes like hearts, stars, circles, or music notes. Sketch a quick color plan so you know which cookies need purple icing, white outlines, lettering, or sprinkles.
2. Prepare your workspace
Clear a flat surface for rolling dough. Line your baking sheets with parchment paper. Set out your cookie cutters, rolling pin, spatula, and cooling rack before you start mixing.
3. Measure the dry ingredients
Add the flour, baking powder, and salt to a bowl. Whisk them together until evenly combined. If possible, use a kitchen scale so the dough is not too dry or too sticky.
4. Cream the butter and sugar
Place softened butter and sugar in a mixing bowl. Beat with an electric mixer on medium speed until the mixture looks pale and fluffy. This usually takes a few minutes and helps create a smooth cookie texture.
5. Add the egg and extracts
Mix in the egg, vanilla extract, and almond extract if using. Beat only until combined. Scrape the sides of the bowl with a silicone spatula so everything blends evenly.
6. Add the dry ingredients slowly
Add the flour mixture in two or three additions. Mix on low speed after each addition. Stop as soon as the dough comes together, because overmixing can make cookies tough.
7. Divide and chill the dough
Divide the dough into two flat discs. Wrap each disc in plastic wrap or place it in an airtight bag. Chill for at least one hour so the dough firms up and cuts cleanly.
8. Roll the dough evenly
Lightly flour your surface or roll the dough between sheets of parchment paper. Roll to an even thickness, about 1/4 inch. Even thickness helps all cookies bake at the same pace.
9. Cut the shapes carefully
Press your bts logo cookie cutter straight down into the dough. Do not twist unless the cutter design requires it. Lift the cutter gently, then use a thin spatula to move each cookie to the baking sheet.
10. Chill the cut cookies again
Place the baking sheet with cut cookies in the refrigerator for 10 to 15 minutes. This second chill helps prevent spreading. It is especially useful for detailed cookie cutter shapes.
11. Bake until just set
Bake in a preheated oven at 350°F. Most medium cookies need 8 to 11 minutes. Pull them out when the edges look set and the bottoms are lightly golden, not dark brown.
12. Cool completely
Let the cookies rest on the baking sheet for a few minutes. Then transfer them to a cooling rack. Do not decorate warm cookies, because icing will melt, run, or dry unevenly.
13. Outline the design
Fill a piping bag with thicker icing. Outline the logo shape or the outer edge of each cookie. Let the outline sit for several minutes so it can act as a border for thinner icing.
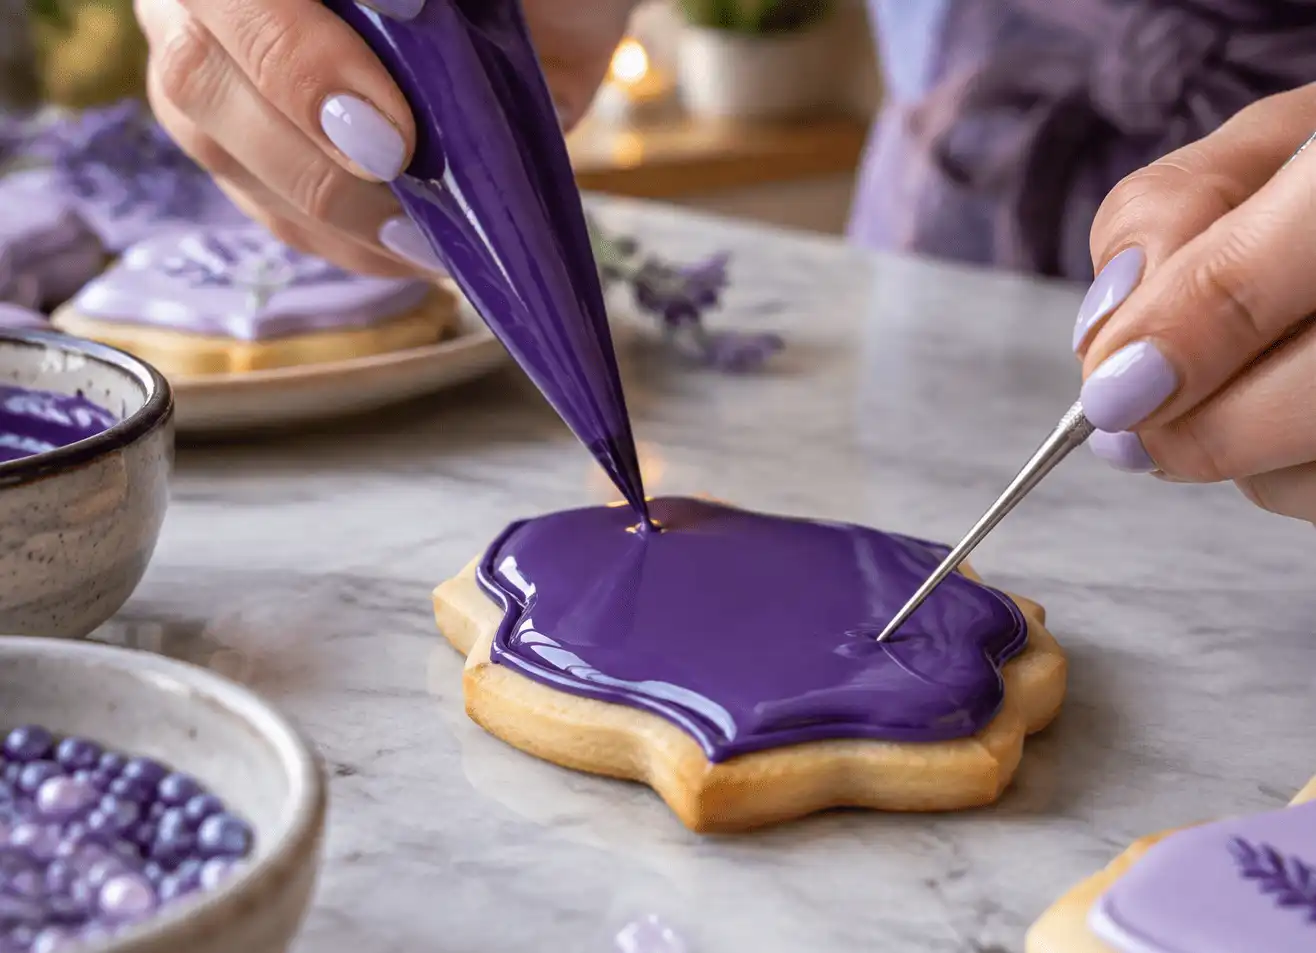
14. Flood with color
Use slightly thinner icing to fill the outlined area. Purple is a classic choice for BTS-inspired treats. Use a toothpick or scribe tool to push icing into corners and pop air bubbles.
15. Add details after the base sets
Wait until the flood icing crusts over before adding white lines, initials, stars, dots, or shimmer. Layered decorating looks cleaner when each section has time to dry. Keep details simple for a polished finish.
16. Dry and package properly
Let decorated cookies dry fully before stacking. This may take several hours or overnight, depending on the icing. Once dry, place them in treat bags, bakery boxes, or airtight containers.
Decorating ideas that feel polished, not crowded
The easiest mistake is trying to fit too many ideas onto one cookie. Small cookies need simple decoration. Large cookies can handle more detail, but they still look best with strong contrast and breathing room.
Try these combinations:
- Purple logo cookies: Purple flood icing with a white outline.
- Concert set: Stars, microphones, and hearts in purple, black, silver, and white.
- Gift box set: One logo cookie, one message cookie, one heart, and one music note.
- Minimal set: White cookies with fine purple linework.
- Celebration set: Purple icing, edible glitter, and small pearl accents.
For message cookies, keep the wording short. Tiny lettering is hard to pipe and easy to smudge. Use edible markers on dry icing if you want cleaner writing.
How do you keep detailed cutters from losing shape?
Detailed cutters hold their shape best when the dough is cold, the recipe is low-spread, and the cookies are handled gently. Warm dough softens fast, especially around narrow points and interior details. If the dough starts sticking, pause and chill it instead of adding too much flour.
Use these shape-saving habits:
- Chill the dough before rolling.
- Chill the cut cookies before baking.
- Avoid twisting the cutter while pressing.
- Use parchment paper to move delicate pieces.
- Bake similar sizes together.
- Keep scraps chilled before rerolling.
Rerolling scraps too many times can make cookies tougher and less smooth. Gather scraps, press them together gently, chill again, and roll only when firm.
Flavor variations for fan-party dessert boxes
Classic vanilla sugar cookies are reliable, but you can add small flavor changes without affecting the design. Keep the dough sturdy and avoid chunky add-ins, which can interfere with clean cutter edges.
Good flavor options include:
- Lemon vanilla: Add fine lemon zest for a bright flavor.
- Almond vanilla: Use a small amount of almond extract for bakery-style depth.
- Chocolate sugar cookie: Replace part of the flour with cocoa powder, using a tested recipe if possible.
- Brown sugar vanilla: Swap some granulated sugar for brown sugar for a warmer taste.
- Cinnamon sugar: Add a light amount of cinnamon for cozy dessert trays.
If you want vivid purple icing, pair it with a pale cookie base. Chocolate cookies look beautiful with white or silver icing, but purple may appear less bright unless you use an opaque icing layer.
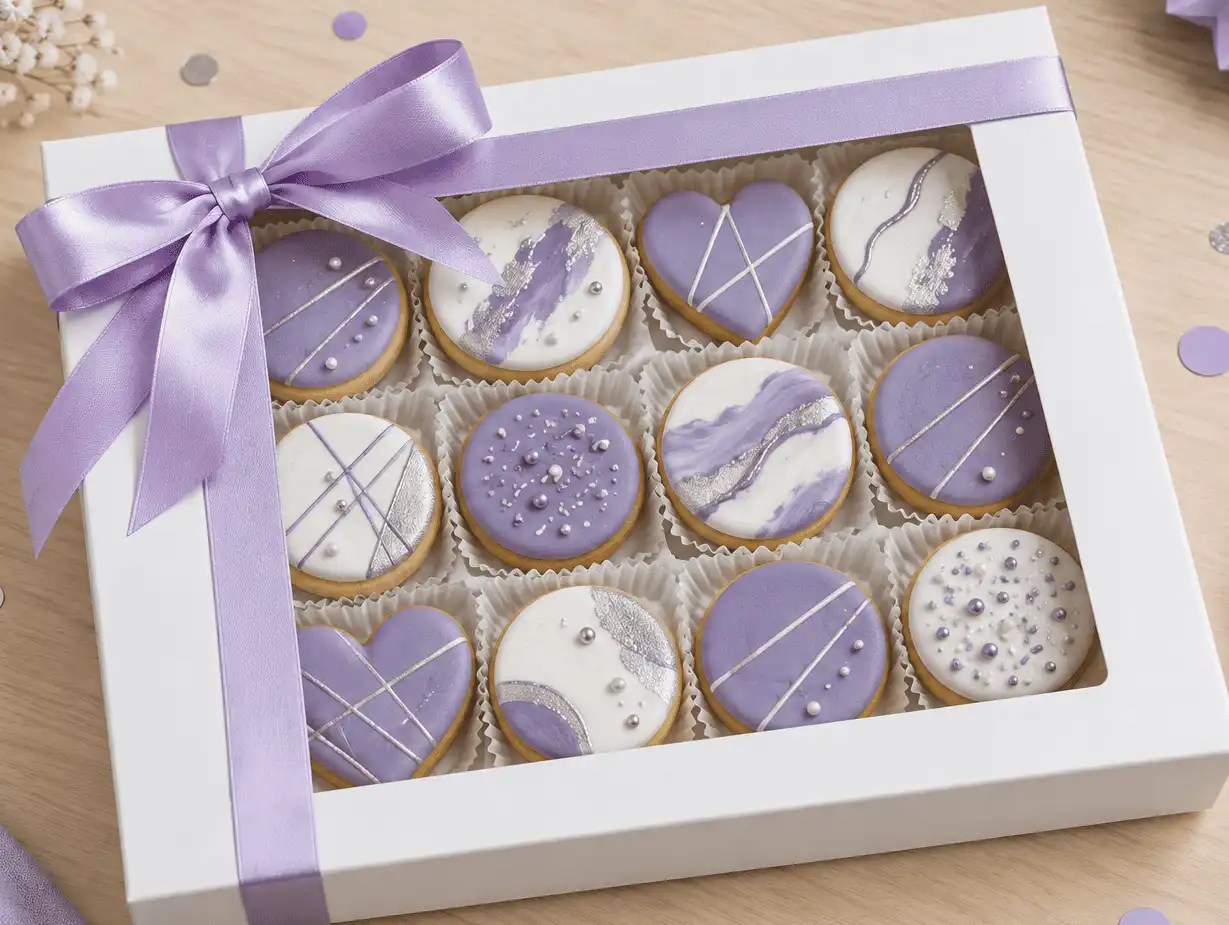
Packaging and presentation ideas
Presentation turns homemade cookies into a thoughtful gift. If your cookies are inspired by bts merchandise, think about the same details that make collectible items exciting: color coordination, neat arrangement, and a sense of reveal.
Simple packaging ideas include:
- Clear treat bags tied with purple ribbon.
- Small bakery boxes with tissue paper.
- Cookie sets arranged by shape and color.
- Handwritten notes or event tags.
- Mini dessert boards for watch parties.
- Individual wrapped cookies for party favors.
Make sure icing is completely dry before packaging. If moisture gets trapped, the surface can soften or smear. For longer storage, keep cookies in airtight containers at room temperature, away from heat and direct sunlight.
Troubleshooting common cookie problems
Even experienced bakers run into issues with cut-out cookies. Most problems come from dough temperature, flour balance, baking time, or icing consistency. Small adjustments can make your next batch much cleaner.
The cookies spread too much
The dough was likely too warm, too soft, or too high in leavening. Chill the dough longer and chill the cut shapes before baking. Make sure your butter is softened, not melted.
The cutter sticks to the dough
Dip the cutter lightly in flour and tap off the extra. If sticking continues, the dough is too warm. Put it back in the refrigerator for 10 minutes.
The icing runs over the edges
The flood icing is too thin or the outline was not firm enough. Use thicker icing for borders. Let the outline set before filling the center.
The color dries unevenly
Icing can dry blotchy if it is overmixed, too wet, or exposed to moving air. Stir gently and let cookies dry in a stable area. Avoid placing them directly under a fan.
Fine details look messy
Use a smaller piping tip or an edible marker on dry icing. For a detailed logo cookie cutter, let the shape do most of the work and keep the decoration minimal.
Best practices for a smoother baking day
A little preparation can make the whole project feel easier. This is especially true if you are baking for a party or preparing several dozen cookies at once.
Before you begin, remember to:
- Bake a test cookie before committing to a full tray.
- Keep dough cold between batches.
- Use light-colored pans for more even bottoms.
- Sort cutters by size so baking times stay consistent.
- Decorate in stages instead of rushing every detail.
- Make extra icing in your main colors.
- Let finished cookies dry overnight if they need to be stacked.
If children or beginner bakers are helping, give them simpler shapes to decorate. Hearts, circles, and stars are easier than detailed logo designs and still fit the theme beautifully.
Bringing the theme together
BTS-inspired cookies do not need to be complicated to feel special. Start with a reliable dough, choose a clean bts logo cookie cutter or a mix of music-themed cookie cutter shapes, and decorate with a focused color palette. Purple, white, silver, and black can create a strong look with very little effort.
The best part is the personal touch. Whether you are making treats for a concert stream, birthday, fan meetup, or gift box, these cookies can feel meaningful without needing to be perfect. Plan the shapes, chill the dough, decorate patiently, and let the finished set celebrate the music, the fandom, and the joy of making something by hand.