
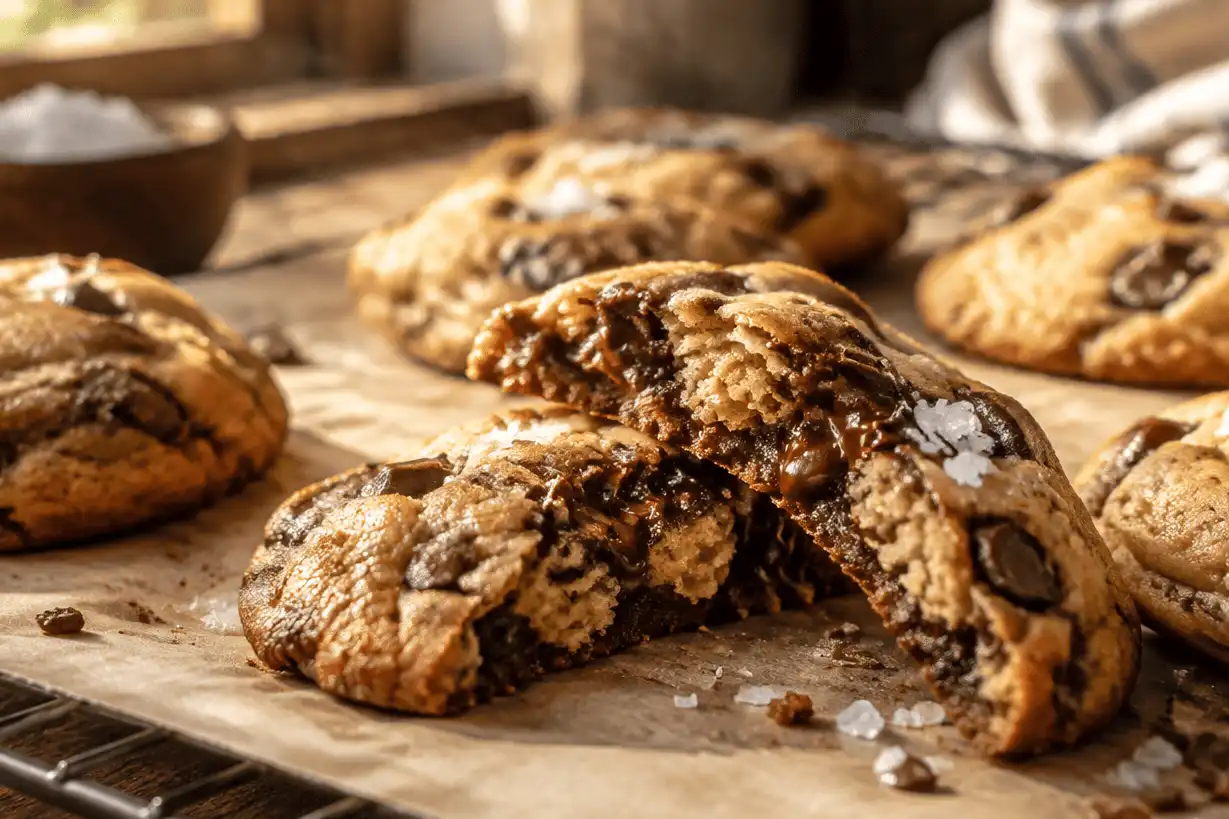
Perfect cookies come from balancing a few simple choices: accurate measuring, thoughtful mixing, proper chilling, and careful baking. Whether you want fresh cookies for a weeknight treat, gourmet cookies for gifting, or a bakery cookie jar that always feels inviting, this guide walks you through the process from ingredients to decoration and storage. You will also get a dependable base recipe that can be adapted into many cookie flavors without losing texture.
What makes a cookie taste bakery-quality?
A bakery-quality cookie usually has contrast: crisp edges, a soft or chewy center, balanced sweetness, and enough flavor to feel memorable without becoming heavy. That result starts before the tray enters the oven. Room-temperature butter creams more evenly, a kitchen scale keeps the dough consistent, and chilling gives the flour time to hydrate so the cookies spread less and taste fuller.
The best cookie bakery results are not about complicated techniques. They come from paying attention to small details that are easy to repeat. Measure precisely, mix only as much as needed, give the dough time to rest, and bake until the cookies look slightly underdone in the center. They will continue setting on the hot baking sheet after leaving the oven.
Ingredients for soft, chewy cookies
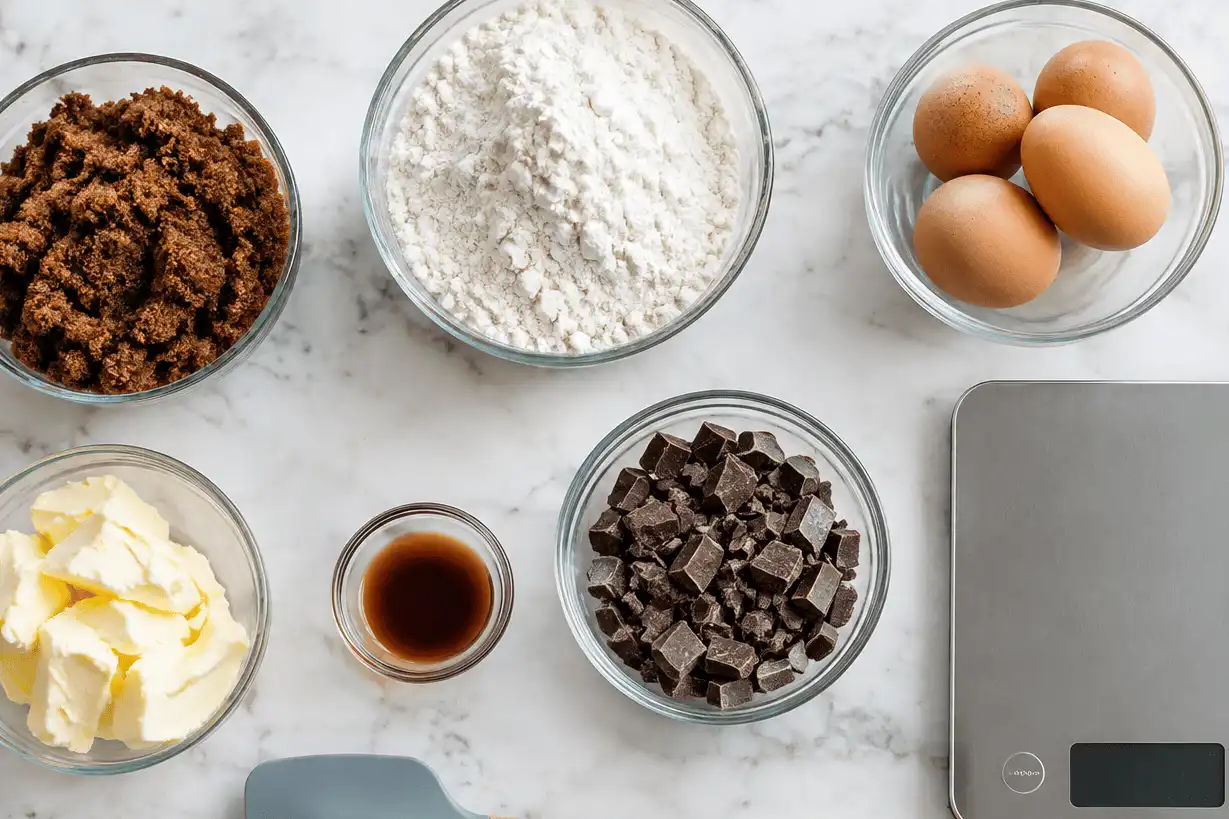
This recipe makes about 24 medium cookies. For the most reliable result, use a digital kitchen scale, two rimmed baking sheets, parchment paper or silicone baking mats, an electric mixer, a silicone spatula, a medium cookie scoop, and a wire cooling rack. If you plan on cookie decorating, keep piping bags, small round piping tips, and gel food coloring ready for the finishing stage.
Base cookie dough
- 226 g unsalted butter, softened to room temperature, or 1 cup
- 200 g packed light brown sugar, or 1 cup
- 100 g granulated sugar, or 1/2 cup
- 2 large eggs, room temperature
- 10 g vanilla extract, or 2 teaspoons
- 360 g all-purpose flour, or 3 cups, spooned and leveled if using cups
- 6 g baking soda, or 1 teaspoon
- 4 g fine sea salt, or 3/4 teaspoon
- 300 g semisweet chocolate chips or chopped chocolate, or 1 3/4 cups
- Optional finishing salt, 1 to 2 g, or a small pinch per tray
Optional flavor additions
Choose one add-in group to create different cookie flavors without changing the base structure too much:
- Double chocolate: Replace 30 g / 1/4 cup flour with 25 g / 1/4 cup unsweetened cocoa powder and add 170 g / 1 cup white or dark chocolate chunks.
- Oat pecan: Add 90 g / 1 cup old-fashioned oats and 100 g / 1 cup chopped toasted pecans.
- Citrus sugar: Add 6 g / 1 tablespoon finely grated orange or lemon zest and reduce chocolate to 200 g / 1 1/4 cups.
- Birthday cookie: Add 120 g / 3/4 cup white chocolate chips and 60 g / 1/3 cup rainbow sprinkles.
Step-by-step baking instructions
- Prepare the baking setup. Line two rimmed baking sheets with parchment paper or silicone baking mats. Place an oven rack in the center position, but do not preheat yet if you plan to chill the dough for the full recommended time.
- Measure the ingredients accurately. Use a kitchen scale for the flour, sugars, and chocolate whenever possible. If using cups, spoon flour into the measuring cup and level it with a knife rather than scooping directly from the bag, which can pack in too much flour.
- Cream the butter and sugars. Add the softened butter, brown sugar, and granulated sugar to the bowl of an electric mixer. Beat on medium speed for 2 to 3 minutes, until the mixture looks lighter and slightly fluffy. This step helps dissolve some sugar and builds the base texture.
- Add eggs and vanilla. Mix in the eggs one at a time, beating until each egg disappears into the butter mixture. Add the vanilla extract and mix for another 15 to 20 seconds. Scrape the bowl with a silicone spatula so no dense butter streaks stay at the bottom.
- Combine dry ingredients. In a separate bowl, whisk together the flour, baking soda, and fine sea salt. This distributes the leavening evenly, which helps every cookie rise and spread consistently.
- Mix the dough gently. Add the dry ingredients to the butter mixture and mix on low speed just until the flour is mostly incorporated. Stop while a few dry streaks remain, then fold with a silicone spatula. Overmixing can make cookies tougher instead of tender.
- Fold in chocolate or add-ins. Add the chocolate chips or your chosen flavor additions. Fold until evenly distributed. For gourmet cookies, reserve a small handful of chocolate pieces to press onto the tops after scooping.
- Chill the dough. Cover the bowl and refrigerate for at least 45 minutes, or up to 24 hours for deeper flavor. Chilled dough spreads more slowly in the oven, giving you thicker cookies with a more developed taste.
- Preheat the oven. Heat the oven to 175°C / 350°F. Give it enough time to fully preheat; an oven thermometer is helpful because many home ovens run hotter or cooler than the display suggests.
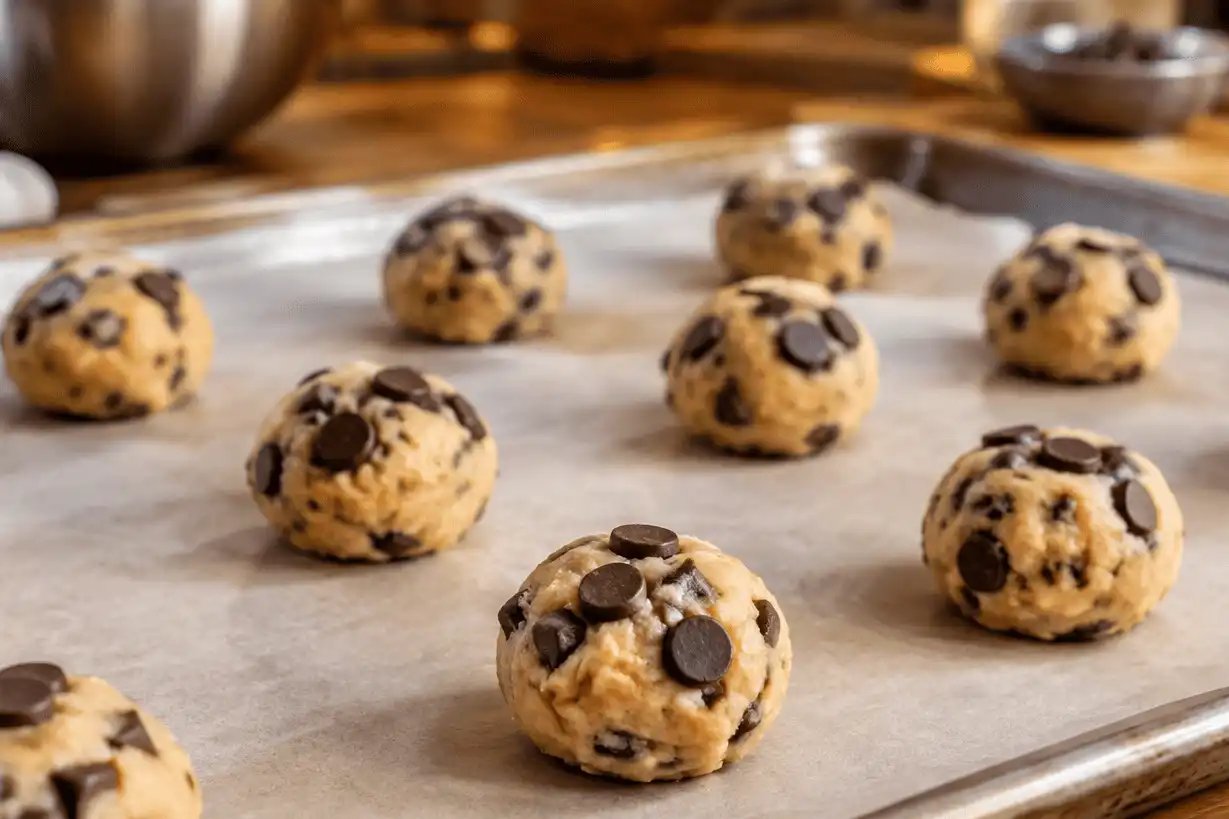
- Scoop the cookies. Use a medium cookie scoop or weigh portions of about 40 g each. Place dough balls at least 5 cm / 2 inches apart on the prepared baking sheets. Press reserved chocolate pieces on top if desired.
- Bake one tray at a time. Bake for 10 to 12 minutes, until the edges are set and lightly golden while the centers still look soft. For even browning, rotate the pan once halfway through if your oven has hot spots.
- Shape and finish. As soon as the tray comes out, use a round cookie cutter or the rim of a glass to gently scoot each cookie into a neat circle. Sprinkle with a tiny pinch of finishing salt if using.
- Cool properly. Let cookies rest on the baking sheet for 8 to 10 minutes, then transfer them to a wire rack. This resting time matters: the centers finish setting without becoming dry.
- Decorate if desired. Once fully cool, use piping bags with royal icing, melted chocolate, or buttercream for cookie decorating. Let decorated cookies set completely before stacking or packing in bakery cookie boxes.
Building better cookie flavors
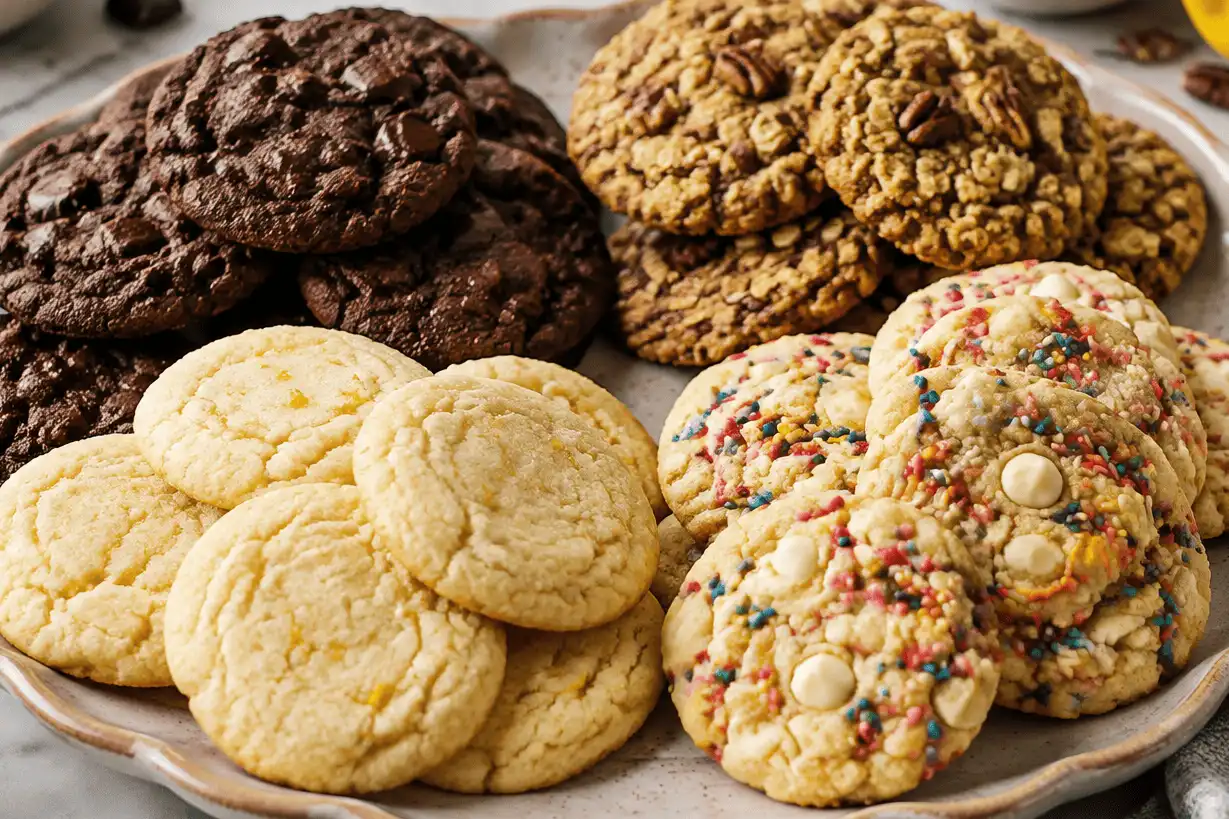
Great cookie flavors begin with a clear direction. A chocolate chip cookie can become richer with chopped dark chocolate, brighter with citrus zest, warmer with cinnamon, or more textured with oats and toasted nuts. The key is not to add everything at once. Choose one main flavor and one supporting flavor so the cookie still tastes intentional.
For fresh cookies that feel more like gourmet cookies, think about contrast. Pair sweet white chocolate with tart dried cranberries, dark chocolate with flaky salt, or brown butter with toasted pecans. If you use moist add-ins, such as jam, fruit puree, or soft caramel, add them carefully because extra moisture can change spread and baking time.
A helpful rule is to keep total mix-ins around 300 to 360 g, or roughly 2 to 2 1/4 cups, for this batch. More than that can make the dough difficult to hold together. If you want oversized cookie bakery-style cookies, scoop 70 g portions and bake a few minutes longer, watching for set edges rather than relying only on the timer.
How should you decorate cookies without making them too sweet?
Decorated cookies work best when the base cookie is flavorful but not overloaded. Let the decoration add visual appeal and a controlled layer of sweetness rather than covering the entire cookie with heavy icing. Use thin lines, small accents, dipped edges, or a drizzle of chocolate when you want the cookie itself to remain the star.
For simple cookie decorating, start with fully cooled cookies. Warm cookies will melt icing and create streaks. A small piping bag gives better control than a spoon, and gel food coloring keeps icing vibrant without thinning it too much. If you are packing bakery cookie boxes, allow icing or chocolate to set until firm to the touch before layering with parchment.
Try these easy finishes:
- Chocolate dip: Dip half of each cookie in melted chocolate, then add sprinkles, crushed nuts, or flaky salt.
- Fine drizzle: Use a piping bag or zip-top bag with a tiny corner cut off for thin chocolate lines.
- Icing details: Add initials, dots, borders, or seasonal shapes without covering the whole surface.
- Textured toppings: Press chopped nuts, sanding sugar, or mini chocolate chips onto dipped edges before they set.
Professional baking tips and tricks
Small adjustments can turn a good batch into one you would proudly place in a bakery cookie jar. These tips help control spread, doneness, storage, and presentation.
- Use the right oven temperature. Bake most drop cookies at 175°C / 350°F for balanced browning and soft centers. If your cookies spread too much, chill the dough longer before raising the oven temperature.
- Check doneness by appearance. Cookies are done when the edges look set and lightly golden, while the centers still appear slightly soft. They should not look wet, but they do not need to look firm in the middle.
- Know the cookie-cake exception. If you press this dough into a cake pan for a cookie cake, bake until the edges are golden and the center is set but still tender. A toothpick should come out with moist crumbs, not raw batter.
- Avoid hot baking sheets. Scooping dough onto a warm tray causes early melting and uneven spread. Rotate between two pans or cool the pan under running water, then dry it well.
- Control thickness. For thicker cookies, chill longer and bake dough balls straight from the refrigerator. For thinner cookies, let chilled dough sit at room temperature for 10 minutes before baking.
- Store for freshness. Keep cooled cookies in an airtight container at room temperature for up to 4 days. For longer storage, freeze baked cookies or unbaked dough balls in airtight bags for up to 2 months.
- Refresh before serving. Warm room-temperature cookies in a low oven for a few minutes to bring back a fresh cookies aroma and soften the centers.
Packaging and serving cookies beautifully
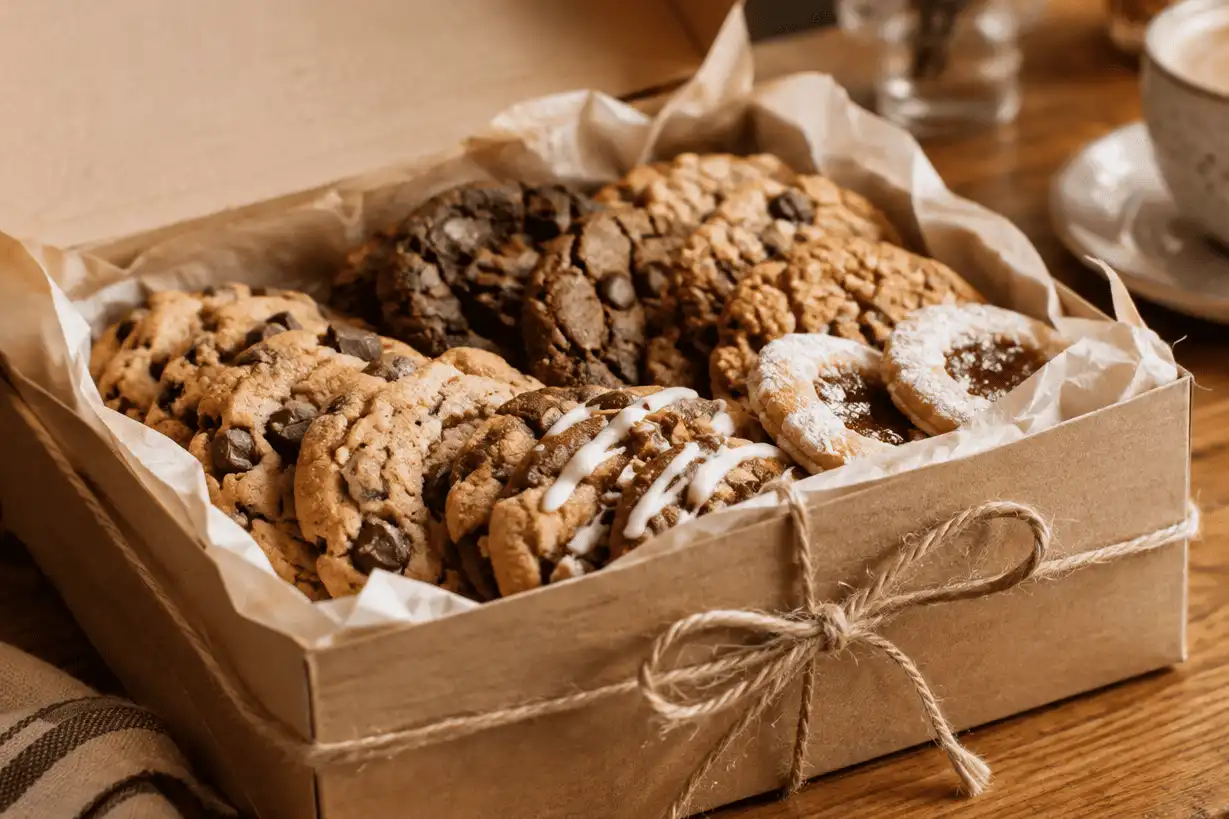
Presentation changes how cookies are experienced before anyone takes a bite. A simple stack in a bakery cookie jar makes everyday cookies feel welcoming, while bakery cookie boxes are better for gifts, parties, and delivery. Let cookies cool completely before packing so steam does not soften edges or blur decorations.
For mixed boxes, group similar textures together. Crisp cookies can lose snap when packed with very soft cookies, and strongly flavored cookies, such as mint or spice, can perfume milder varieties. Use parchment squares between layers and label common flavors if you are serving a crowd.
A balanced box might include one chocolate cookie, one buttery vanilla-based cookie, one nutty or oat cookie, and one decorated seasonal cookie. That variety gives people choice without making the assortment feel random. It also lets the same base recipe become a flexible cookie bakery-style collection.
The repeatable path to better cookies
Perfect cookies are less about luck than consistency. Use precise measurements, mix gently, chill the dough, bake at a steady temperature, and judge doneness by the edges rather than the center alone. Once that foundation is reliable, you can explore endless cookie flavors, decorations, and packaging styles with confidence.
Bake one batch as written before changing the recipe. After that, adjust one thing at a time: a new chocolate, a different extract, a little citrus zest, or a decorative finish. That is how a simple tray of cookies becomes a signature treat worth sharing.