
Crisco chocolate chip cookies are renowned for their pillowy, ultra-soft texture and exceptional height. Because vegetable shortening has a melting point of approximately 115°F to 118°F (compared to butter at 90°F to 95°F), the dough resists rapid spreading in the oven, allowing the flour starches to set before the fat collapses.
Additionally, vegetable shortening contains 100% pure fat with zero water content. This characteristic limits excessive gluten formation and eliminates water vapor spread, producing a tender, melt-in-your-mouth crumb that stays remarkably soft for up to a week at room temperature.
- Texture: Ultra-thick, bakery-style lift with tender, cakey-chewy centers.
- Reliability: Minimal spreading even if baked immediately without dough chilling.
- Shelf Life: Stays soft days longer than all-butter alternatives due to moisture retention.
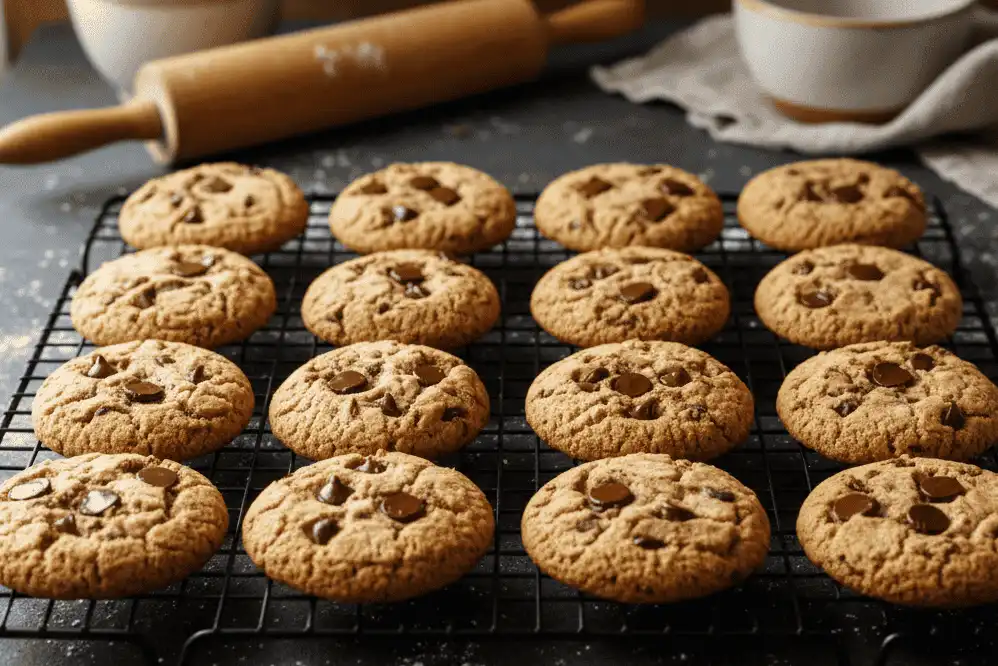
Introduction: The Enduring Appeal of Shortening-Based Cookies
Baking the ideal chocolate chip cookie is one of the most pursued goals in home culinary arts. While all-butter recipes dominate modern social media, experienced home bakers and commercial pastry chefs have long relied on vegetable shortening to produce bakery-style treats that do not fall flat.
This comprehensive guide explores the classic shortening-based method popularized by the heritage “Ultimate Chocolate Chip Cookie” formula. Whether you are a beginner seeking a foolproof batch or an experienced baker refining fat ratios, this manual covers the practical science, exact techniques, and troubleshooting needed for consistent success.
You will learn the precise mechanics of shortening emulsion, the impact of hydration balance, and step-by-step instructions for turning simple pantry staples into tender, golden cookies loaded with melted chocolate pockets.
The Food Science of Shortening in Cookie Dough
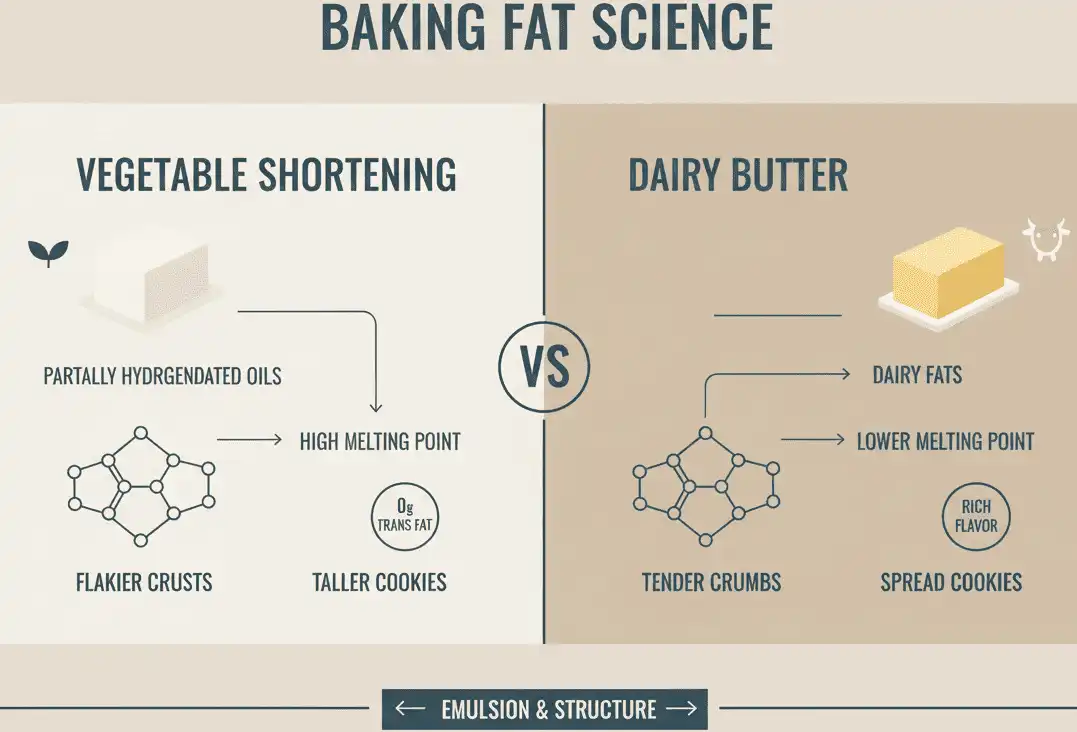
Fat Composition: 100% Fat vs. Emulsified Water
Standard American butter contains approximately 80% to 82% milk fat, 16% to 18% water, and roughly 1% to 2% milk solids. In contrast, all-vegetable shortening like Crisco is 100% hydrogenated or interesterified vegetable oil with zero moisture.
When butter is heated in the oven, its internal water converts to steam, which creates outward expansion and promotes dough spreading. Because shortening contains no water, dough made with Crisco does not release steam from its fat component, resulting in a significantly taller, thicker cookie.
Melting Points and Structural Integrity
Butter melts at human body temperature, between 90°F and 95°F (32°C to 35°C). Vegetable shortening melts at a much higher threshold of 115°F to 118°F (46°C to 48°C).
This 20-degree differential fundamentally alters how cookies behave during the first six minutes of baking. With shortening, the structural proteins in the flour and eggs have time to coagulate and stabilize before the fat liquifies, locking in height and preventing greasy puddles.
Gluten Inhibition and Tenderness
The culinary term “shortening” originates from the ingredient’s ability to shorten gluten strands. Flour proteins (glutenin and gliadin) bond and develop elastic sheets only when exposed to water and physical mechanical agitation.
Because shortening thoroughly coats flour particles without introducing any water, it acts as a physical barrier against extensive gluten bonding. The result is a delicate, tender crumb that yields effortlessly when bitten.
Crisco vs. Butter: Texture, Flavor, and Spread Dynamics
All-Crisco (The Classic Profile)
Cookies prepared exclusively with classic all-vegetable shortening exhibit uniform mounded shapes, crinkled tops, and a soft texture reminiscent of traditional American bakery displays. The neutral flavor of regular Crisco allows the pure notes of brown sugar, pure vanilla extract, and semi-sweet chocolate to take center stage.
Butter-Flavored Crisco
Butter-Flavored Crisco offers the high melting point and stability of shortening while incorporating natural and artificial butter flavor compounds. It produces the golden-yellow hue of a butter cookie without compromising structural height or causing edge spread.
The 50/50 Hybrid Method
Many professional bakeries employ a balanced fat approach by combining 50% unsalted butter with 50% vegetable shortening. This blend captures the rich flavor notes and Maillard browning of dairy fat while preserving the lift and moisture retention provided by shortening.
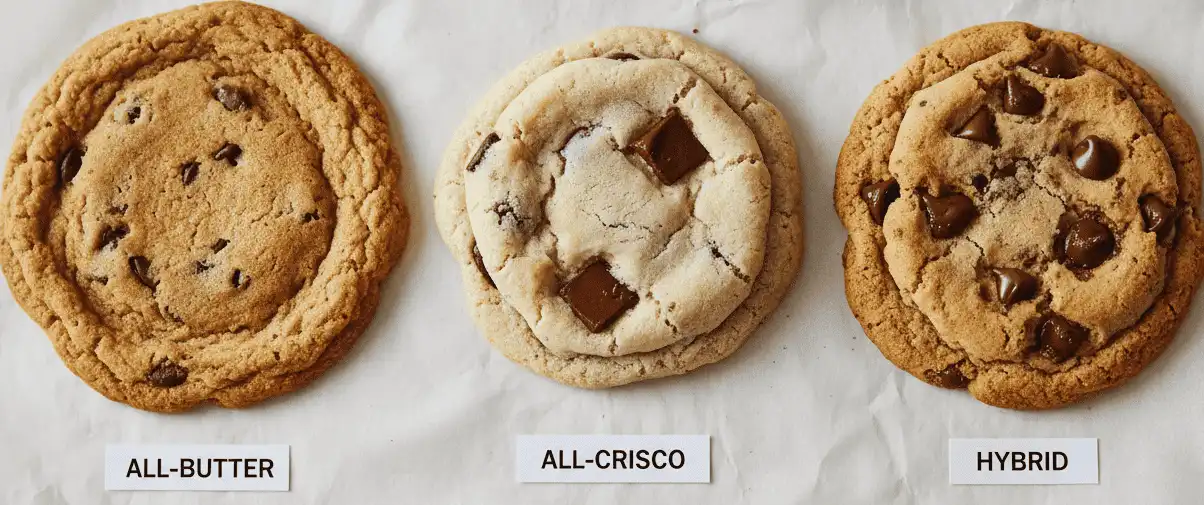
Maillard Reaction and Browning Differences
Butter contains dairy lactose and milk proteins, which undergo rapid Maillard browning and caramelization at temperatures above 300°F (149°C). Cookies made entirely with plain shortening lack these milk proteins, resulting in a paler final appearance.
To compensate for this, traditional shortening recipes rely on higher proportions of dark or light brown sugar. The molasses present in brown sugar provides the necessary sugars and trace minerals to achieve golden, caramelized edges without requiring dairy solids.
Key Ingredients and Measurement Precision
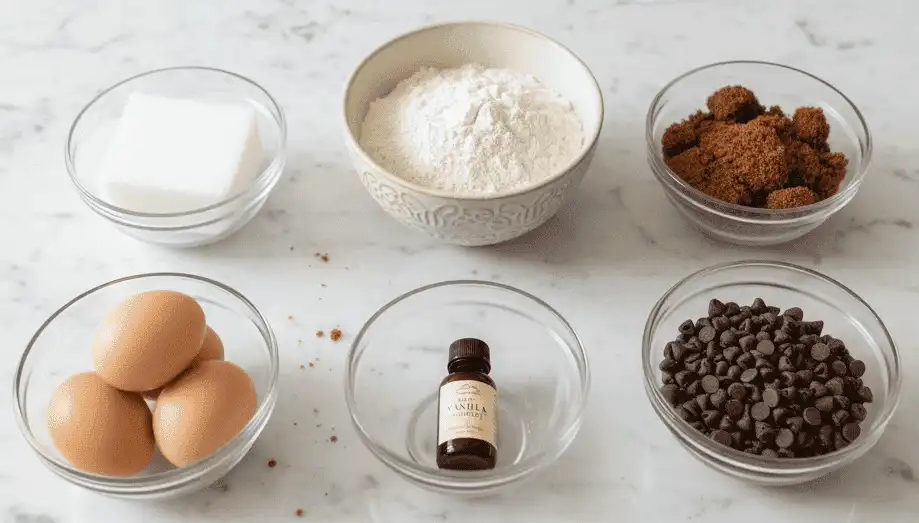
Vegetable Shortening Options
For pastry work, shortening baking sticks provide easier and more accurate measurement than bulk tubs. If measuring from a tub, pack the shortening firmly into a dry measuring cup to eliminate air pockets, or weigh it with a digital kitchen scale (1 cup = 190 grams).
Sugar Balance: Dark Brown vs. Granulated
A ratio of roughly two parts brown sugar to one part granulated white sugar creates the optimal texture for shortening doughs. Brown sugar supplies acidity to activate baking soda, hygroscopic moisture for chewiness, and rich molasses complexity.
The Critical Role of Added Liquid
Because shortening lacks the 16% to 18% water naturally present in dairy butter, standard shortening cookie formulas require added hydration. Adding 2 to 3 tablespoons of whole milk or water hydrates the flour starches and enables proper leavening activation.
Flour Selection and Weighing Methods
Standard unbleached all-purpose flour with an 10.5% to 11.5% protein content is the optimal choice. Always use the spoon-and-level method or a digital scale (1 cup = 120 to 125 grams); scooping directly from the bag with a cup packs excess flour, resulting in dense, dry cookies.
Leavening, Salt, and Flavor Enhancers
Baking soda (sodium bicarbonate) serves as the primary chemical leavener, reacting with the acidic brown sugar to produce carbon dioxide. Fine sea salt balances the sweetness, while double-strength pure vanilla extract rounds out the flavor profile.
Step-by-Step Master Recipe Instructions
- Prep Time: 15 minutes
- Bake Time: 9–11 minutes
- Yield: Approximately 36 cookies (using a #40 / 1.5-tbsp scoop)
- Baking Temperature: 375°F (190°C)
Dry Ingredients:
- 2 ¼ cups (280g) all-purpose flour, spooned and leveled
- 1 teaspoon (5g) baking soda
- 1 teaspoon (6g) fine sea salt
Wet Ingredients:
- ¾ cup (145g) Butter-Flavored Crisco or Classic Crisco Shortening
- ¾ cup (150g) packed light brown sugar
- ½ cup (100g) granulated white sugar
- 2 large eggs (room temperature)
- 2 tablespoons (30ml) whole milk or water
- 1 ½ teaspoons (7.5ml) pure vanilla extract
Inclusions:
- 2 cups (340g) semi-sweet chocolate chips or chopped baking chocolate
- 1 cup (115g) chopped toasted pecans or walnuts (optional)
Step 1: Oven Calibration and Sheet Preparation
What: Preheat your oven to 375°F (190°C) and line two heavy-gauge aluminum baking sheets with unbleached parchment paper.
Why: High initial heat creates rapid outer starch gelatinization, locking the cookie structure before the dough slumps. Parchment paper ensures even bottom heat transfer without over-browning.
How: Position baking racks in the upper-middle and lower-middle thirds of the oven. Avoid greasing cookie sheets with cooking spray, as extra oil accelerates edge spread.
Common Mistake: Using dark, thin non-stick pans which absorb excess radiant heat and burn cookie bottoms.
Pro Tip: Verify actual oven temperature with an internal hanging oven thermometer, as built-in thermostats can drift by 15°F to 25°F.
Step 2: Whisking the Dry Base
What: Whisk together the all-purpose flour, baking soda, and fine sea salt in a medium bowl.
Why: Distributing the leavening agent evenly throughout the flour prevents localized pockets of bitter soda and ensures an even rise.
How: Whisk vigorously for 30 seconds until the dry mixture is aerated and free of clumps.
Common Mistake: Dumping baking soda directly into wet batter without blending it into the flour first.
Pro Tip: If your baking soda has been open for more than six months, test its potency by dropping a half-teaspoon into a tablespoon of vinegar; it should fizz immediately.
Step 3: Creaming Fat and Sugars
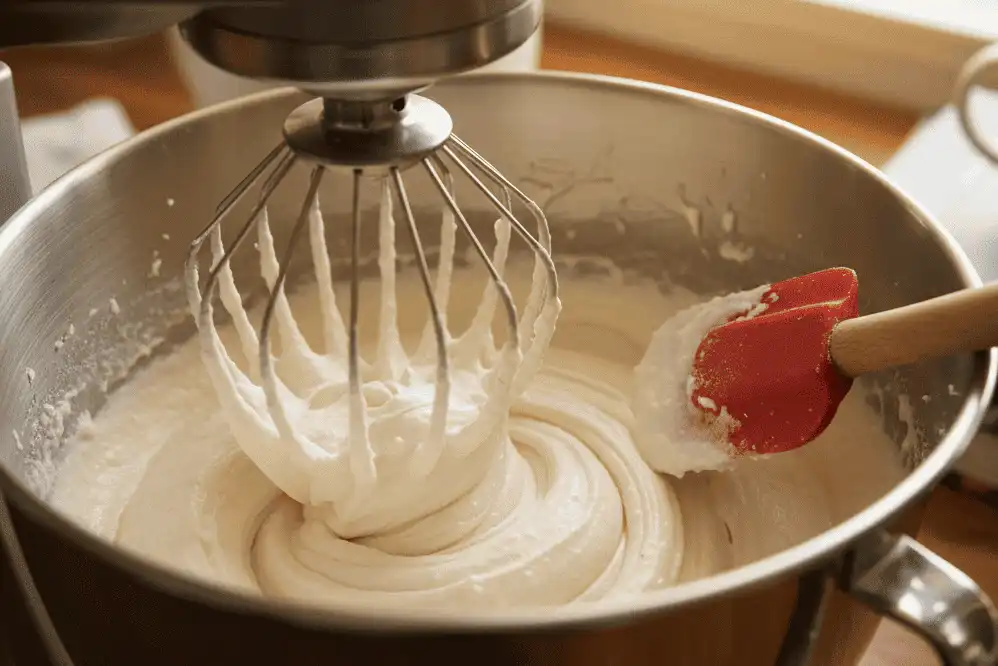
What: Beat the shortening, light brown sugar, and granulated sugar together until smooth and well blended.
Why: The sugar crystals cut into the solid shortening fat, establishing tiny air pockets that aid leavening.
How: In a stand mixer fitted with the paddle attachment (or using a hand mixer), beat on medium speed for 2 minutes. The mixture should appear creamy and slightly lightened, though less fluffy than butter-based creams.
Common Mistake: Over-creaming beyond 3 minutes, which breaks down vegetable fat emulsions and creates oily dough.
Pro Tip: Scrape down the sides and bottom of the mixing bowl with a flexible silicone spatula halfway through mixing.
Step 4: Emulsifying Wet Ingredients and Added Moisture
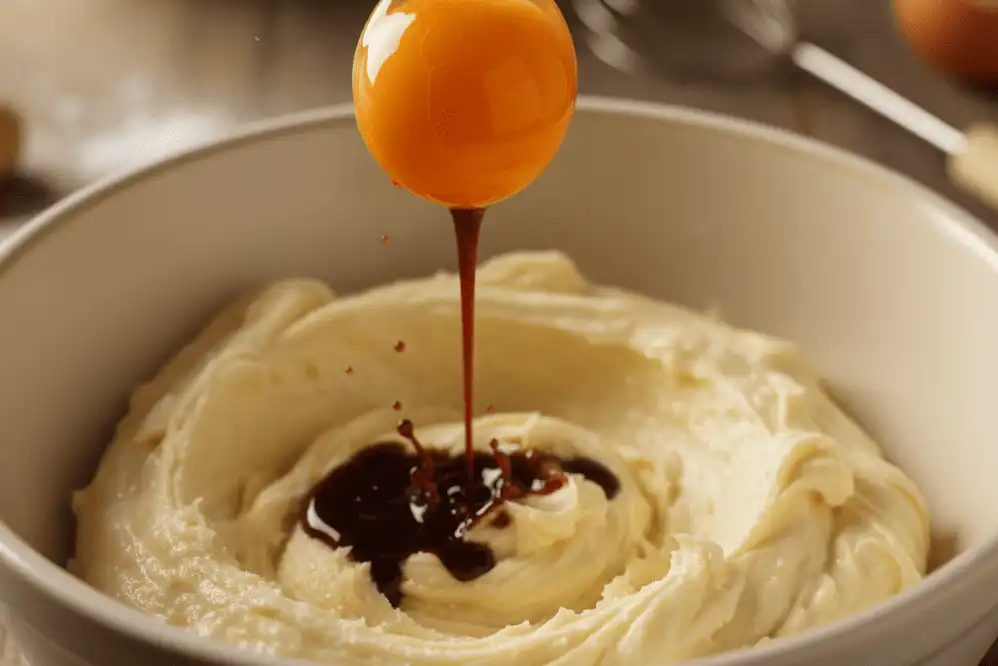
What: Incorporate the room-temperature eggs, milk, and pure vanilla extract into the creamed mixture.
Why: The egg yolks supply lecithin to bind fat with water, while the milk provides necessary hydration for starch expansion.
How: Add the eggs one at a time, mixing on low speed after each addition until incorporated. Pour in the milk and vanilla extract, beating on medium-low for 30 seconds until completely emulsified.
Common Mistake: Adding cold eggs straight from the refrigerator, which can cause shortening to stiffen and bead up.
Pro Tip: Warm cold eggs quickly by placing them in a bowl of lukewarm tap water for 5 minutes prior to cracking.
Step 5: Incorporating the Dry Blend
What: Add the whisked dry ingredients to the wet base and mix until just combined.
Why: Minimizing mixing time at this stage keeps gluten development low, ensuring a tender, non-rubbery crumb.
How: Add the flour mixture all at once. Mix on the lowest speed for 20 to 30 seconds, stopping when a few visible streaks of dry flour remain.
Common Mistake: Running the mixer on medium-high speed, which develops gluten and results in tough, dense cookies.
Pro Tip: Complete the final 10% of mixing by hand with a sturdy spatula to maintain complete control over dough development.
Step 6: Folding Inclusions
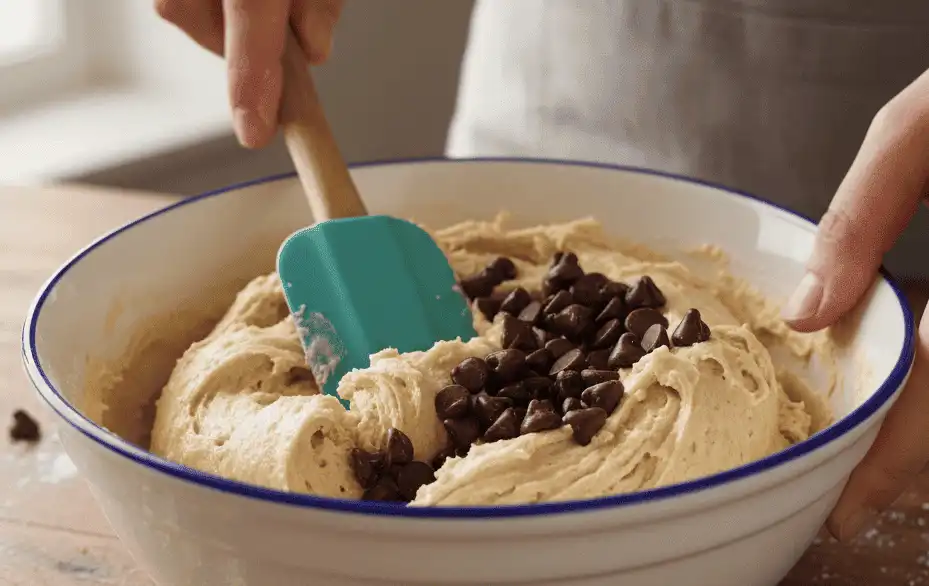
What: Gently fold the semi-sweet chocolate chips and optional toasted nuts into the dough.
Why: Even distribution ensures every portion has a balanced balance of dough and chocolate.
How: Dump the chocolate pieces into the bowl and fold with broad, sweeping spatula strokes from the bottom up.
Common Mistake: Using electric beaters to mix in chocolate, which can shatter the chips and streak the dough.
Pro Tip: Reserve two tablespoons of chocolate chips to press onto the tops of scooped dough mounds before baking for bakery-style visual appeal.
Step 7: Portioning and Shaping
What: Scoop uniform mounds of cookie dough onto the prepared parchment-lined sheets.
Why: Uniform portioning ensures consistent baking times across the entire batch.
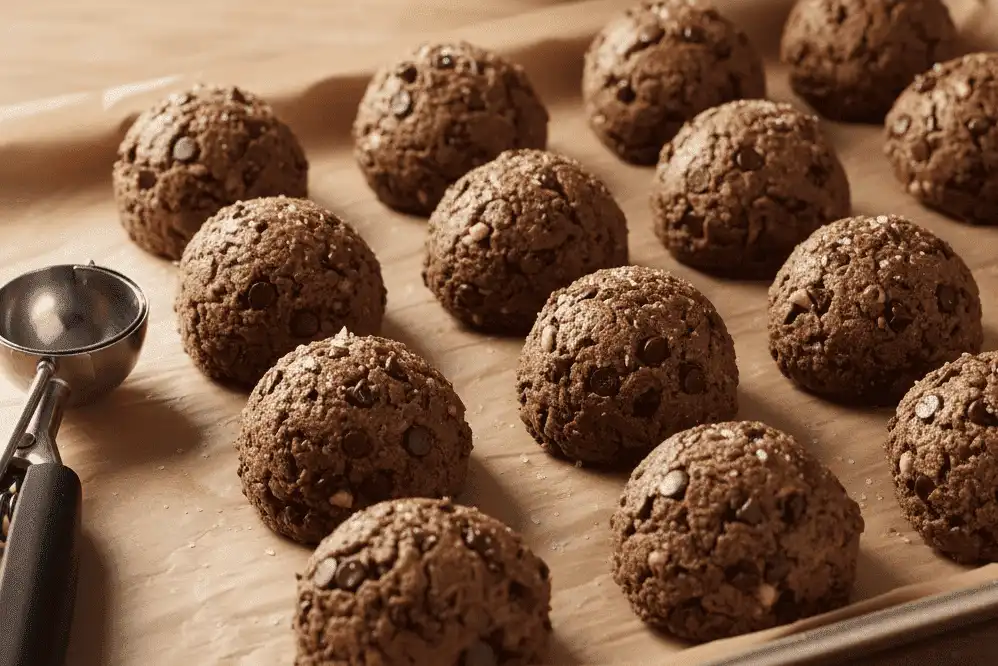
How: Use a spring-loaded #40 cookie scoop (approx. 1.5 tablespoons or 35 grams) to drop dough mounds 2 inches apart on the sheet.
Common Mistake: Flattening the dough balls by hand prior to baking, which negates the natural height retention of shortening.
Pro Tip: Leave the dough mounds in rounded balls; their high melting point will allow them to settle naturally into thick disks.
Step 8: Baking, Visual Cues, and Pan Tapping
What: Bake at 375°F (190°C) for 9 to 11 minutes until the edges are light golden brown.
Why: Shortening cookies remain pale in the center even when fully baked; relying purely on deep color will result in overbaking.
How: Bake one sheet at a time on the center rack. The cookies are ready when the edges are set and lightly golden, while the center surface appears dry but soft.
Common Mistake: Waiting for the centers to brown, which overbakes the shortening base and dries out the interior.
Pro Tip: Immediately after removing the pan from the oven, tap the sheet firmly on the counter once to settle the crumb, then use a round biscuit cutter to gently swirl around each warm cookie for a circular shape.
Step 9: Carryover Cooking and Cooling
What: Allow the cookies to rest on the hot baking pan for 5 minutes before transferring to a wire cooling rack.
Why: The residual heat from the metal pan finishes setting the soft centers without drying out the edges.
How: Use a thin metal spatula to move the cookies onto a wire rack after the 5-minute pan rest, allowing air to circulate freely beneath.
Common Mistake: Moving cookies immediately upon exit from the oven, causing them to break apart.
Pro Tip: Cool the baking sheets completely to room temperature before scooping the next batch onto them.
Fat Comparison Breakdown
Selecting the right fat source changes the structural height, spread, and shelf life of your chocolate chip cookies. The table below outlines how common fat choices perform under identical baking conditions.
| Fat Type | Fat / Water Ratio | Melting Point | Texture Profile | Spread & Thickness |
|---|---|---|---|---|
| All-Vegetable Crisco | 100% Fat / 0% Water | 115°F – 118°F (46°C) | Ultra-soft, tender, cake-like chew | Minimal spread; maximum thickness |
| Butter-Flavored Crisco | 100% Fat / 0% Water | 115°F – 118°F (46°C) | Tender crumb with butter aroma | Minimal spread; golden finish |
| 50/50 Butter & Crisco | ~90% Fat / ~8% Water | Variable (~105°F) | Crisp outer rim, soft center | Moderate, controlled spread |
| Unsalted Dairy Butter | 80% Fat / 16-18% Water | 90°F – 95°F (35°C) | Chewy, crisp edges, rich flavor | High spread; thinner profile |
Professional Baker Tips and Edge Cases
High-Altitude Adjustments (3,000+ Feet)
At higher elevations, lower atmospheric pressure accelerates moisture evaporation and leavening action. To prevent cookies from expanding too quickly and collapsing, make these precise formula tweaks:
- Flour: Increase all-purpose flour by 2 tablespoons per batch to strengthen structure.
- Liquid: Add 1 additional tablespoon of milk to balance rapid moisture evaporation.
- Leavening: Reduce baking soda by ¼ teaspoon to prevent over-expansion.
- Oven Temperature: Increase baking temperature to 385°F (196°C) to set structure more rapidly.
Managing Dough Temperature in Warm Climates
While shortening remains stable at standard room temperature, working in environments above 80°F (27°C) will soften the fat excessively. If your kitchen is hot, chill the mixed dough in the refrigerator for 20 minutes before portioning onto pans.
Upgrading Flavor Without Butter
Because shortening has a neutral flavor, the quality of your flavor extracts and mix-ins becomes the driving taste element. Use high-grade Madagascar Bourbon vanilla extract, a pinch of ground cinnamon, or fold in chocolate with differing cacao percentages (such as 60% bittersweet paired with 45% semi-sweet).
Common Mistakes and How to Avoid Them
1. Omitting the Milk or Added Liquid
The Mistake: Treating shortening as a 1:1 direct replacement for butter without adding hydration.
The Consequence: The dough turns out crumbly, fails to bind properly, and produces hard, chalky cookies.
The Solution: Always add 2 to 3 tablespoons of liquid (milk, cream, or water) per ¾ cup of shortening to compensate for the missing moisture of dairy butter.
2. Overbaking Due to Pale Color Expectations
The Mistake: Leaving cookies in the oven until the top surfaces turn dark brown.
The Consequence: Shortening lacks milk solids, so it naturally browns much slower; waiting for deep color dries out the crumb.
The Solution: Remove the cookies as soon as the edges show a light golden rim and the centers are matte and set, regardless of pale centers.
3. Placing Raw Dough on Warm Baking Pans
The Mistake: Reusing hot baking sheets between batches without cooling.
The Consequence: The heat from the pan melts the shortening on contact before the cookie ever reaches the oven, causing greasy spread.
The Solution: Rotate between three distinct baking sheets, or run warm sheets under cold tap water and dry them completely before reloading.
Storage, Freezing, and Make-Ahead Strategies
Room Temperature Storage
Place cooled cookies in an airtight plastic container or glass jar with a sheet of parchment paper between layers. Shortening cookies maintain their soft texture naturally for 5 to 7 days at room temperature.
To retain maximum moisture in dry climates, place a single slice of plain white sandwich bread inside the container. The cookies will absorb moisture from the bread without picking up any foreign flavors.
Freezing Portioned Unbaked Dough
Scoop dough balls onto a parchment-lined baking sheet placed closely together without touching. Freeze for 60 minutes until rock hard, then transfer the frozen dough balls to a heavy-duty zip-top freezer bag for up to 3 months.
When ready to bake, place frozen dough balls directly onto a parchment-lined sheet. Bake at 375°F (190°C), adding 1 to 2 minutes to the standard baking time without thawing.
Freezing Baked Cookies
Let baked cookies cool completely to room temperature for at least 60 minutes. Wrap stacks of 4 to 6 cookies tightly in plastic wrap, then place inside an airtight freezer container for up to 2 months. Thaw at room temperature for 30 minutes before serving.
Recommended Baking Equipment
- Digital Kitchen Scale: Ensures accurate flour and shortening measurements, eliminating density variations.
- #40 Spring-Loaded Cookie Scoop: Delivers uniform 1.5-tablespoon dough mounds for consistent baking times.
- Heavy-Gauge Aluminum Half Sheet Pans: Distributes heat evenly without hot spots or scorched bottoms.
- Unbleached Parchment Paper Sheets: Prevents sticking and controls surface heat contact without extra grease.
- Wire Cooling Rack: Elevates baked cookies to allow air circulation, preventing soggy bottoms from trapped steam.
Related Recipes and Reading
- How to Brown Butter for Gourmet Chocolate Chip Cookies
- Classic Chewy Snickerdoodles Made with Shortening
- The Baker’s Guide to Flaky Pie Crust: Butter vs. Shortening
- Understanding Leavening Agents: Baking Powder vs. Baking Soda
- Soft-Baked Holiday Sugar Cookies: Tips for Clean Cutouts
Authoritative Baking References
- USDA FoodData Central: Nutritional profiles, fat compositions, and water content metrics for commercial baking fats and butter.
- King Arthur Baking Company: Educational reference guides on flour protein percentages and gluten development dynamics.
- Exploratorium Science of Cooking: Scientific breakdowns of the Maillard reaction, sucrose caramelization, and starch gelatinization in baked goods.
Key Takeaways
- Shortening prevents spreading: Its higher melting point (115°F) sets dough structure before the fat liquifies.
- Hydration is essential: Because shortening has 0% water, always add 2 tablespoons of milk to balance dough hydration.
- Do not overbake: Pull cookies out when edges are light gold and centers are matte, even if they appear pale.
- Use brown sugar for flavor: Higher proportions of brown sugar provide caramel notes and activate the baking soda.
- Excellent shelf life: Pure vegetable fat retains moisture, keeping cookies bakery-soft for up to a full week.
Final Thoughts
Baking classic Crisco chocolate chip cookies offers complete control over texture and spread. By understanding how pure vegetable shortening interacts with flour starches and leavening agents, you can produce thick, bakery-style cookies with consistent results every time.
Try the master recipe with Butter-Flavored Crisco or experiment with a 50/50 butter-shortening blend to find your ideal balance of flavor and tenderness. Gather your ingredients, calibrate your oven, and enjoy this timeless home-baking classic.
Frequently Asked Questions
Why did my Crisco chocolate chip cookies turn out flat?
Cookies flatten when shortening is over-creamed with sugar, which breaks down its structure. Other common causes include placing dough onto hot baking sheets, using expired baking soda, or accidentally measuring too little flour. Always ensure your baking pans are completely cool before loading dough.
Can I substitute butter 1:1 for Crisco in this recipe?
You can substitute butter 1:1 by volume, but your cookies will spread wider and turn out thinner. If substituting butter, omit the 2 tablespoons of added milk, as butter already contains approximately 16% to 18% water content. Chill butter dough for 30 minutes before baking to reduce spread.
Why do you add milk to Crisco cookie dough?
Butter naturally contains about 16% water, which hydrates flour and creates steam during baking. Because vegetable shortening is 100% fat with zero moisture, adding 2 tablespoons of milk replaces that missing hydration, allowing flour proteins to bind and activating the baking soda properly.
Is it better to use Butter-Flavored Crisco or regular Crisco?
Butter-Flavored Crisco is generally preferred for chocolate chip cookies because it adds a rich aroma and golden color while preserving the high melting point of shortening. Regular all-vegetable Crisco works identically in terms of texture and height, but creates a milder, more neutral base flavor.
Do I need to chill Crisco chocolate chip cookie dough before baking?
Chilling is not strictly required for shortening-based doughs because shortening has a high melting point (115°F) that naturally resists spreading. However, resting dough in the refrigerator for 30 to 60 minutes allows the flour starches to hydrate more thoroughly, resulting in slightly richer caramel notes.
How do I know when Crisco cookies are done baking?
Shortening cookies do not turn deep golden-brown in the center like butter cookies. Look for firm, light golden edges and a dry, matte surface across the top. The centers should still feel soft to the touch; they will continue to set as they rest on the warm baking sheet.
Why are my Crisco cookies crumbly and dry?
Crumbly cookies are typically caused by adding too much flour through direct cup scooping rather than weighing or spooning and leveling. Omitting the required 2 tablespoons of milk or baking the cookies for even two minutes too long will also dry out the crumb.
Can I freeze baked Crisco chocolate chip cookies?
Yes, baked Crisco chocolate chip cookies freeze exceptionally well. Allow them to cool completely, wrap them securely in plastic wrap, and store them in an airtight freezer container or freezer bag for up to 2 months. Thaw at room temperature for 30 minutes before serving.