

A bunny cookie cutter is far more versatile than a seasonal baking tool. With the right dough, decorations, and a little planning, you can use one shape for Easter cookies, baby shower favors, lunchbox treats, cake toppers, fondant decorations, and playful craft projects. This guide walks through creative uses, a reliable cut-out cookie recipe, decorating ideas, tools, and practical baking tips so your bunny shapes look clean, cute, and ready to share.
What can you make with a bunny cookie cutter?
You can make classic sugar cookies, decorated Easter favors, sandwich cookies, fondant shapes, shaped brownies, lunchbox snacks, and even mini cake decorations with a bunny cookie cutter. The same cutter can create very different results depending on the dough, icing, color palette, and details you add after baking. A simple cookie cutter bunny can look soft and sweet for a baby shower, bright and playful for spring parties, or elegant when finished with pastel glaze and edible flowers.
A standard rabbit cookie cutter is ideal for full-body bunny silhouettes, while a bunny face cookie cutter works beautifully for simple decorated cookies with expressive features. A bunny cookie cutter with arms gives you more room for details, such as tiny carrots, name plaques, piped bows, or chocolate eggs. If you own a cookie cutter set, mix the bunny with carrots, eggs, flowers, hearts, circles, and plaques to build coordinated dessert trays.
Choosing the right bunny cutter for each idea
Not every bunny shape behaves the same way in dough. Tall ears, thin arms, and small feet can brown faster or break more easily if the dough is too soft. A sturdy cut-out cookie dough and proper chilling make a big difference, especially when using a detailed bunny rabbit cookie cutter.
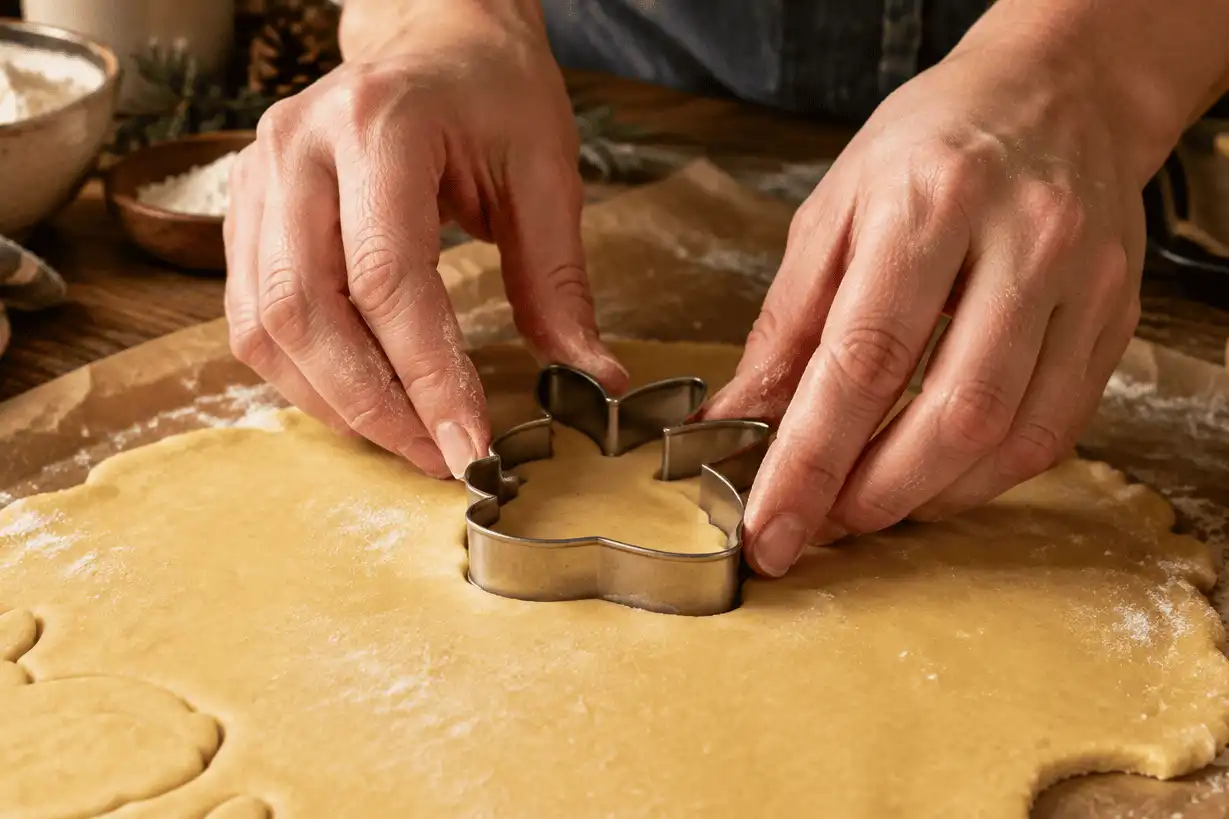
Bunny face cookie cutter
A bunny face cookie cutter is one of the easiest options for beginners. The shape is usually compact, so it transfers well from counter to baking sheet. It also gives you a clear canvas for decorating.
Use it for:
- Simple iced cookies with eyes, whiskers, and pink ears.
- Sandwich cookies filled with buttercream or jam.
- Fondant toppers for cupcakes.
- Stamped cookies with facial details.
- Kids’ decorating activities.
Because there are fewer delicate edges, this shape is forgiving. It is also a good choice when baking with children.
Full-body rabbit cookie cutter
A full-body rabbit cookie cutter creates a more classic silhouette. It works well for Easter baskets, cookie bouquets, and party favors. If the ears or legs are narrow, chill the cut cookies before baking to help them keep their shape.
Try decorating the body with:
- A piped bow tie or hair bow.
- A fluffy buttercream tail.
- A tiny edible carrot.
- A name written across the belly.
- White sanding sugar for a soft textured look.
Bunny cookie cutter with arms
A bunny cookie cutter with arms is especially fun because the arms can “hold” another decoration. Before baking, gently fold the arms over a small oven-safe candy center only if the candy is suitable for baking. For a safer and cleaner method, bake the bunny plain, then attach a mini chocolate egg, fondant carrot, or small iced plaque after cooling.
This style is excellent for personalized favors. Pipe a guest’s name on a small fondant oval, then place it between the bunny’s arms.
Creative decorating ideas for bunny cookies
A cute cookie cutter gives you the shape, but the decorating turns it into a finished treat. Keep the design simple if you are making a large batch. Use more detailed piping when you only need a dozen special cookies.

Soft pastel Easter cookies
An easter cookie cutter pairs naturally with pastel icing. Use pale pink, butter yellow, mint green, lavender, and soft blue. Flood the cookie with royal icing, let it dry, then add small details like cheek dots, lashes, bows, or speckled egg accents.
For an easter bunny cookie cutter with a full-body shape, ice the belly in white and the ears in pale pink. Add a small round tail with thick icing, mini marshmallow, or white sprinkles.
Minimalist white bunnies
For a more modern look, keep the cookie simple. Bake golden vanilla cookies and add just a few details with white icing. Outline the ears, pipe one eye, add a tiny heart nose, and finish with a dusting of powdered sugar.
This style works well for brunch tables, bridal showers, spring tea parties, and neutral baby shower themes.
Chocolate-dipped bunny cookies
Dip half of each baked bunny cookie into melted chocolate. Add sprinkles before the chocolate sets. This is a fast option when you want decorated cookies without piping bags or complicated icing.
Use dark chocolate for contrast, white chocolate for a soft look, or pastel-colored candy melts for a bright party tray. Let the dipped cookies set on parchment paper until firm.
Bunny sandwich cookies
Cut two matching cookies with the same bunny cookie mold or cutter. Bake and cool them completely. Spread one cookie with buttercream, ganache, lemon curd, or jam, then top with the second cookie.
If using a bunny face cookie cutter, pipe the filling slightly inside the edge so it does not squeeze out too much. For a polished finish, dust the top cookie with powdered sugar before assembling.
Cookie pops and party favors
A bunny cookie cutter can also make cookie pops. Place a food-safe stick under each chilled cookie before baking, then press gently so the dough holds around it. Use thicker dough and avoid overly delicate shapes.
Wrap cooled and decorated cookie pops in clear treat bags. Tie them with ribbon for Easter baskets, school parties, or spring market displays.
Ingredients for cut-out bunny sugar cookies
This recipe makes about 24 medium cookies, depending on the size of your bunny cookie cutter. Use a kitchen scale for the most consistent results, especially if your cutter has detailed ears or arms.
Cookie dough ingredients
- 225 g unsalted butter, softened, equal to 1 cup.
- 200 g granulated sugar, equal to 1 cup.
- 1 large egg, about 50 g without shell.
- 10 g vanilla extract, equal to 2 teaspoons.
- 375 g all-purpose flour, equal to 3 cups.
- 4 g baking powder, equal to 1 teaspoon.
- 2 g fine salt, equal to 1/2 teaspoon.
- 15 g cornstarch, equal to 2 tablespoons.
Royal icing ingredients
- 360 g powdered sugar, equal to 3 cups, sifted.
- 30 g meringue powder, equal to 3 tablespoons.
- 75 ml warm water, equal to 5 tablespoons, plus 5 to 15 ml more if needed.
- 5 g vanilla extract, equal to 1 teaspoon.
- Gel food coloring in pink, white, black, yellow, green, or pastel shades, as desired.
Optional decorating ingredients
- 40 g sanding sugar, about 1/4 cup.
- 60 g mini chocolate eggs, about 1/3 cup.
- 25 g sprinkles, about 1/4 cup.
- 100 g white chocolate or candy melts, about 2/3 cup.
- 60 g buttercream, about 1/4 cup, for tails or sandwich cookies.
Helpful tools and equipment
- Bunny cookie cutter, bunny face cookie cutter, or bunny cookie cutter set.
- Rolling pin and parchment paper.
- Baking sheets.
- Silicone baking mats or parchment liners.
- Electric mixer for creaming butter and sugar.
- Kitchen scale for accurate flour measurement.
- Silicone spatula for scraping the bowl.
- Piping bags and small round piping tips for icing details.
- Cooling rack.
- Offset spatula for lifting delicate shapes.
- 9 x 13 inch cake pan if you plan to bake a thin sheet cake and cut bunny cake shapes.
Step-by-step baking guide
Follow these steps for cookies that hold their shape and bake evenly. The main goal is to keep the dough cool, roll it evenly, and avoid overbaking the delicate edges.
- Prepare the baking area. Line baking sheets with parchment paper or silicone baking mats. Set out your bunny cookie cutter, rolling pin, spatula, and cooling rack.
- Cream the butter and sugar. In a large bowl, use an electric mixer to beat 225 g butter and 200 g sugar for 2 to 3 minutes, until light and smooth. Scrape the sides with a silicone spatula.
- Add egg and vanilla. Beat in 1 large egg and 10 g vanilla extract. Mix just until combined. Avoid overmixing once the egg is added.
- Combine dry ingredients. In a separate bowl, whisk 375 g flour, 4 g baking powder, 2 g salt, and 15 g cornstarch. The cornstarch helps create a tender cookie with neat edges.
- Make the dough. Add the dry ingredients to the butter mixture in two additions. Mix on low speed until the dough comes together. It should feel soft but not sticky.
- Chill the dough. Divide the dough in half. Flatten each half into a disc, wrap it, and chill for at least 45 minutes. This is important for detailed shapes like a bunny cookie cutter with arms.
- Roll evenly. Place one chilled dough disc between sheets of parchment paper. Roll to about 6 mm or 1/4 inch thick. Even thickness helps each bunny bake at the same rate.
- Cut the shapes. Press the bunny cookie cutter firmly into the dough. Lift the cutter straight up without twisting. Use an offset spatula to transfer the shapes to the prepared baking sheet.
- Chill again. Place the cut cookies on the baking sheet and chill for 10 to 15 minutes. This helps the ears, arms, and feet stay defined.
- Bake. Heat the oven to 175°C or 350°F. Bake cookies for 9 to 11 minutes, or until the edges look set and the bottoms are lightly golden.
- Cool fully. Let cookies rest on the baking sheet for 5 minutes. Move them to a cooling rack and cool completely before decorating.
- Make the icing. Beat 360 g powdered sugar, 30 g meringue powder, 75 ml warm water, and 5 g vanilla extract until smooth. Add small amounts of water for thinner flood icing or more powdered sugar for thicker piping icing.
- Decorate. Divide the icing into bowls and tint with gel food coloring. Use piping bags for outlines, faces, bows, carrots, or borders. Let each layer set before adding more details.
- Set and serve. Let decorated cookies dry at room temperature until the icing is firm. Store them carefully before stacking.
How do you keep bunny cookies from spreading?
To keep bunny cookies from spreading, use a cut-out dough with enough flour, chill the dough before and after cutting, and bake on a cool lined baking sheet. Warm dough softens quickly and can blur the ears, face, and arms. A detailed bunny rabbit cookie cutter needs firm dough so the finished shape stays recognizable.
Here is a quick anti-spread checklist:
- Measure flour with a kitchen scale when possible.
- Chill dough discs before rolling.
- Roll the dough evenly to about 6 mm thick.
- Avoid placing dough on a hot baking sheet.
- Chill cut shapes for 10 to 15 minutes before baking.
- Do not add too much baking powder.
- Pull cookies from the oven when the edges are set, not dark.
If your first tray spreads, chill the remaining cut cookies longer. You can also place the dough back in the refrigerator between batches.
Beyond cookies: more creative uses
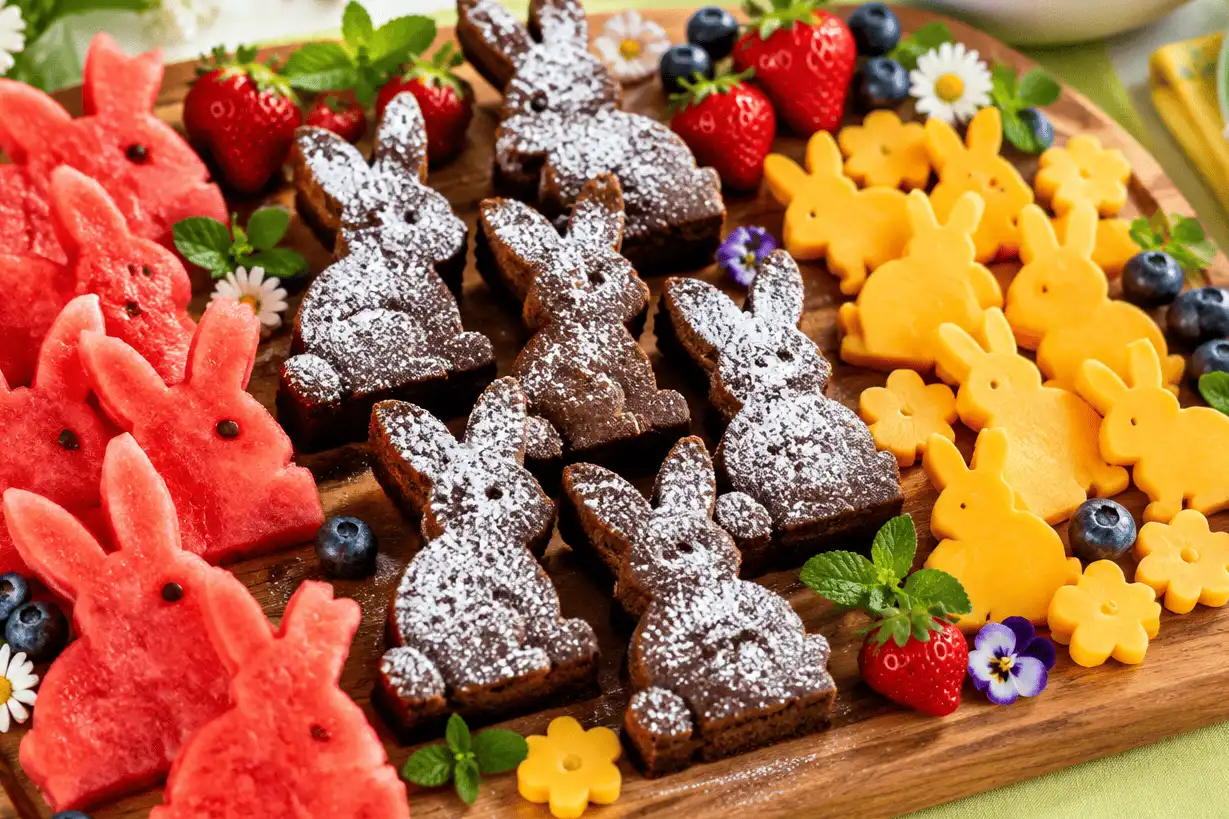
Your bunny cookie cutter can do more than cut sugar cookies. The best ideas use foods that are firm enough to hold a clean edge.
Fondant and cupcake toppers
Roll fondant thinly and cut bunny shapes for cupcakes, mini cakes, or sheet cakes. A bunny face cookie cutter is excellent for cupcake toppers because the shape fits neatly on frosting. Let fondant pieces dry slightly before placing them on buttercream so they keep their shape.
Brownies and blondies
Bake brownies in a lined pan, cool completely, then cut with a bunny cookie cutter. Chilled brownies cut more cleanly than warm ones. Dust the tops with powdered sugar or add a small icing tail.
Mini cake shapes
Bake a thin vanilla, chocolate, or carrot cake in a 9 x 13 inch cake pan. Cool it fully, chill it briefly, then press out bunny shapes with a sturdy easter cookie cutter. Serve them as mini cake bites with piped buttercream details.
Lunchbox and snack ideas
Use a clean rabbit cookie cutter for sandwiches, cheese slices, pancakes, melon, soft tortillas, or rice cereal treats. These are quick ways to add seasonal fun without baking a full batch of cookies.
Craft and party projects
A cute cookie cutter can become a stencil for gift tags, place cards, napkin decorations, and kids’ crafts. Trace the shape on cardstock, cut it out, and decorate with markers, ribbon, or cotton-ball tails.
Professional baking tips and tricks
Small choices make a visible difference in shaped baking. These tips help with cookies, cake cutouts, and decorated desserts.
Oven temperature guidance
Bake the cookies at 175°C or 350°F for the best balance of shape and tenderness. If your oven runs hot, delicate ears can brown before the centers are fully set. Use an oven thermometer if you bake often, and rotate the baking sheet halfway through if your oven has hot spots.
For cake projects, follow the temperature in your chosen cake recipe. Most standard cakes bake well around 175°C or 350°F, but pan size and batter depth matter. A thin sheet cake bakes faster than a tall round cake.
How to test cake doneness
If you are baking cake to cut with a bunny cookie mold, test it before removing it from the oven. Insert a toothpick into the center of the cake. It should come out clean or with a few moist crumbs, not wet batter. The top should spring back gently when touched, and the edges may pull slightly from the pan.
Let the cake cool fully before cutting. Warm cake is more likely to tear under the cutter.
Cookie doneness signs
Shaped cookies are done when the surface looks dry, the edges are set, and the bottoms are lightly golden. Do not wait for the tops to turn brown. Overbaked cookies can become brittle, especially around thin ears and arms.
Cake and cookie storage advice
Store undecorated cookies in an airtight container at room temperature for up to several days. Decorated royal icing cookies should be fully dry before stacking with parchment between layers. Keep them away from humidity, which can soften icing and blur details.
For cake cutouts, store them in an airtight container in the refrigerator if they contain buttercream, cream cheese frosting, or perishable fillings. Bring them close to room temperature before serving for better texture. Freeze undecorated cookies or cake layers tightly wrapped if you want to prepare ahead.
Building a themed bunny dessert tray
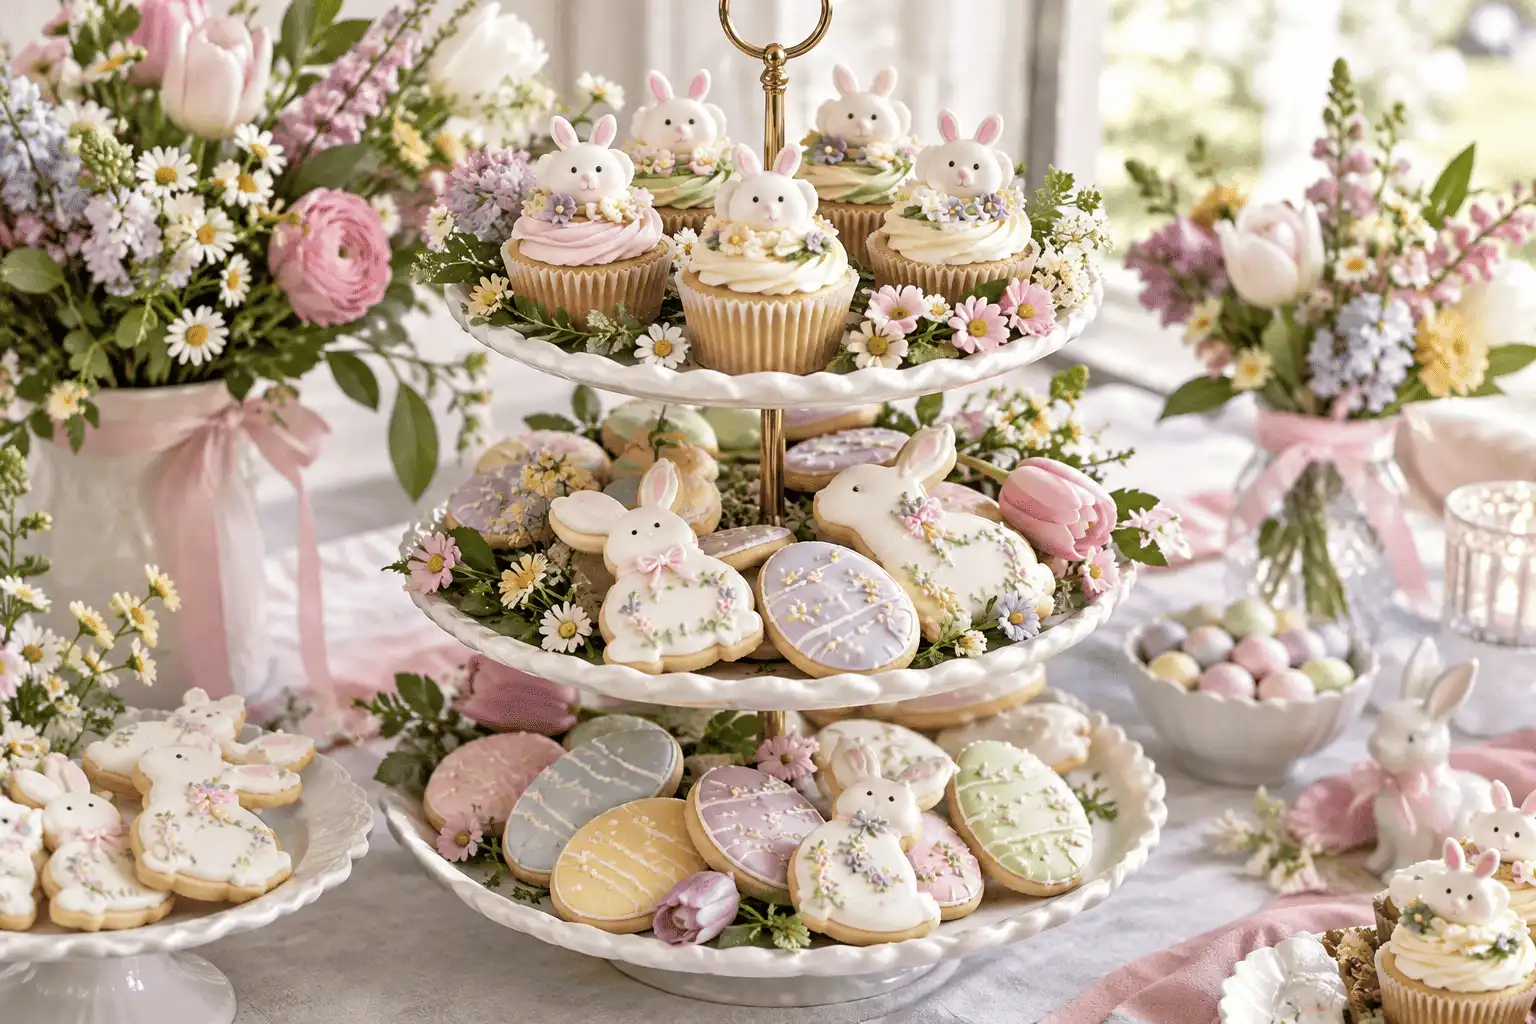
A strong dessert tray uses variety without becoming chaotic. Start with one main bunny cookie cutter, then add supporting shapes from a cookie cutter set. Eggs, carrots, flowers, hearts, and circles all pair well with a bunny theme.
Use this simple plan:
- Choose one main color palette, such as pastels, neutrals, or bright spring colors.
- Bake two or three shapes, not ten.
- Decorate some cookies fully and leave others simpler.
- Add texture with sanding sugar, sprinkles, chocolate drizzle, or buttercream tails.
- Place taller cookie pops in the back and flat cookies in front.
- Repeat colors across all shapes for a polished look.
This approach works for Easter brunch, baby showers, birthdays, classroom treats, and bake sales. It also keeps decorating manageable.
Practical decorating combinations
If you are not sure where to begin, pair each cutter style with a simple finish.
- Bunny face cookie cutter: white icing, pink ears, black eyes, tiny heart nose.
- Full-body bunny cookie cutter: white glaze, buttercream tail, pastel bow.
- Bunny cookie cutter with arms: plain vanilla cookie holding a fondant carrot.
- Easter bunny cookie cutter: pastel flood icing with speckled details.
- Bunny rabbit cookie cutter: chocolate-dipped ears and sprinkle tail.
- Small cookie cutter bunny: sandwich cookies with lemon buttercream.
These ideas are easy to scale. Make one design for a simple batch or combine several for a showier display.
A small cutter can do a lot
A bunny cookie cutter earns its place in the kitchen because it is useful beyond one holiday. Use it for cookies, fondant, brownies, cake cutouts, sandwiches, and simple crafts. Start with a dependable dough, keep the shapes chilled, and choose decorations that match the occasion.
Whether you use a bunny face cookie cutter for quick treats or a detailed easter bunny cookie cutter for decorated favors, the best results come from clean shapes and thoughtful finishing touches. With a few colors, a piping bag, and a steady plan, one cute cookie cutter can create a full spring dessert story.