
Delicate, crisp, and filled with a thin layer of chocolate, Milano cookies are one of those treats that feel bakery-fancy but are surprisingly approachable at home. This version gives you a light, buttery sandwich cookie with a smooth chocolate center, inspired by the familiar shape and flavor of Pepperidge Farm cookies Milano without trying to copy them exactly.
The key is balance: the cookies should be thin enough to feel elegant, sturdy enough to sandwich, and lightly crisp around the edges. Once you master the base dough, you can experiment with different Milano cookie flavors like mint chocolate, orange chocolate, raspberry, mocha, or dark chocolate sea salt.
What Makes Milano-Style Cookies Different?
Milano-style cookies are not quite shortbread, not quite sponge cookies, and not quite wafers. They sit somewhere in the middle: buttery, lightly sweet, and crisp-tender with an oval shape and a chocolate filling.
Classic milano cookies chocolate filling is usually thin and smooth, not thick like frosting. That matters because the cookie itself is delicate. A heavy filling can overpower the texture or cause the sandwiches to slide apart.
When making homemade Milano cookies, focus on three things:
- A soft, pipeable dough that spreads slightly in the oven
- Evenly sized oval cookies so the sandwiches match neatly
- A thin chocolate layer that sets firmly but stays pleasant to bite
This homemade milano cookie recipe uses simple pantry ingredients and a piping bag to create the signature shape.
Ingredients You’ll Need
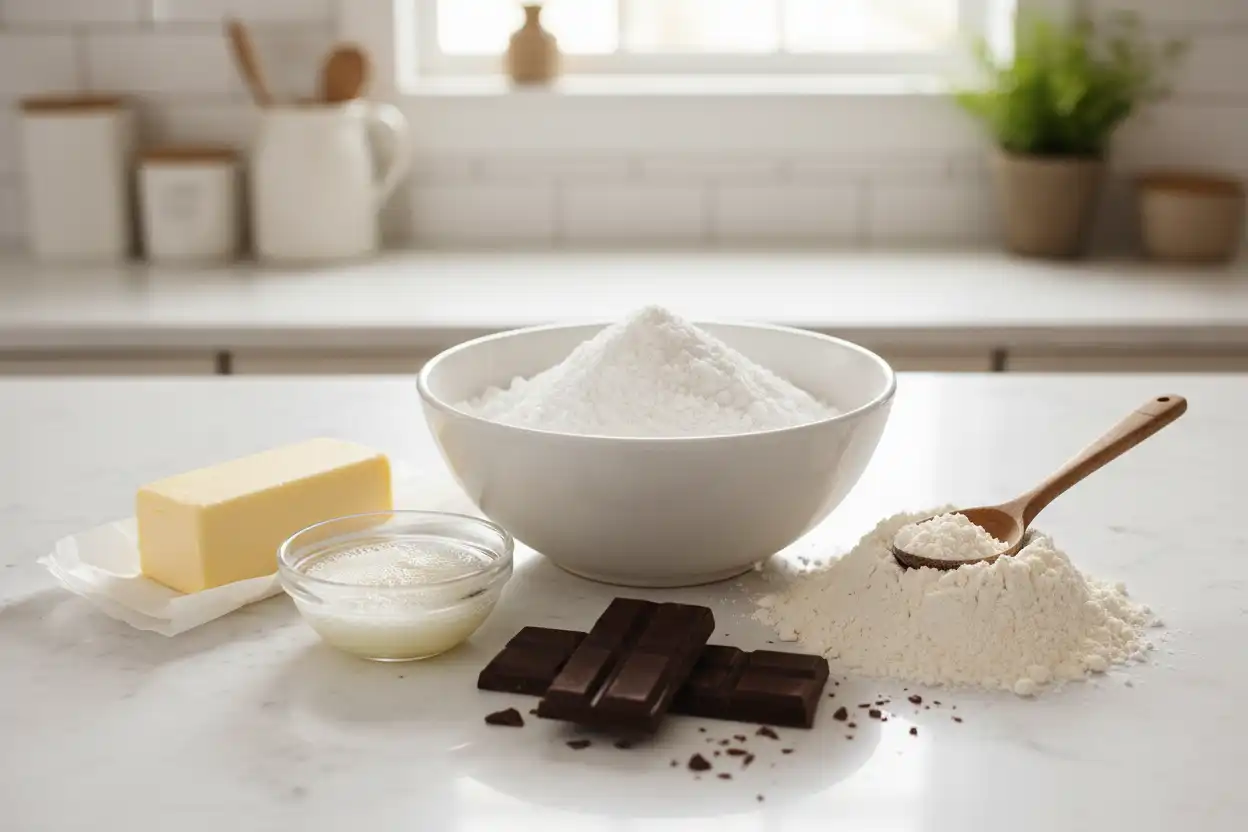
These milano cookie ingredients are straightforward, but each one plays an important role.
For the Cookies
- 1 cup unsalted butter, softened
- 1 cup powdered sugar
- 2 large egg whites, room temperature
- 1 teaspoon vanilla extract
- 1/4 teaspoon almond extract, optional
- 1 1/2 cups all-purpose flour
- 1/4 teaspoon fine salt
- 1 to 2 teaspoons milk, only if needed
For the Chocolate Filling
- 6 ounces semi-sweet or dark chocolate, finely chopped
- 2 tablespoons heavy cream or unsalted butter
- 1/2 teaspoon vanilla extract, optional
- Pinch of salt, optional
You can use semi-sweet chocolate for a familiar flavor, dark chocolate for a more grown-up version, or milk chocolate if you prefer a sweeter filling. Since the cookies are mild and buttery, the chocolate you choose will make a noticeable difference.
Equipment That Helps
You do not need specialty bakery tools, but a few items make the process much easier:
- Baking sheets
- Parchment paper or silicone baking mats
- Mixing bowl
- Electric hand mixer or stand mixer
- Rubber spatula
- Piping bag
- Plain round piping tip, or a snipped bag opening
- Small offset spatula or butter knife
- Cooling rack
If you do not have a piping bag, use a sturdy zip-top bag and cut a small opening in one corner. The cookies may look a little more rustic, but they will still taste delicious.
Step 1: Prepare the Baking Sheets
Line two baking sheets with parchment paper. If you want very even cookies, draw 2-inch oval guides on the underside of the parchment with a pencil, spacing them about 2 inches apart. Flip the parchment over so the pencil marks do not touch the dough.
This step is optional, but it helps a lot if you want your homemade milano cookies to look polished. Matching cookie halves is easier when they are close in size from the start.
Preheat the oven to 350°F. Let the oven fully heat before baking, because these thin cookies can spread too much or bake unevenly if the temperature fluctuates.
Step 2: Cream the Butter and Sugar
Add the softened butter and powdered sugar to a mixing bowl. Beat until the mixture is pale, smooth, and creamy. This usually takes 2 to 3 minutes with an electric mixer.
Powdered sugar gives the cookies a finer texture than granulated sugar. It helps create that delicate bite associated with milano pepperidge farm cookies while keeping the dough soft enough to pipe.
Do not rush this step. Properly creamed butter helps the cookies bake up light instead of dense.
Step 3: Add the Egg Whites and Flavoring
Add the egg whites, vanilla extract, and almond extract if using. Beat until combined. The mixture may look slightly loose or separated at first, which is normal. Scrape down the bowl and continue mixing briefly until it looks smooth enough to proceed.
Egg whites help give the cookies structure without making them cakey. Whole eggs would add too much richness and softness, while egg whites keep the texture lighter and crisper.
If you want a very classic flavor, use only vanilla. If you like a subtle bakery-style note, add the almond extract, but keep it light. A little goes a long way.
Step 4: Mix in the Dry Ingredients
In a separate bowl, whisk together the flour and salt. Add the dry ingredients to the butter mixture and mix on low speed until just combined.
The dough should be soft, smooth, and pipeable. It should not be runny, but it should not be stiff like roll-out cookie dough either. If the dough feels too thick to pipe, mix in 1 teaspoon of milk. Add a second teaspoon only if absolutely necessary.
Avoid overmixing once the flour is added. Too much mixing can make the cookies tougher and less delicate.
Step 5: Pipe the Cookies
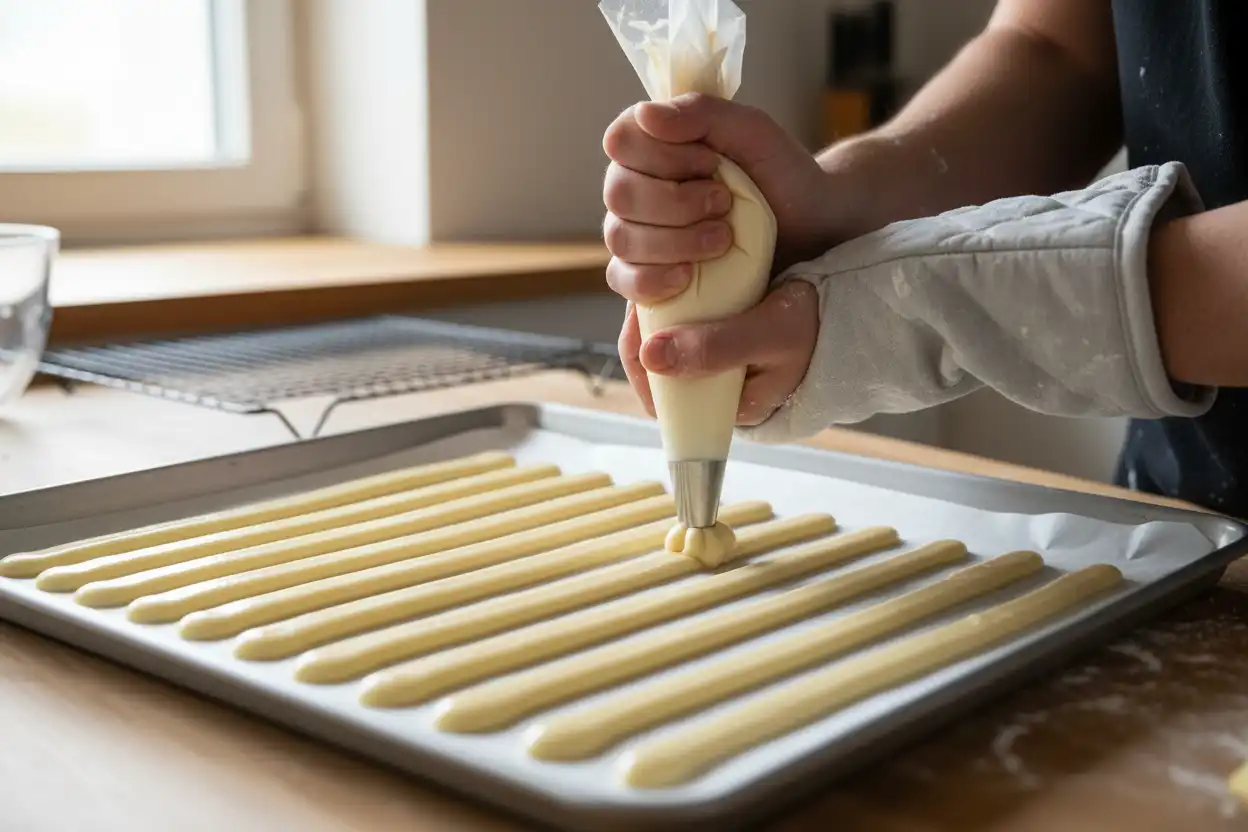
Transfer the dough to a piping bag fitted with a plain round tip. Pipe narrow oval strips onto the prepared baking sheets, following your guides if you made them. Aim for cookies about 2 to 2 1/2 inches long.
Hold the piping bag slightly above the baking sheet and apply steady pressure. Pipe in one smooth motion, then stop pressure before lifting the bag away. If small peaks form at the ends, lightly smooth them with a damp fingertip.
The dough will spread a bit as it bakes, so leave enough space between cookies. Try to make an even number of cookies, since you will need two halves for each sandwich.
Step 6: Bake Until Lightly Golden
Bake the cookies for 9 to 12 minutes, or until the edges are lightly golden and the centers look set. The exact time will depend on your oven and the thickness of the piped dough.
For the best texture, do not wait for the entire cookie to turn brown. Milano cookies should be pale in the center with just a little color around the edges. If they bake too long, they may become brittle instead of crisp-tender.
Let the cookies cool on the baking sheet for a few minutes, then carefully transfer them to a cooling rack. They are delicate when warm, so move them gently.
Step 7: Make the Chocolate Filling
Place the chopped chocolate in a heatproof bowl. Warm the heavy cream or butter until hot but not boiling, then pour it over the chocolate. Let it sit for 1 to 2 minutes, then stir until smooth.
If needed, microwave the mixture in short 10-second bursts, stirring between each burst, until fully melted. Stir in vanilla and a tiny pinch of salt if desired.
The filling should be glossy and spreadable, not watery. Let it cool slightly before assembling the cookies. If it is too warm, it may run out the sides. If it gets too firm, warm it briefly until spreadable again.
Step 8: Match and Fill the Cookies
Once the cookies are completely cool, pair them by size and shape. Turn half of the cookies flat-side up.
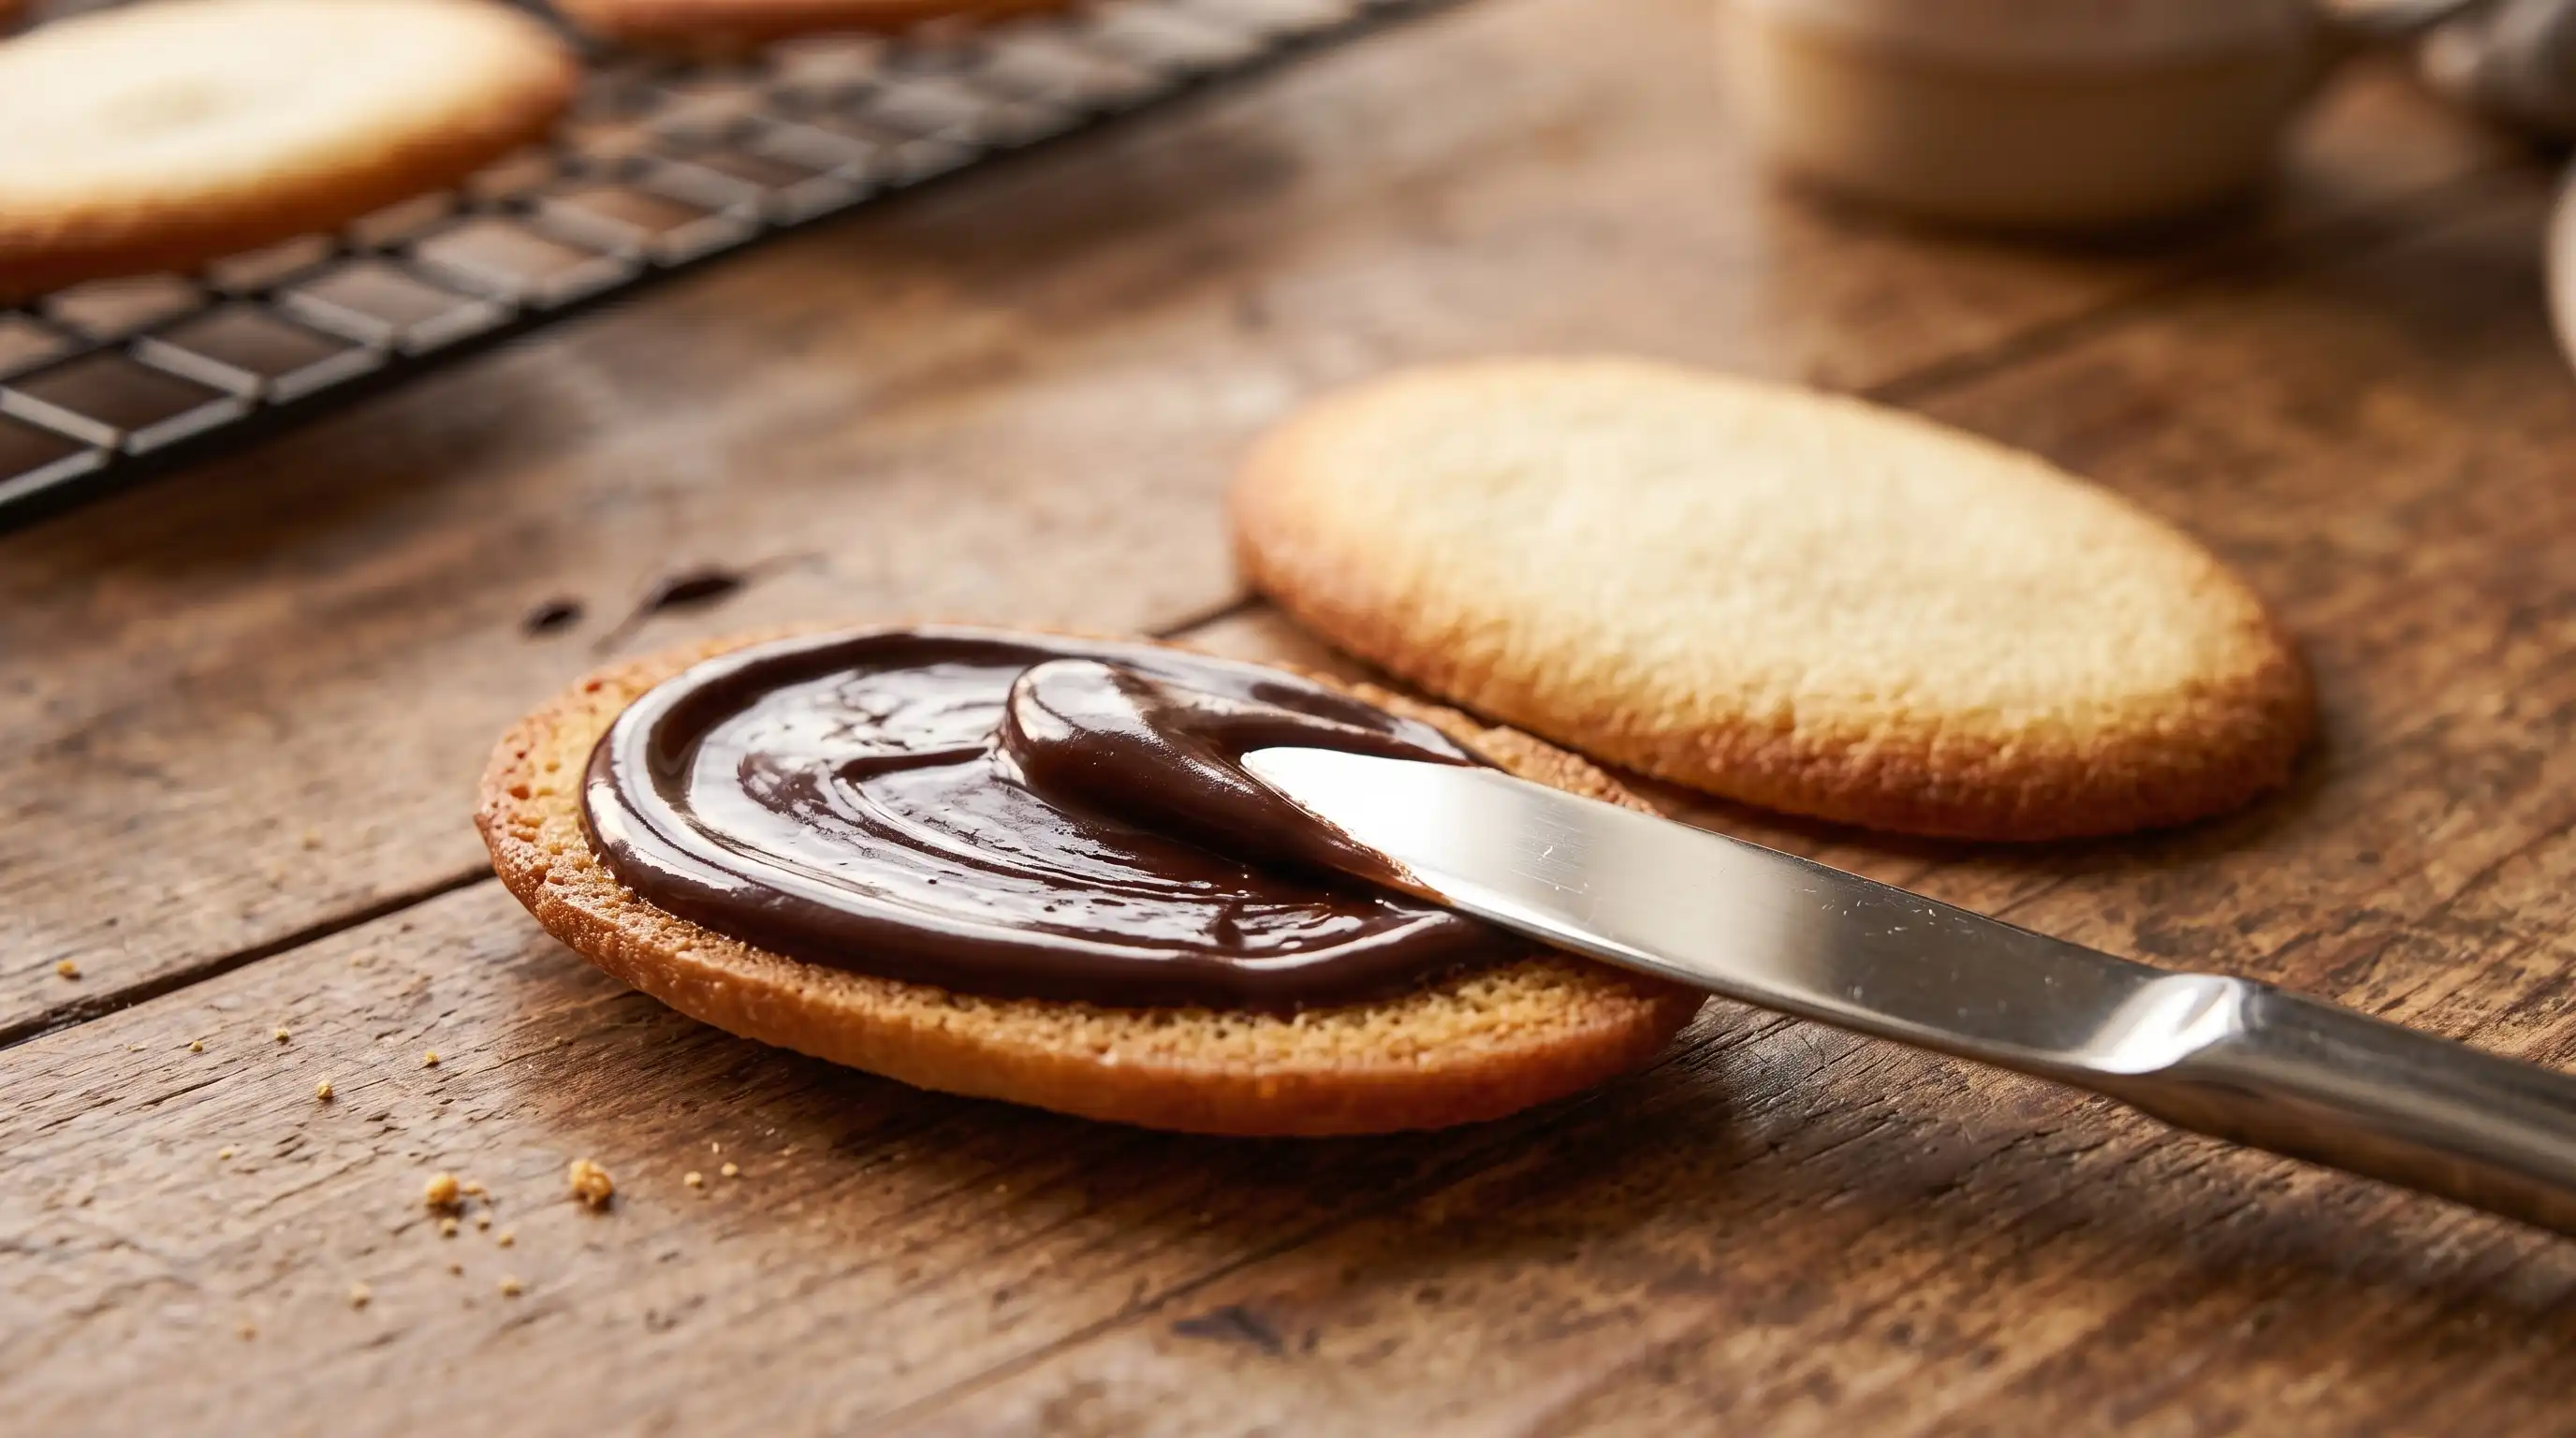
Spread a thin layer of chocolate on each flat side. You do not need much; a small amount is enough to give that classic milano cookies chocolate center. Place a matching cookie on top and press gently until the filling reaches the edges.
Set the assembled cookies on a parchment-lined tray and let the chocolate firm up at room temperature. For faster setting, place the tray in the refrigerator for a few minutes, but do not leave the cookies chilled for too long or they may lose some of their delicate texture.
Step 9: Let the Cookies Set Before Serving
This is the hardest part, but it makes a difference. Let the cookies rest until the chocolate filling is fully set. The texture improves as the filling firms and the cookies settle into neat sandwiches.
Serve them with coffee, tea, cold milk, or a simple dessert spread. They also make a lovely homemade gift because they look elegant without needing icing or decoration.
Easy Milano Cookie Flavors to Try
Once you have the basic milano cookie recipe down, you can create different flavors by changing the filling or adding a subtle extract. Here are a few simple ideas.
Mint Chocolate
Add a tiny drop of peppermint extract to the melted chocolate filling. Start with less than you think you need, because peppermint can quickly become overpowering.
Orange Chocolate
Stir a little finely grated orange zest into the chocolate filling. Orange and dark chocolate work especially well together.
Raspberry Chocolate
Spread a very thin layer of seedless raspberry jam on one cookie half, then add chocolate and sandwich. Use a light hand so the filling does not become slippery.
Mocha
Dissolve a small amount of instant espresso powder into the warm cream before adding it to the chocolate. This gives the filling a deeper flavor without making it taste strongly like coffee.
Dark Chocolate Sea Salt
Use dark chocolate for the filling and sprinkle a few grains of flaky sea salt over the chocolate before adding the top cookie. This is a simple way to make homemade milano cookies taste more sophisticated.
Tips for the Best Homemade Milano Cookies
A few small details can make the difference between good cookies and bakery-worthy cookies.
- Use softened butter, not melted butter. Melted butter can make the dough too loose and cause excess spreading.
- Measure flour carefully. Too much flour makes the dough hard to pipe, while too little can make the cookies spread too thin.
- Pipe evenly. Similar-size cookies bake at the same rate and make better sandwiches.
- Cool completely before filling. Warm cookies will melt the chocolate and make the sandwiches messy.
- Use quality chocolate. Since the filling is simple, the chocolate flavor stands out.
- Keep the filling thin. Milano-style cookies are known for balance, not a thick center.
Troubleshooting Common Problems
The Cookies Spread Too Much
The dough may have been too warm, the butter may have been too soft, or too much milk may have been added. Chill the piped dough for 10 to 15 minutes before baking the next tray.
The Dough Is Too Stiff to Pipe
Mix in milk a few drops at a time until the dough softens. Do not add too much at once, or the cookies may spread unevenly.
The Cookies Are Too Soft
They may need another minute or two in the oven. Look for lightly golden edges. Also, make sure they cool completely before judging the texture, as thin cookies firm up as they cool.
The Chocolate Filling Is Running Out
The filling was probably too warm or too thickly applied. Let it cool until spreadable but not liquid, and use a thinner layer.
The Sandwiches Look Uneven
Pair cookies before filling and match the closest shapes together. Homemade cookies do not need to be perfect, but pairing makes them look much more refined.
How to Store Them
Store the finished cookies in an airtight container at room temperature for a few days. Place parchment between layers if stacking them, especially if your kitchen is warm.
For longer storage, freeze the unfilled cookies and add the chocolate filling after thawing. This helps preserve the best texture. You can also freeze assembled cookies, but the filling and cookie texture may change slightly once thawed.
Avoid storing them near strong-smelling foods, because delicate butter cookies can absorb odors.
Can You Make the Dough Ahead?
Yes, but this dough is easiest to pipe soon after mixing. If you refrigerate it, it will firm up and may need to soften at room temperature before piping.
For best results, pipe and bake the cookies the same day you make the dough. If you want to work ahead, bake the cookie halves in advance and fill them closer to serving.
Serving Ideas
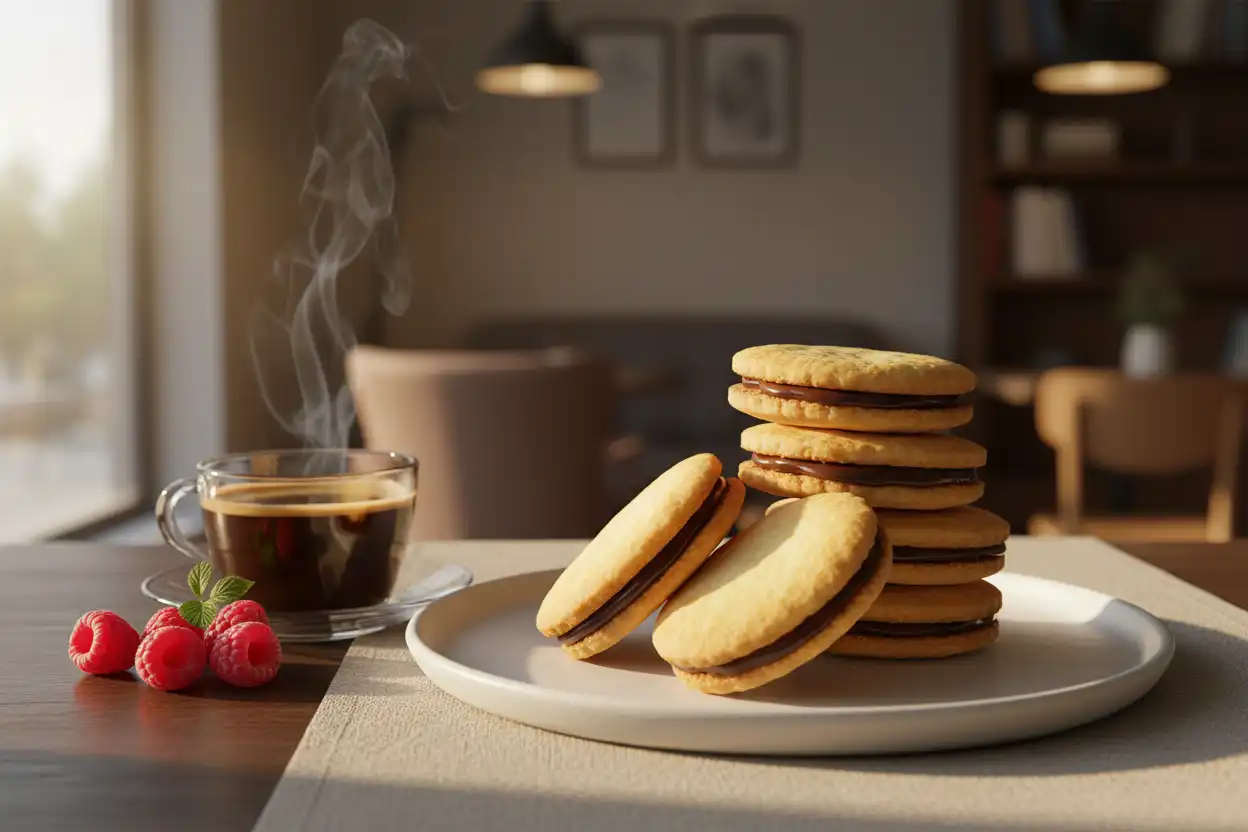
These cookies fit almost any occasion. Serve them as part of an afternoon coffee break, add them to a holiday cookie box, or arrange them on a dessert tray with fruit and small pastries.
They are especially nice when you want something that feels a little more polished than a drop cookie but does not require complicated decorating. Their simple oval shape and glossy chocolate center do most of the work for you.
Final Baking Notes
Making milano cookies at home is all about patience and precision, but the process is still very manageable. Keep the dough soft, pipe the cookies evenly, bake just until the edges are golden, and use a thin layer of smooth chocolate filling.
Whether you are recreating a favorite store-bought treat or simply looking for a new sandwich cookie to add to your baking routine, this recipe gives you a crisp, buttery cookie with plenty of room for flavor variations. Once you try the classic chocolate version, experiment with your favorite Milano cookie flavors and make the recipe your own.