
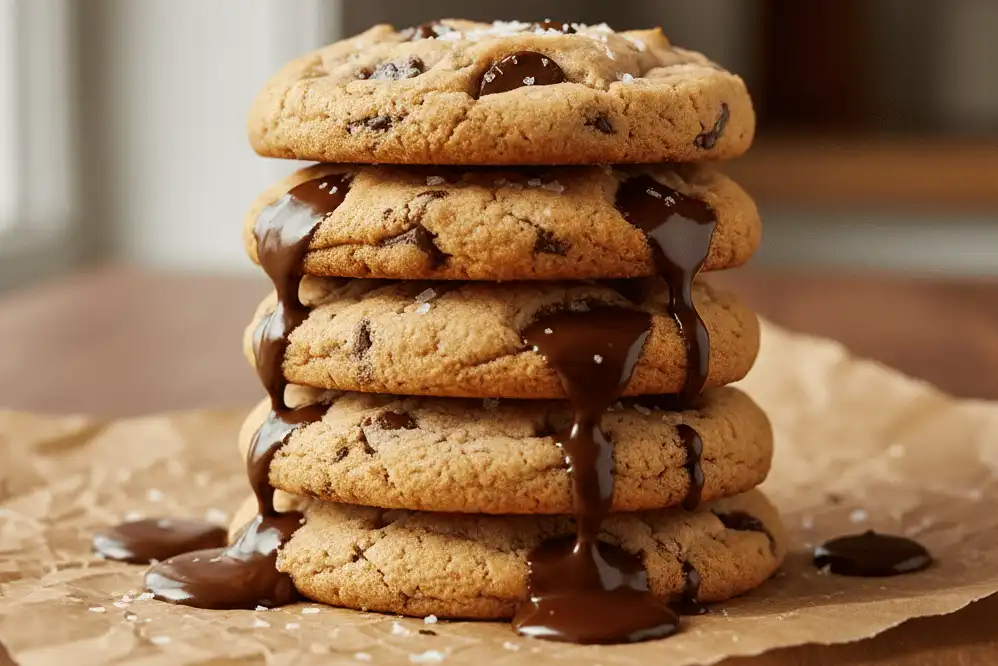
Salted chocolate chip cookies work because they balance sweet, rich dough with a clean pop of salt that makes the chocolate taste deeper. This guide walks you through a practical salted chocolate chip cookies recipe, from choosing ingredients to shaping, chilling, baking, and finishing each batch. You will also get baking tips for better texture, stronger flavor, and fewer common cookie problems.
How do you get salted chocolate chip cookies just right?
The key is balance: use enough salt in the dough to season it, then add a small amount of flaky salt on top so each bite has contrast without tasting overly salty. The best results come from measuring carefully, chilling the dough long enough for flavor and structure, and baking until the edges are set while the centers still look slightly soft. If you want cookies that are chewy in the middle, lightly crisp at the edges, and full of chocolate, focus as much on timing and temperature as on the ingredient list.
Gather the ingredients and tools before you mix
Good cookies start before the mixer turns on. Having everything measured and ready helps you avoid overmixing, forgotten ingredients, and uneven dough. It also lets butter, eggs, and other refrigerated items come closer to room temperature when needed, which makes the dough easier to combine.
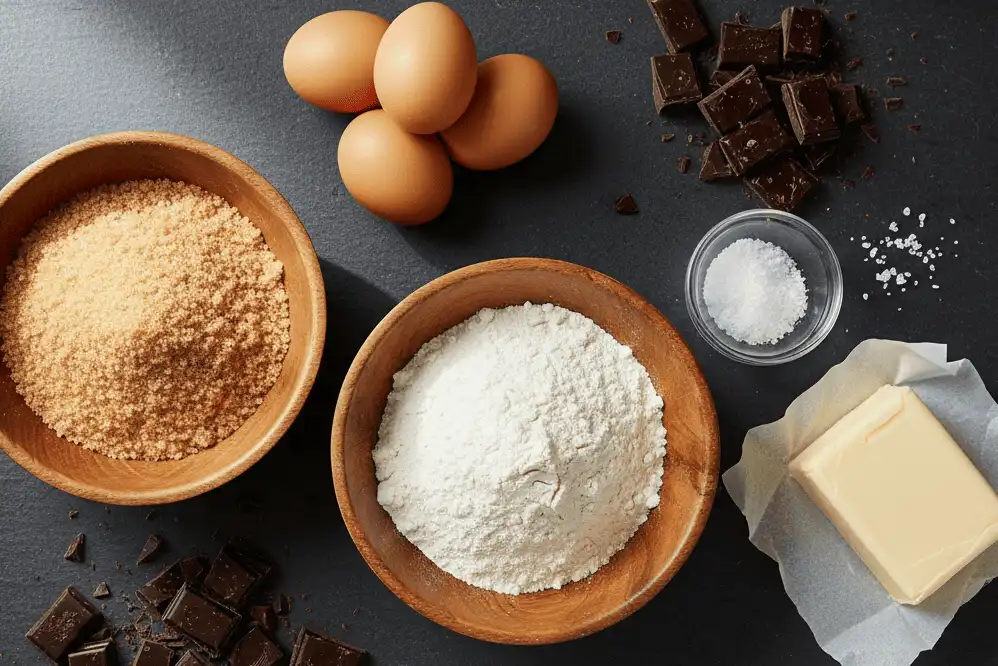
For a classic salted chocolate chip cookies recipe, prepare:
- Unsalted butter, softened or browned and cooled, depending on the flavor you want
- Brown sugar for chewiness and caramel-like depth
- Granulated sugar for spread and crisp edges
- Eggs for structure and richness
- Vanilla extract for warmth
- All-purpose flour for the cookie base
- Baking soda to help the cookies spread and rise
- Fine salt for seasoning the dough
- Chocolate chips, chunks, or chopped chocolate
- Flaky sea salt for finishing
Useful tools include:
- Mixing bowls
- Measuring cups and spoons, or a kitchen scale
- Hand mixer, stand mixer, or sturdy spatula
- Baking sheets
- Parchment paper
- Cookie scoop or spoon
- Cooling rack
Use fine salt in the dough because it disperses evenly. Save flaky salt for the top, where its texture and quick hit of flavor make the cookies feel finished rather than simply salty.
Follow the step-by-step method
These steps are designed to give you consistent results even if you adjust the chocolate style or chill time. Read through them once before starting so you know when to pause, chill, and watch the oven closely.
- Prepare the butter for the texture you want. Use softened butter if you want a familiar, classic cookie texture with a creamy dough that comes together quickly. For a deeper, slightly nutty flavor, brown the butter gently in a saucepan until it smells toasted, then let it cool until it is no longer hot. Do not mix hot butter directly into the sugars and eggs, because it can melt the sugar too quickly and make the dough greasy.
- Cream the butter and sugars until combined. Beat the butter with brown sugar and granulated sugar until the mixture looks smooth and slightly lighter. You do not need to whip it for a long time; too much air can make the cookies puff and then collapse. Scrape the bowl so no streaks of butter remain at the bottom or sides.
- Add the eggs and vanilla. Mix in the eggs one at a time, followed by vanilla. This helps the dough emulsify, giving the finished cookies a more even texture. If the mixture looks slightly separated, keep mixing briefly, but stop once it looks mostly cohesive.
- Combine the dry ingredients separately. Whisk the flour, baking soda, and fine salt in another bowl before adding them to the wet ingredients. This step matters because baking soda and salt can clump, creating uneven flavor and texture. A quick whisk distributes them so every cookie bakes more consistently.
- Mix the dough just until the flour disappears. Add the dry ingredients to the wet mixture and stir on low speed or by hand. Stop as soon as you no longer see dry patches of flour. Overmixing develops gluten, which can make cookies tough instead of tender and chewy.
- Fold in the chocolate generously. Stir in chocolate chips, chunks, or chopped chocolate. Chips hold their shape, while chopped chocolate creates uneven pockets and thin ribbons of melted chocolate. For the most interesting bite, use a mix of sizes so each cookie has both concentrated chocolate and smaller flecks throughout.
- Chill the dough for better flavor and control. Cover the dough and chill it for at least 30 minutes if you have time. Chilling firms the butter, hydrates the flour, and helps prevent excessive spreading in the oven. For stronger flavor, chill the dough longer, then let it sit briefly at room temperature if it becomes too firm to scoop.
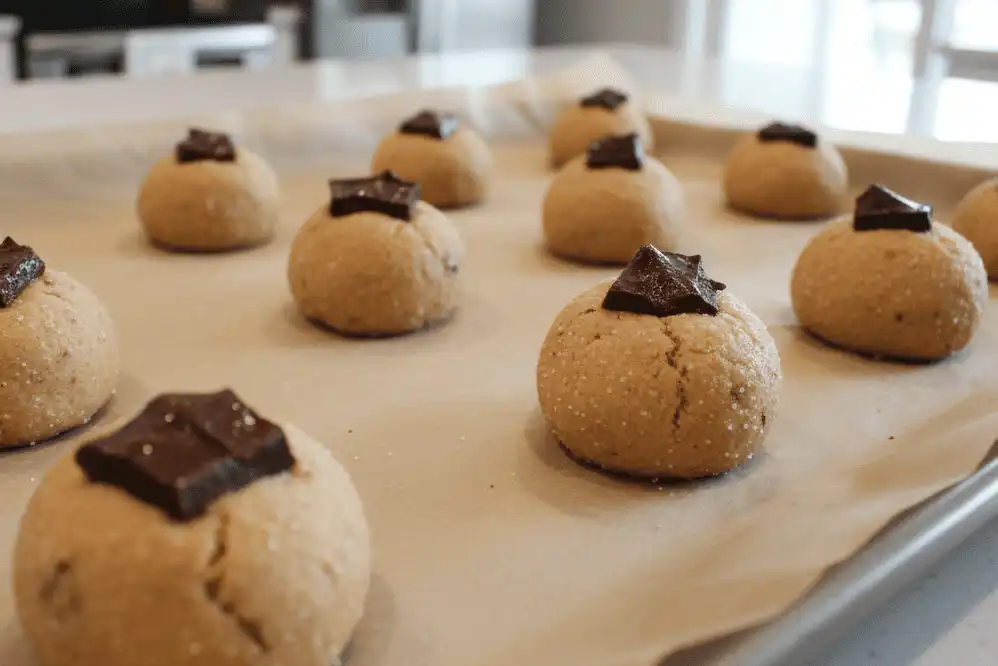
- Scoop the dough into even portions. Use a cookie scoop or spoon to portion the dough evenly. Similar sizes bake at the same rate, which means you will not have some cookies overdone while others remain raw in the center. For bakery-style tops, press a few extra chocolate pieces onto each dough ball before baking.
- Bake until the edges are set. Place dough balls on parchment-lined baking sheets with room to spread. Bake in a preheated oven until the edges look lightly golden and the centers still appear a little soft. Cookies continue to set on the hot pan after they come out, so removing them before the centers look fully firm is one of the simplest baking tips for a chewy middle.
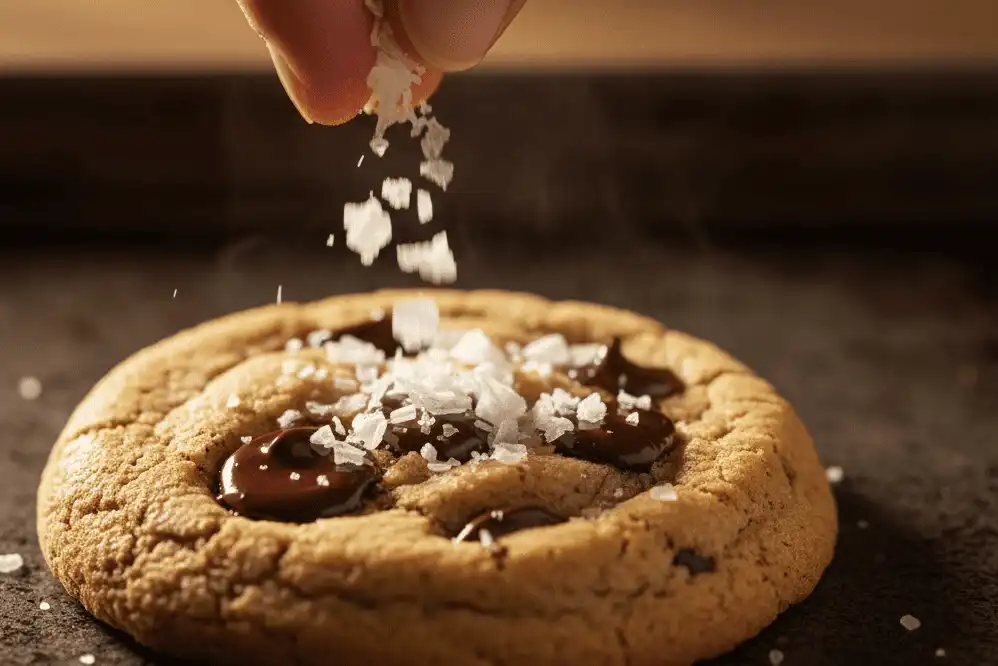
- Finish with flaky salt while the cookies are warm. Sprinkle a small pinch of flaky sea salt over each cookie as soon as the tray comes out of the oven. The warmth helps the salt settle gently into the surface without disappearing into the dough. Start lightly; you can always add more next time, but you cannot remove salt once it is on the cookie.
- Cool before serving. Let the cookies rest on the baking sheet for several minutes, then transfer them to a cooling rack. This rest gives the centers time to finish setting while the edges stay delicate. If you move them too soon, they may bend or break even if they are properly baked.
Use these baking tips to control texture
Small technique changes can make the same dough bake into very different cookies. If your ideal salted chocolate chip cookies are thick, chewy, crisp-edged, or extra soft, adjust one variable at a time so you know what made the difference.
For thicker cookies:
- Chill the dough longer before baking.
- Use slightly taller dough balls instead of flattening them.
- Make sure the baking sheet is cool before adding the next batch.
- Avoid using melted butter unless the dough is fully chilled afterward.
For chewier cookies:
- Use more brown sugar than granulated sugar.
- Pull the cookies from the oven when the centers still look soft.
- Let them finish setting on the baking sheet.
- Store them in an airtight container once fully cool.
For crisper edges:
- Use a little more granulated sugar in the recipe.
- Bake until the edges are more deeply golden.
- Make smaller dough balls for more edge-to-center ratio.
- Cool cookies completely before storing.
For stronger chocolate flavor:
- Use chopped chocolate instead of only chips.
- Add a few chocolate pieces to the tops before baking.
- Choose chocolate with enough cocoa intensity to stand up to the sweet dough.
- Do not overdo the finishing salt; it should sharpen the chocolate, not cover it.
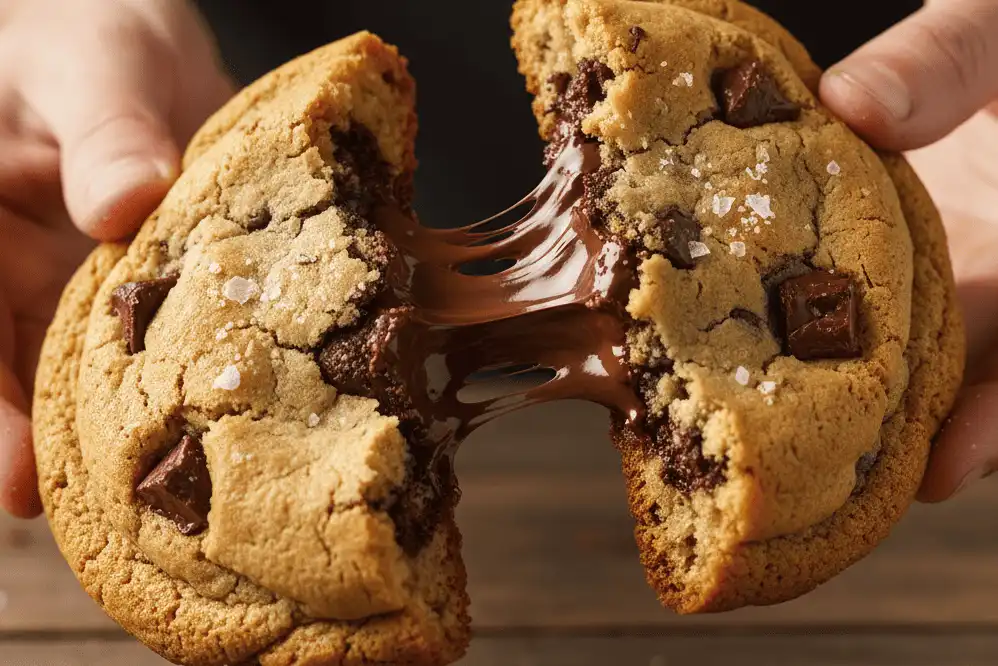
What should you do if the cookies spread too much?
If your cookies spread into thin puddles, the dough was likely too warm, the butter was too soft, or the flour measurement was light. Chill the remaining dough before baking the next tray, and place dough balls on a cool baking sheet rather than one that just came out of the oven. If the dough still seems loose after chilling, add a small spoonful of flour, mix gently, and bake one test cookie before adjusting the whole batch.
Spreading can also happen when the oven is not hot enough. In a cooler oven, the butter melts before the cookie structure sets, creating flat cookies with greasy edges. If this happens often, consider using an oven thermometer and preheating fully before the first tray goes in.
Shape the cookies for a bakery-style finish
Appearance is not just cosmetic; shaping affects how the cookies bake. Rounded dough balls create thicker centers, while slightly flattened portions bake more evenly and spread a bit faster. If you want rippled edges and glossy chocolate spots, use chopped chocolate and keep a few larger pieces for the tops.
You can also shape the cookies right after baking. While they are still hot, use a round cookie cutter or the rim of a glass larger than the cookie to gently scoot the edges into a neater circle. This quick move helps create a thicker-looking cookie with tidy edges, especially when a piece of chocolate causes one side to spread more than the rest.
Store and refresh them properly
Salted chocolate chip cookies are best once they have cooled enough to hold their shape but still taste fresh and tender. Store fully cooled cookies in an airtight container at room temperature. If you prefer a softer texture, avoid leaving them uncovered for long periods, because air will dry the edges and firm the centers.
For make-ahead baking, portion the dough into balls and chill or freeze them. Frozen dough can usually be baked straight from the freezer, though it may need a little extra time in the oven. Add flaky salt just before baking or immediately after baking, rather than before long freezer storage, so the salt keeps its texture.
To refresh a cookie, warm it briefly until the chocolate softens. This brings back some of the just-baked feel without needing to make a new batch. Be careful not to overheat it, or the cookie can turn dry and crumbly.
Make the recipe your own without losing balance
Once you understand the balance of sweet dough, chocolate, and salt, you can adjust the cookies with confidence. Try dark chocolate for a more intense flavor, milk chocolate for a sweeter batch, or a combination for contrast. You can also add toasted nuts, but keep the amount moderate so the dough still holds together and the chocolate remains central.
When experimenting, protect the core structure of the recipe. Keep the flour, butter, eggs, leavening, and sugar ratios close to the original unless you are prepared to test several batches. Flavor additions are easier to manage than structural changes, especially if your goal is a dependable salted chocolate chip cookies recipe you can repeat.
Bake one test cookie before committing
A single test cookie can save the whole batch. Scoop and bake one portion first, then check spread, salt level, sweetness, and texture. If it spreads too much, chill the dough longer; if it barely spreads, let the dough soften slightly or press the next portions down a bit before baking.
Taste the test cookie once it has cooled for a few minutes. Warm cookies can seem softer and sweeter than they will later, so give it enough time to settle before making changes. Once the test cookie tastes balanced, bake the rest of the dough with confidence.
Perfect salted chocolate chip cookies are not about complicated techniques. They come from patient chilling, careful baking, enough chocolate, and a thoughtful finish of flaky salt. Follow the steps, make small adjustments as you learn your oven, and you will have a cookie that tastes rich, balanced, and worth sharing.