
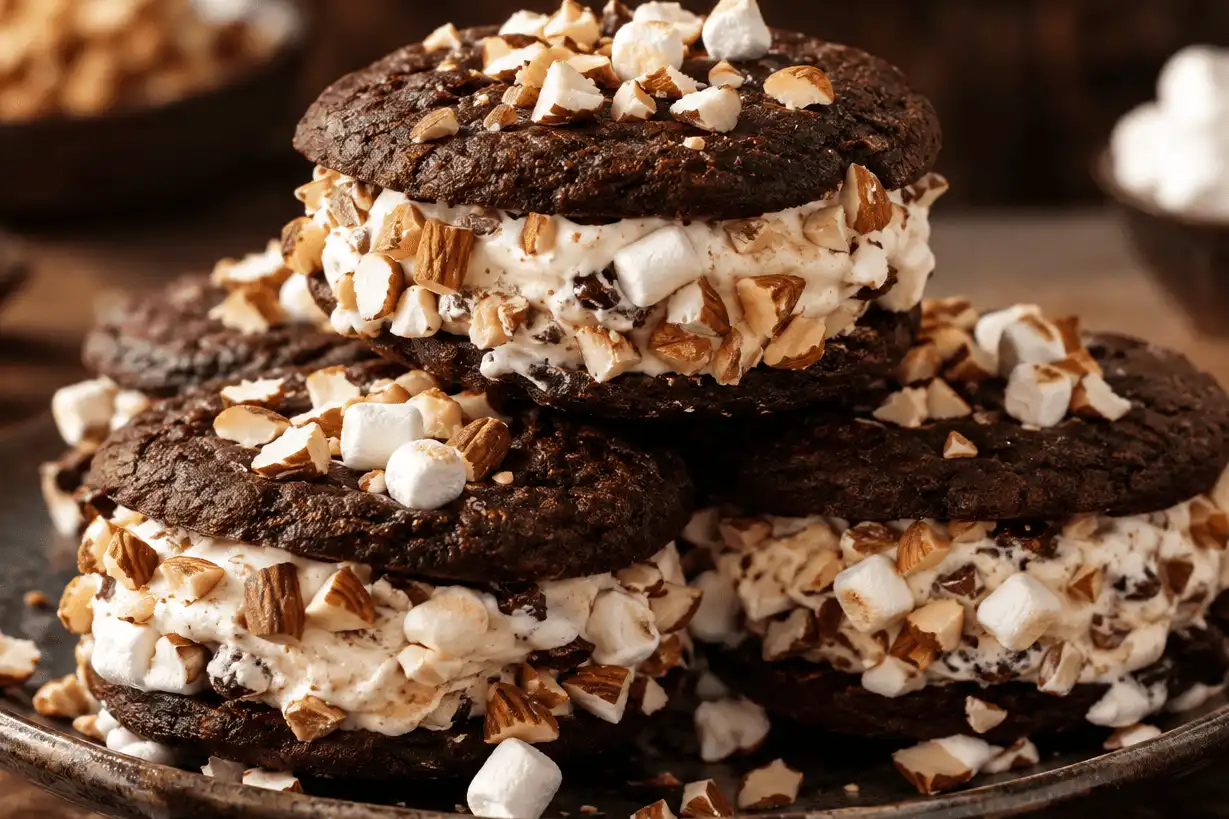
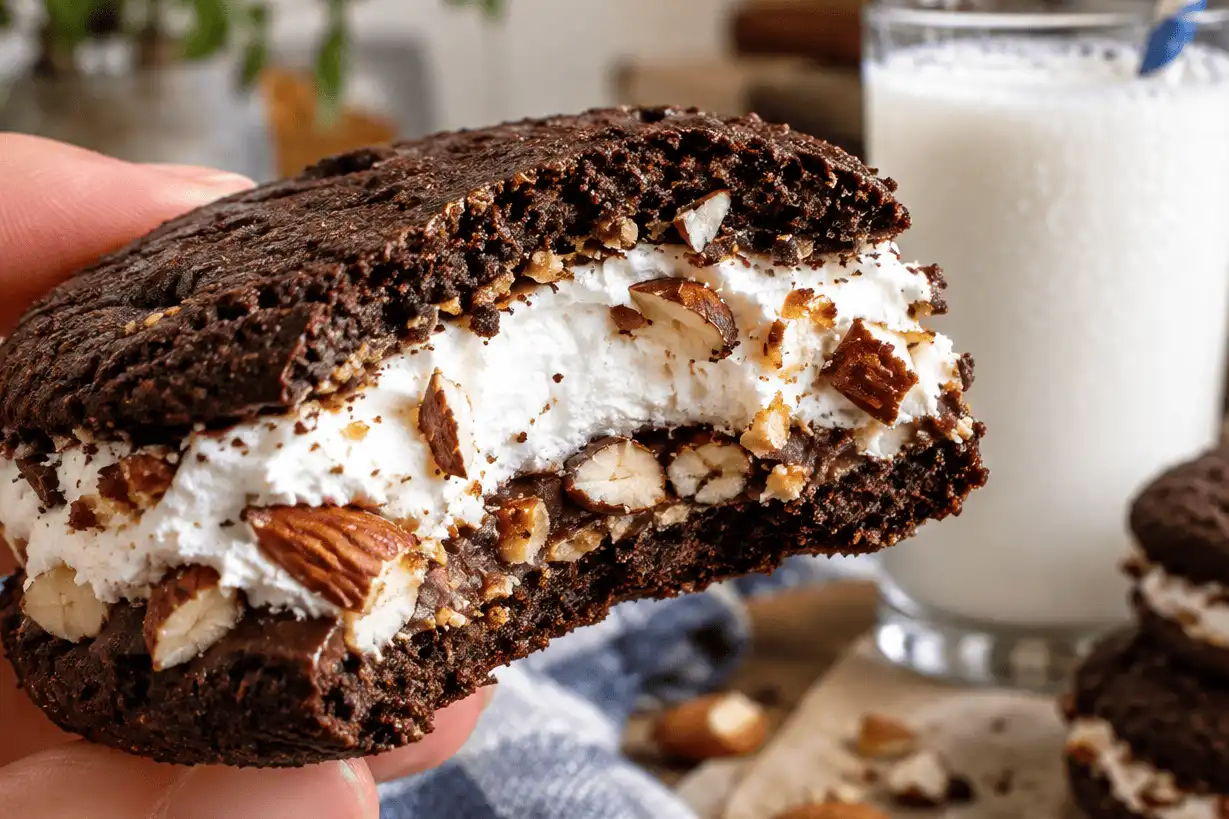
Exploremores cookies are the 2026 Girl Scout Cookies flavor inspired by rocky road ice cream, with chocolate, marshmallow, and toasted almond-flavored crème in a sandwich cookie. If you cannot find a box nearby, or you simply want a fresh-baked version, this guide shows you how to make explore more cookies at home with a crisp chocolate wafer and a creamy rocky road filling. The recipe below is not an official Girl Scout recipe; it is a bakery-style, Exploremores-inspired bake designed for rich flavor, clean layers, and easy sharing.
What are Exploremores cookies?
Exploremores™ are a rocky road ice cream–inspired Girl Scout sandwich cookie introduced for the 2026 Girl Scout Cookie season. Girl Scouts describes the flavor as chocolate, marshmallow, and toasted almond-flavored crème, and notes that the 2026 Girl Scout Cookie season is recognized nationally from January through April, with local timing varying by area. (girlscouts.org)
For home bakers, that flavor map is very workable. You need a chocolate cookie that stays crisp, a marshmallow-style filling that does not slide, and enough toasted almond flavor to make the cookie feel different from a standard chocolate sandwich cookie. That combination is what makes exploremores cookies stand out among unique cookie flavors.
What do you need before you start?
You need basic baking ingredients, a reliable oven, and a few tools that make the cookies even and easy to assemble. A kitchen scale gives the most consistent results, especially for cocoa, flour, and powdered sugar. An electric mixer, silicone spatula, rolling pin, parchment paper, rimmed baking sheets, cooling rack, and piping bag will help you get neat sandwich cookies without fighting sticky dough or soft filling.
Recommended tools:
- Kitchen scale for accurate gram measurements.
- Electric mixer for smooth dough and fluffy filling.
- Silicone spatula for scraping the bowl clean.
- Rolling pin for even cookie thickness.
- Round cookie cutter, about 2 inches wide.
- Piping bag for clean filling circles.
- Rimmed baking sheets lined with parchment.
- Cooling rack so the cookies crisp as they cool.
- Cake pans are not needed for this recipe, but an 8-inch cake pan can help you trace a parchment circle if you want a tidy rolling guide.
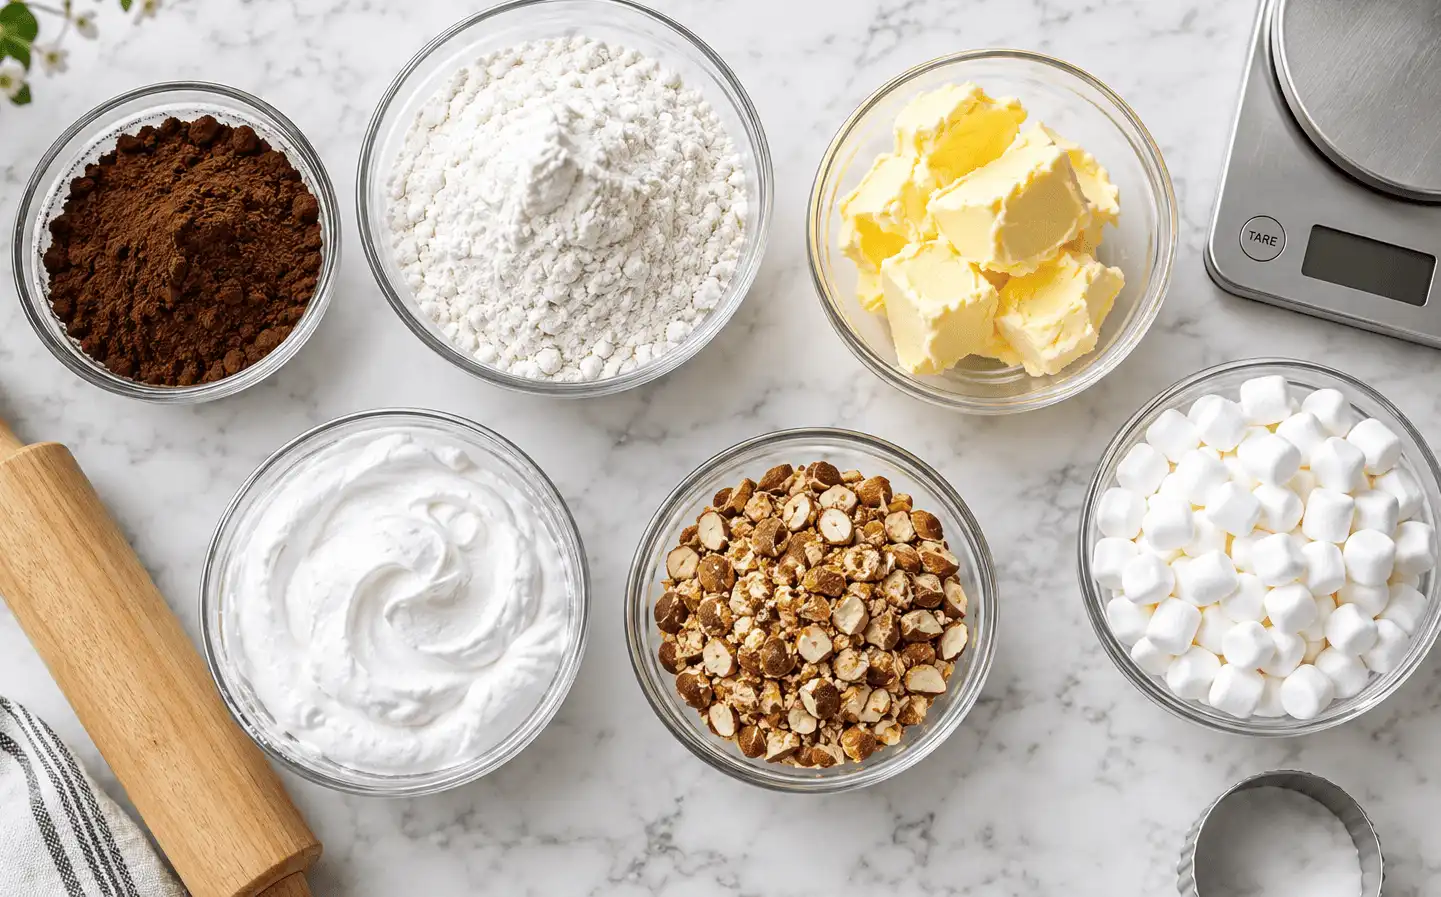
Ingredients for homemade Exploremores-inspired cookies
This ingredient list makes about 18 filled sandwich cookies. Use grams when possible. Cup measurements are included for common pantry items, but the gram amounts are more precise.
Chocolate wafer cookies
- 220 grams, or 1 3/4 cups, all-purpose flour
- 45 grams, or 1/2 cup, unsweetened cocoa powder
- 18 grams, or 2 tablespoons, cornstarch
- 3 grams baking soda
- 3 grams fine salt
- 170 grams, or 3/4 cup, unsalted butter, softened
- 150 grams, or 3/4 cup, granulated sugar
- 55 grams, or 1/4 cup, packed light brown sugar
- 50 grams large egg
- 12 grams vanilla extract
Marshmallow almond crème filling
- 85 grams, or 6 tablespoons, unsalted butter, softened
- 240 grams, or 2 cups, powdered sugar
- 85 grams marshmallow crème
- 10 grams, or 2 tablespoons, unsweetened cocoa powder
- 2 grams almond extract
- 1 gram fine salt
- 35 grams, or 1/3 cup, finely chopped toasted almonds
Assembly finish
- 30 grams, or 1/4 cup, finely chopped toasted almonds
- 20 grams, or 1/4 cup, mini marshmallows, finely chopped
Step-by-step baking guide
1. Prepare the tools and heat the oven
Heat the oven to 350°F. Line two rimmed baking sheets with parchment paper. Set out a rolling pin, cookie cutter, cooling rack, silicone spatula, and kitchen scale before you begin so the dough does not soften while you search for tools.
This temperature is high enough to set the cookies quickly but not so high that the cocoa turns bitter. If your oven runs hot, use an oven thermometer and adjust as needed. Consistent heat matters because sandwich cookies need flat, even wafers.
2. Whisk the dry ingredients
In a medium bowl, whisk the flour, cocoa powder, cornstarch, baking soda, and salt. Break up any cocoa lumps with the whisk. This gives the cookies a smoother texture and helps the baking soda spread evenly through the dough.
Cornstarch keeps the wafer tender while still allowing a crisp edge. Cocoa powder dries dough quickly, so measure carefully. Too much cocoa can make the cookies crumbly instead of snappy.
3. Cream the butter and sugars
Place the softened butter, granulated sugar, and brown sugar in the bowl of an electric mixer. Beat on medium speed until the mixture looks lighter and slightly fluffy. Scrape the bowl with a silicone spatula so no dense butter sits at the bottom.
This step builds the cookie structure. You are not making a cake, so do not whip for a very long time. Aim for creamy and cohesive, not airy and pale.
4. Add the egg and vanilla
Add the egg and vanilla extract. Mix until the dough base looks smooth. Stop and scrape the sides again.
If the mixture looks slightly separated, keep mixing for a few more seconds. The dry ingredients will bring it together. Avoid adding extra flour at this stage, because that can make the finished cookies tough.
5. Form the chocolate dough
Add the dry ingredients to the butter mixture in two additions. Mix on low speed until no dry streaks remain. The dough should look dark, soft, and thick.
If it feels sticky, that is normal. Cocoa dough firms as it rests. Use a silicone spatula to fold the last bits by hand so you do not overmix.
6. Chill the dough briefly
Flatten the dough into a disc and wrap it. Chill for 25 to 35 minutes. The dough should be firm enough to roll but not rock-hard.
This short chill makes cutting easier and helps the cookies hold their shape. If the dough chills too long, let it sit at room temperature for 5 to 10 minutes before rolling.
7. Roll and cut the cookies
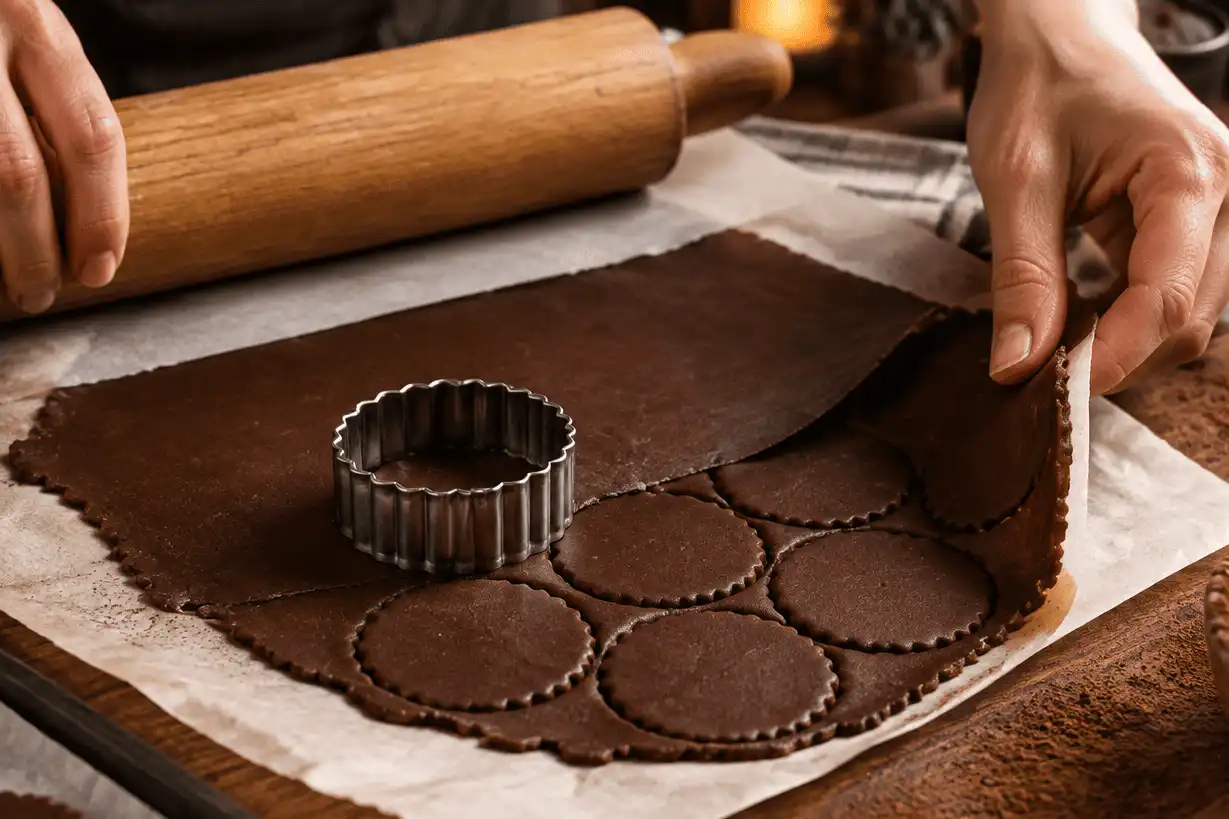
Place the dough between two sheets of parchment paper. Roll it to about 1/8 inch thick. Cut rounds with a 2-inch cutter and transfer them to the prepared baking sheets, leaving about 1 inch between cookies.
Gather scraps and reroll once. Try not to reroll many times, because extra handling can make the wafers less tender. For the cleanest look, cut all rounds close together before lifting the scraps away.
8. Bake until set
Bake for 8 to 10 minutes. The cookies should look dry on top, set around the edges, and slightly soft in the center. They will crisp as they cool.
Let them rest on the baking sheet for 5 minutes. Then move them to a cooling rack. Do not fill warm cookies, because heat will melt the marshmallow almond crème.
9. Make the rocky road filling
Beat the softened butter in a clean bowl until smooth. Add powdered sugar, marshmallow crème, cocoa powder, almond extract, and salt. Mix on low until combined, then beat on medium until creamy.
Fold in the finely chopped toasted almonds with a silicone spatula. The filling should be thick enough to pipe and soft enough to spread. If it feels loose, chill it for 10 minutes before assembling.
10. Pipe the filling
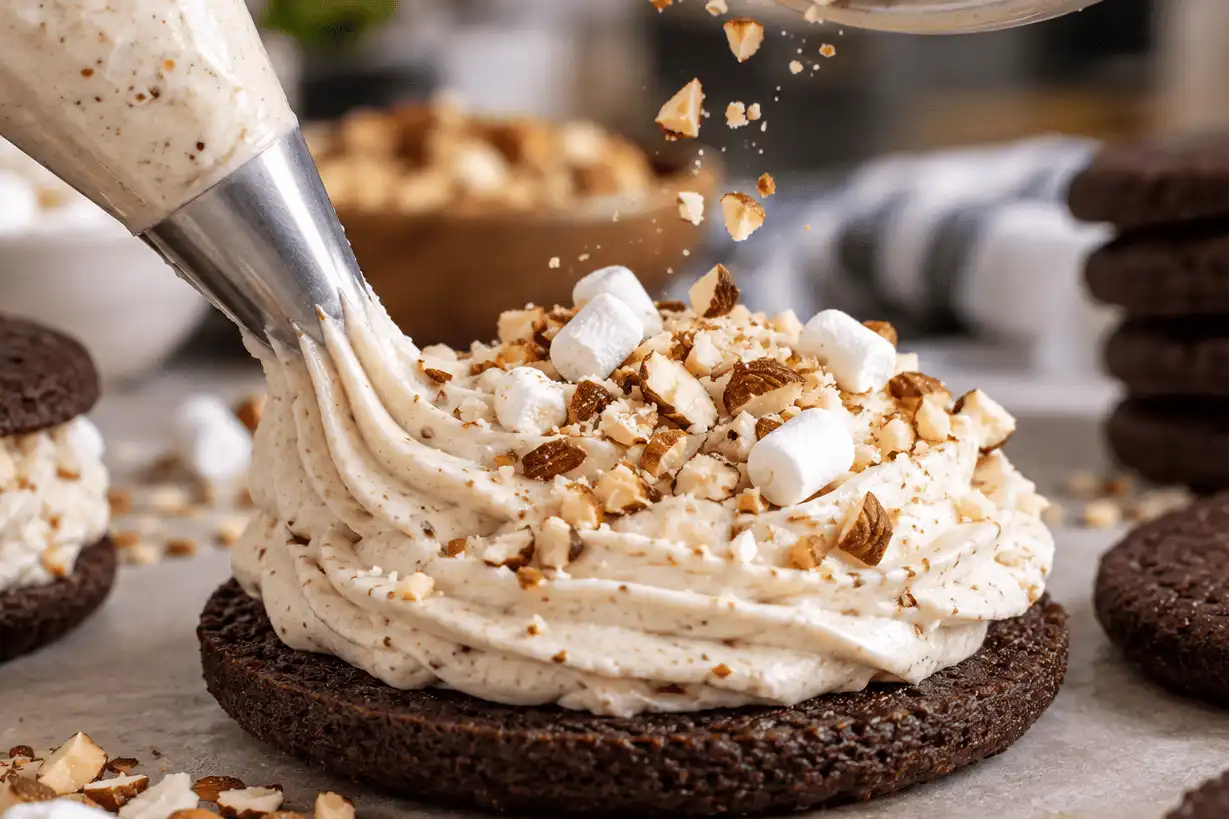
Transfer the filling to a piping bag. Turn half of the cooled cookies flat-side up. Pipe a ring or mound of filling in the center of each one.
Leave a small border around the edge. The filling will spread when you add the top cookie. A piping bag gives the neatest result, but a small spoon works if you move slowly.
11. Add the rocky road finish
Sprinkle a pinch of chopped mini marshmallows and toasted almonds over the filling. Keep the pieces small so the sandwich closes evenly. Large chunks can crack the wafers.
This step gives the cookies a stronger rocky road personality. It also adds contrast: crisp wafer, creamy filling, chewy marshmallow, and nutty crunch.
12. Sandwich and set the cookies
Place a second cookie on top of each filled cookie. Press gently until the filling reaches the edge. Chill the finished cookies for 15 minutes if you want a firmer bite.
For the best texture, let the cookies sit at room temperature for 5 minutes before serving. The filling softens slightly, while the chocolate wafers stay crisp enough to snap.
Professional baking tips and tricks
Control the oven temperature
Bake at 350°F and use the center rack when possible. If you bake two sheets at once, rotate them halfway through. Dark baking sheets can brown the bottoms faster, so check early if that is what you use.
An oven thermometer is helpful because many home ovens run hotter or cooler than the setting. For chocolate cookies, this matters even more. Overbaking can hide the marshmallow and almond notes under a bitter cocoa finish.
Check doneness without overbaking
The cookies are done when the edges look set and the tops no longer look wet. They may still feel slightly soft in the center. That is fine because they continue to firm as they cool.
Do not wait for deep browning. Chocolate dough does not show color changes clearly. Use texture and timing instead.
Keep the filling stable
Soft butter makes smooth filling, but melted butter makes runny filling. If your kitchen is warm, chill the filling for 10 minutes before piping. If it becomes too firm, stir it with a silicone spatula until pipeable.
Finely chopped almonds work better than large pieces. They blend into the crème and help every bite taste balanced. Toasting the almonds first deepens the flavor without adding extra extract.
Store the cookies properly
Store filled cookies in an airtight container at room temperature for up to 2 days. For a firmer sandwich, refrigerate them for up to 5 days and bring them to room temperature before serving. Freeze unfilled wafers for up to 2 months, then thaw and fill when needed.
Avoid storing them uncovered. The wafers can absorb moisture from the filling and the air. A tight container protects both the crisp cookie and the creamy center.
Flavor adjustments for the best batch
The best exploremores cookies should taste chocolatey first, then marshmallow-sweet, then lightly nutty. If the almond flavor feels too strong, reduce the almond extract to 1 gram in your next batch. If you want more rocky road character, keep the extract at 2 grams and make sure the toasted almonds are fresh.
For a cleaner sandwich shape, roll the dough evenly and cool the wafers completely. For a softer cookie, assemble them a few hours before serving. For a crisper cookie, fill them close to serving time.
These small choices help you make the recipe your own while staying close to the spirit of girl scout cookies exploremores 2026 searches: chocolate, marshmallow, almond, and a little adventure in every bite.
Serving ideas for cookie fans
Serve these cookies with cold milk, coffee, or hot cocoa. They also work well on a dessert board with fresh strawberries, pretzels, and other unique cookie flavors. If you are comparing them with official Girl Scout Cookies Exploremores, taste them side by side and notice the differences in crunch, filling, and cocoa intensity.
For gifting, stack three or four cookies in a clear bag and tie it tightly. Add a note that they are homemade, rocky road–inspired sandwich cookies. That keeps expectations clear and makes the treat feel special.
Final checklist before you bake
Before you start, make sure you have:
- Measured every ingredient by grams or cups.
- Softened the butter without melting it.
- Toasted and cooled the almonds.
- Prepared parchment-lined baking sheets.
- Set the oven to 350°F.
- Cleared space for rolling, cutting, cooling, and filling.
With those basics ready, this recipe is straightforward. You will get crisp chocolate wafers, fluffy marshmallow almond crème, and a homemade version of exploremores cookies that captures the rocky road idea in a fresh-baked way.